When you're staring at your walls in Monterey or Salinas, it's easy to get excited and want to jump right into painting. But the single most important step happens long before a brush ever touches the wall: properly cleaning the surface. This preparation is the bedrock of a paint job that looks incredible and truly lasts.
Proper wall preparation ensures a flawless, long-lasting finish. This guide covers everything from the essential cleaning toolkit and step-by-step washing techniques to tackling tough stains, ensuring your next painting project in Monterey County is a complete success.
Why Wall Prep Is Non-Negotiable For a Flawless Finish
Over the years, walls collect invisible layers of dust, subtle kitchen grease, and everyday grime. These contaminants act like a barrier, preventing new paint from bonding the way it's supposed to.
If you skip a thorough cleaning, you're almost certainly asking for trouble. We've seen it all in homes across the region:
- Peeling or Flaking: The new paint simply lifts away from the wall because it never adhered properly.
- Bubbling: This happens when trapped dirt or oils push against the paint film, creating bumpy air pockets.
- Uneven Sheen: Stains and grease can alter the paint’s finish, making it look blotchy and inconsistent.
Here in coastal towns from Pacific Grove to Carmel, the humid, salty air can leave behind subtle residues notorious for interfering with paint adhesion. A deep clean is the only way to ensure your new paint job is durable enough to withstand our local climate.
A pristine surface is the secret ingredient to a flawless paint job. Taking the time to clean your walls ensures your investment in time and paint pays off with results you can be proud of for years.
The pros know this is no small detail. In fact, industry data suggests that improper surface preparation accounts for over 80% of all paint job failures. It’s simply part of the process for achieving that smooth, long-lasting finish.
Once your walls are immaculately clean, you can focus on the fun part—bringing your vision to life. To get inspired, check out our guide on expert paint color selection for your home.
Assembling Your Wall Cleaning Toolkit
Before you crack open a can of paint, get your tools in order. Having everything you need within arm's reach makes the job smoother and more professional.
After years of painting homes all over the Monterey Bay, we’ve boiled our prep kit down to the essentials. This simple setup helps you work smarter, not harder.
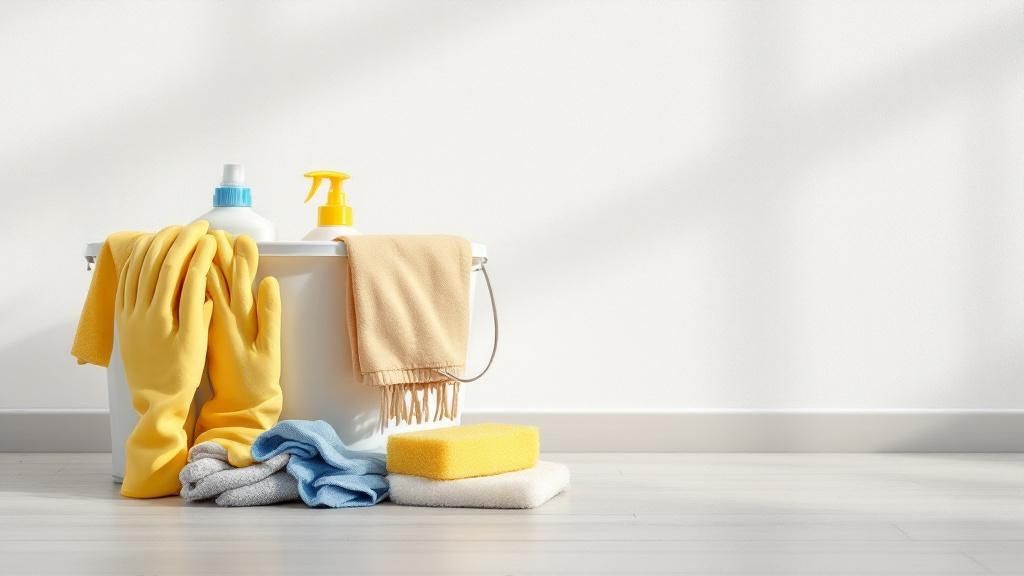
Core Cleaning Supplies
- Two Buckets: One bucket is for your cleaning mix, and the other is for clean rinse water. This prevents you from smearing dirty water back onto the surface.
- Microfiber Cloths or Sponges: Microfiber cloths are superior as they grab fine dust and grime without leaving behind lint that can ruin your paint job.
- Mild Detergent: You don’t need anything harsh. A few drops of dish soap in warm water is usually enough to cut through everyday dirt and oils.
The two-bucket method is a pro painter’s secret weapon for a truly clean wall. It guarantees you're always rinsing with fresh water, which stops the streaks and residue that can prevent paint from sticking properly.
Protection and Safety Gear
Protecting your home and yourself is just as crucial as the cleaning itself. A little prep here saves a lot of headaches later.
Lay down canvas or leak-resistant drop cloths to cover your floors and furniture. For yourself, always wear gloves to protect your hands and safety glasses to shield your eyes from splashes. This careful preparation is a fundamental part of all our interior home painting services in Pacific Grove and every other job we do.
The Professional Method for Washing Your Walls
Now that you have your tools, it’s time to learn the pro technique for how to clean walls before painting. This strategic process guarantees your new paint job goes on smoothly and lasts for years.
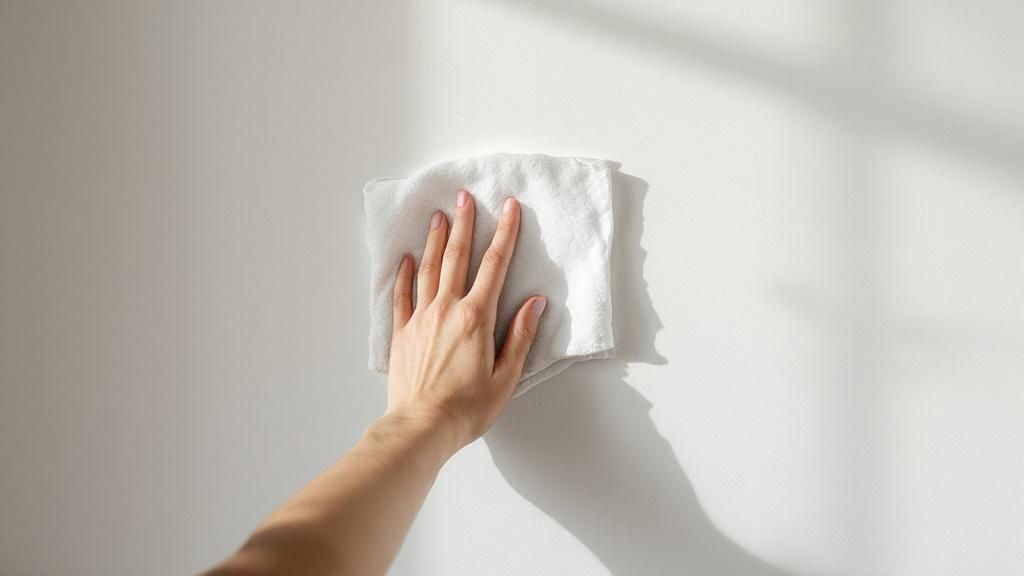
The first pass should always be a dry one. This initial step removes loose debris before you add water, preventing dust and cobwebs from turning into a sludgy mess.
Following this dry-cleaning process ensures you’ve handled all the surface-level gunk before you get the walls wet. It’s essential for creating a perfectly clean canvas.
The Bottom-Up Washing Technique
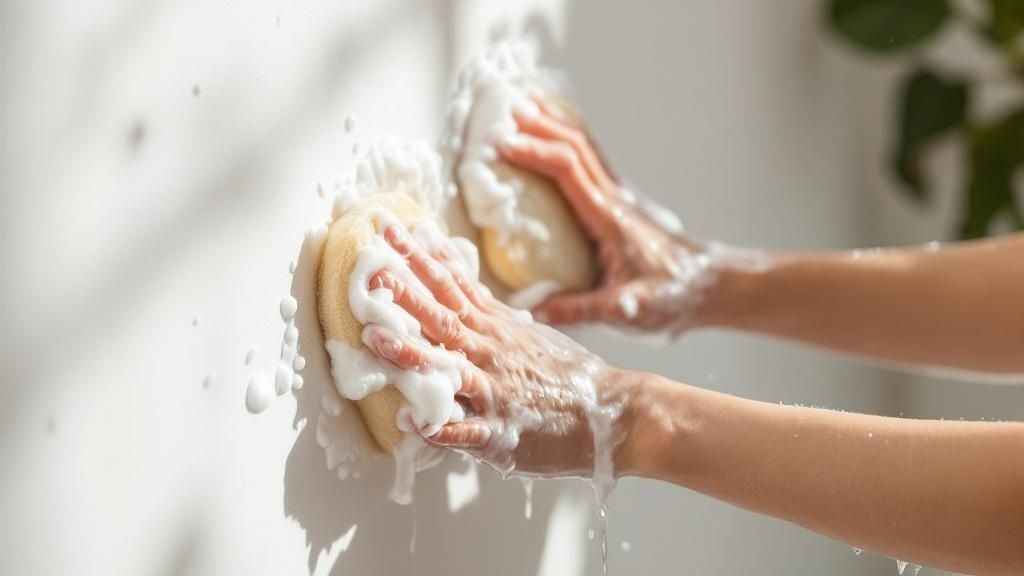
With the loose dust and cobwebs gone, you can start the wet wash. Here’s a pro tip we use on every job: always wash your walls from the bottom up. It might sound backward, but it prevents dirty, soapy water from running down and creating streaks.
Work in manageable sections, about 3×3 feet at a time. Apply your cleaning solution with a sponge or microfiber cloth in an upward motion. After washing a section, use a fresh cloth and your second bucket of clean water to rinse away any soap residue.
"A little-known secret to avoiding streaks is the bottom-up method. It keeps dirty runoff from staining the dry wall below, which is a common mistake that can compromise the final paint finish."
Creating Your Go-To Cleaning Solution
You don’t need harsh chemicals to get your walls clean. A simple and effective DIY solution is all it takes for most household grime.
We often recommend a mix of:
- 1 gallon of warm water
- ½ cup of distilled white vinegar
- 1 teaspoon of mild dish soap
This gentle recipe is powerful enough to cut through common stains and dirt. Once you’ve washed and rinsed, let the walls dry completely—a process that can take a few hours. This meticulous attention to detail defines a truly professional residential interior painting project.
Tackling Tough Stains and Special Conditions
A standard wash is usually enough, but some walls need more muscle. Kitchens, bathrooms, and kids' rooms often have stubborn spots that require a targeted approach.
For greasy kitchen splatters, a dedicated degreasing cleaner is best. For crayon masterpieces, a simple paste of baking soda and water can often lift the stain without damaging the surface.
Addressing Mold and Mildew
Living in the humid coastal air of Pacific Grove and Monterey, we see mold and mildew often, especially in bathrooms. Simply painting over it is a massive mistake, as the fungus will push right through the new paint.
To handle it correctly, mix a solution of one part bleach to three parts water. Apply it to the area and let it sit for about 10-15 minutes, then gently scrub and rinse thoroughly. This is a critical step for a healthy home and a key part of any professional bathroom remodel or renovation project.
Pro Tip: Always protect yourself. Wear gloves and goggles when working with a bleach solution. Open a window or use a fan to ventilate the area and disperse fumes.
Handling Textured and Smoke-Damaged Walls
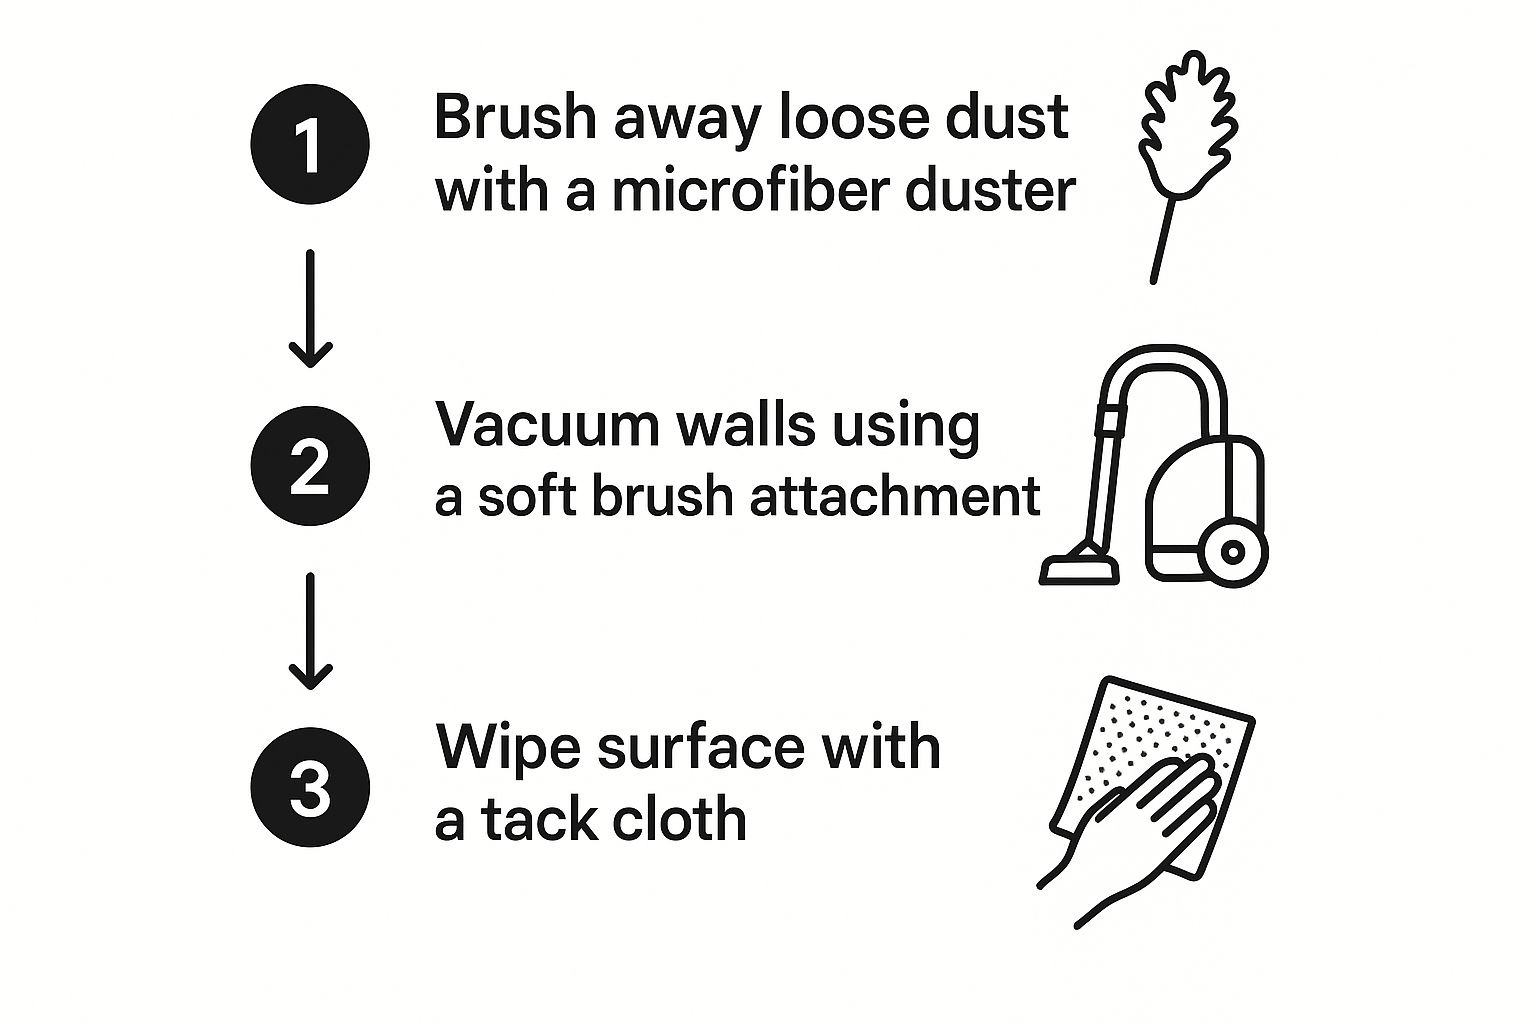
Textured walls, like those with a "popcorn" finish, are magnets for dust. Start with a vacuum cleaner using a soft brush attachment. When it's time to wash, use a sponge and dab at the wall rather than wiping to avoid snagging the texture.
Walls with smoke damage are another challenge. For these, you’ll need a heavy-duty cleaner formulated for smoke stains. After cleaning, you must apply a high-quality, stain-blocking primer to ensure nothing bleeds through your new paint job.
The Final Touches Before You Grab That Paint Roller
Alright, your walls are clean and dry, but don't reach for that roller just yet. This last round of prep work is what separates a decent DIY job from a stunning, professional-looking finish in your Monterey home.
Run your hand over the wall to feel for any gritty spots or leftover film. This simple hands-on check often reveals imperfections your eyes might miss.
Tackling Minor Repairs for a Flawless Surface
Now is the time to spot and fix any minor damage that would stick out after you've painted.
- Fill Old Nail Holes: Use a putty knife and a small amount of spackle to fill holes from old pictures or shelves.
- Fix Small Cracks: Apply spackle along hairline cracks, working it into the gap for a solid fill.
- Sand it Smooth: After the spackle dries completely, lightly sand the patched areas with fine-grit sandpaper until they are perfectly flush with the wall.
This attention to detail is just one of many essential home painting tips we offer to help you get that flawless result.
A well-prepped surface doesn't just look better—it can also extend the life of your new paint job by several years, protecting your investment.
The very last step is to apply painter’s tape. Take your time to get crisp, clean lines around your trim, windows, and ceiling. Nailing these final steps guarantees all your hard work pays off with a beautiful paint job that will last.
Frequently Asked Questions
How long should I wait for walls to dry after cleaning?
Patience is key. We recommend waiting at least four to six hours after washing before you begin painting. However, in humid coastal areas like Carmel, it may take longer. The wall should feel completely dry to the touch, with no cool spots.
What is the best cleaner to use on walls before painting?
For most walls, a simple solution of warm water with a few drops of mild dish soap is perfect. For tougher jobs with grease or grime, like in a kitchen, a dedicated degreaser or a Trisodium Phosphate (TSP) substitute is more effective for your interior painting in Monterey.
Do I really need to sand my walls before painting?
Sanding isn't always required, but it is highly recommended for a professional finish. If your walls have a glossy or semi-gloss finish, a light scuff-sand is essential to help the new paint adhere. You must also sand any spackled areas to make them smooth and flush.
Can I just use a primer instead of cleaning the walls?
No, primer cannot replace cleaning. Primer needs a clean, stable surface to bond correctly. Applying it over dirt, dust, or grease will cause both the primer and the new paint to peel and fail over time.
What’s the best paint finish for high-traffic areas?
For busy parts of your home like hallways, kitchens, and kids' rooms, durability is crucial. We almost always recommend a satin or semi-gloss finish for these areas because they are much easier to wipe clean than matte or eggshell paints. This makes it a great choice for a busy Salinas home renovation.
Ready to skip the prep work and get a flawless, professional finish? Let the experts at Legacy Painting & Renovating Inc. handle it for you. We serve the entire Monterey County area with pride and precision. Contact us today for a free, no-obligation estimate!