If you want a paint job that looks incredible and actually lasts, the real magic isn't in the final coat of paint. It's in the prep work. This guide covers the essential steps for surface preparation for painting, ensuring a professional, long-lasting finish for your home in Salinas, Monterey, or anywhere on the Peninsula.
Properly preparing your surfaces is the single most important investment you can make in any painting project. It’s what stands between a beautiful, durable finish and the frustration of peeling, bubbling, or chipping paint down the road.
The Foundation Of A Flawless Paint Job
So many people get excited about picking the perfect color but completely rush through the steps that ensure that color looks fantastic and holds up over time. I’ve seen it happen everywhere, from homes here in Salinas to beautiful coastal properties in Carmel—skipping the prep work is the fastest way to ruin a paint job.
Think of preparation as the foundation of your project, not just a tedious chore. Getting this part right saves you a ton of time, money, and the headache of having to repaint everything way too soon.
The Four Pillars of Surface Preparation
Every successful painting project I've ever worked on, whether it was an accent wall or a massive commercial building, stands on four key pillars. Understanding why each one is so important makes the whole process make a lot more sense.
The table below breaks down these essential stages and what happens if you cut corners.
| Preparation Stage | Primary Goal | Consequence of Skipping |
|---|---|---|
| Cleaning | Remove dirt, grime, and oils that block adhesion. | Paint won't stick properly, leading to peeling and flaking. |
| Repairing | Create a smooth, uniform surface free of flaws. | Imperfections will be highlighted, not hidden, by new paint. |
| Sanding | Create microscopic texture for the paint to grip. | Poor adhesion, resulting in a weak bond that can easily fail. |
| Priming | Seal the surface, block stains, and ensure even color. | Blotchy, uneven color and potential for stains to bleed through. |
As you can see, each step builds on the last, creating the perfect canvas for your paint. It’s this meticulous groundwork that guarantees a finish you can be proud of.
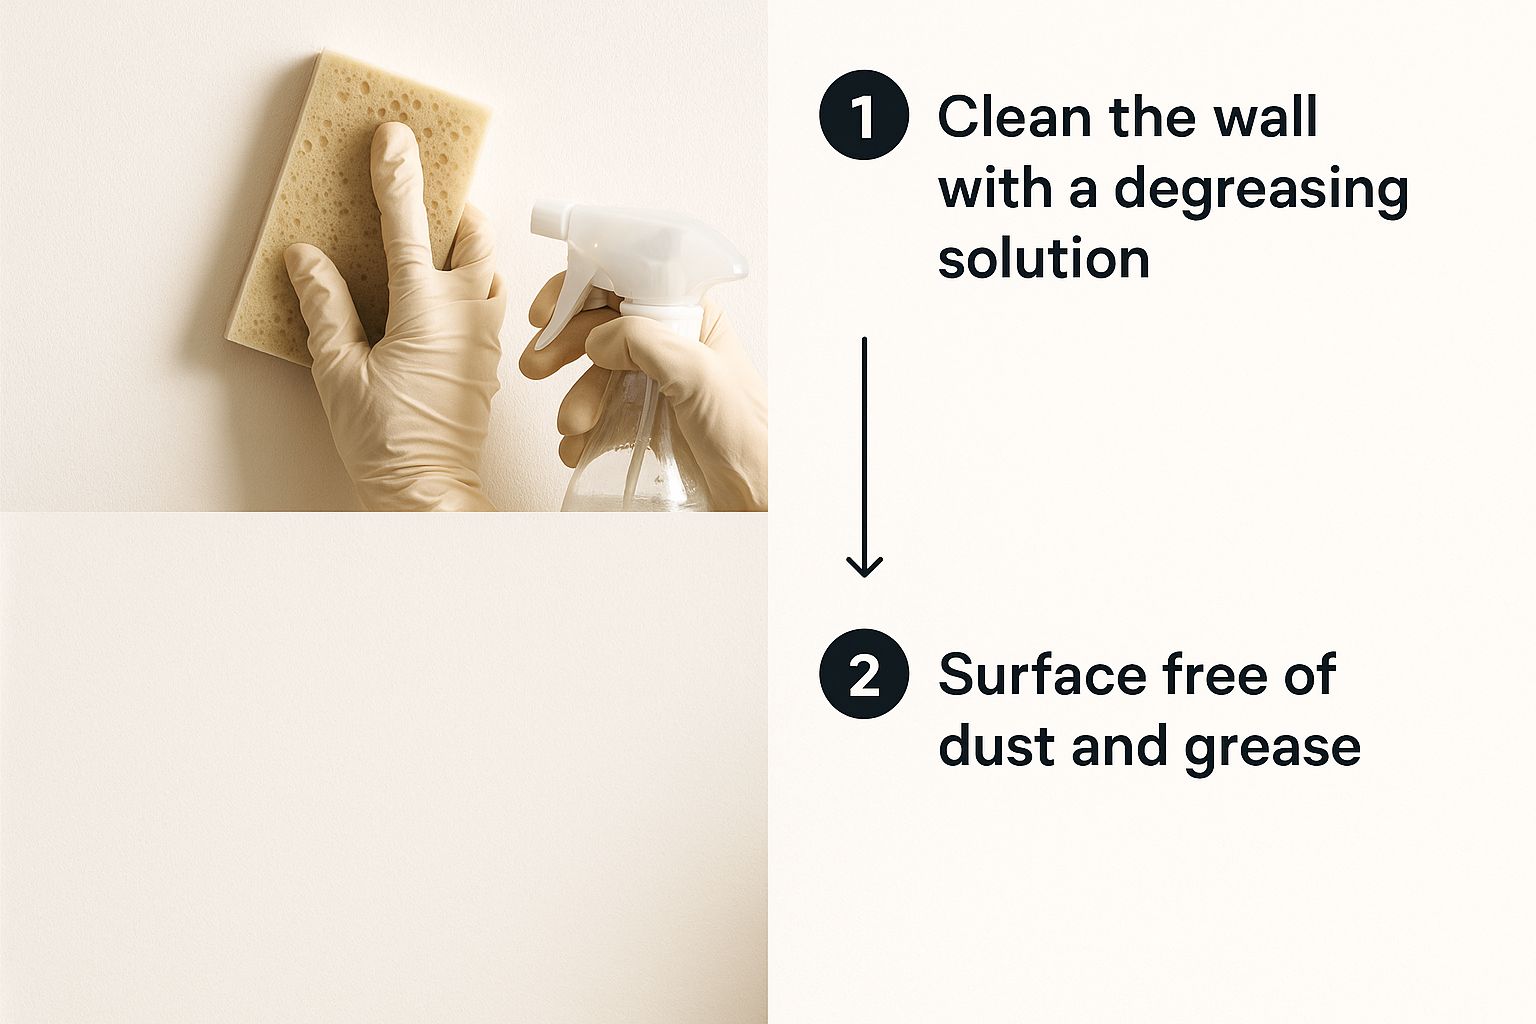
- Cleaning: This first step is non-negotiable. You have to get rid of all the grime, dust, and oils that prevent paint from sticking. A good post-construction cleaning checklist shows the level of detail required to eliminate the fine dust that can completely sabotage a finish.
- Repairing: Paint is not a filler. It can't hide cracks, holes, or old water damage—in fact, it usually just makes them more obvious. Filling these imperfections is what gives you that smooth, flawless canvas.
- Sanding: This isn't just about making things feel smooth. Sanding creates tiny grooves in the surface that give the primer and paint something to physically grab onto. This mechanical bond is what makes a paint job truly durable.
- Priming: I like to think of primer as a problem-solver. It seals porous surfaces, ensures your topcoat absorbs evenly for consistent color, and gives the final coat of paint a stable base to adhere to. It’s a critical link in the chain.
Once you’ve laid all this groundwork, take a look at our guide on expert paint color selection for your home to make sure your hard work pays off with a stunning result.
Cleaning Your Surfaces Like a Professional
A beautiful, long-lasting paint job is built on one thing: an immaculately clean surface. This is about more than just a quick wipe-down. Real surface preparation for painting means getting rid of every bit of grease, grime, and dust that can stop paint from sticking properly.
From the inland heat of Salinas to the coastal air of Carmel, different environments call for different cleaning game plans. For most interior walls, a good TSP substitute is effective for cutting through dust and grime.
Tackling Exterior Surfaces
Taking the cleaning outside is a whole different ballgame, especially for homes in Pacific Grove and Monterey exposed to salty air and moisture. Pressure washing is usually the best way to strip away dirt, mildew, and old, chalky paint.
But a word of caution: a pressure washer in the wrong hands can do more harm than good. Using too much pressure can easily gouge wood siding or force water into walls, leading to serious damage.
Pro Tip: Always start with a wider-angle nozzle, like a 25- or 40-degree, and test it on a hidden spot first. The goal is to remove grime without hurting the surface.
The Critical Drying Phase
Whether you've just washed an interior wall or pressure washed the entire exterior, the surface must be completely dry before you paint. Painting over a damp wall traps moisture, which leads to bubbling and peeling paint every time.
This drying period can take anywhere from 24 to 72 hours, depending on the humidity and sun exposure. Patience here is a non-negotiable part of our process for all exterior residential painting projects.
Addressing Specific Cleaning Challenges
Sometimes, a general wash won't cut it. Bathrooms and other damp areas are notorious for growing mold and mildew. To prevent these problems from returning, you must eliminate the issue at its source. For these problem areas, it's worth learning the best strategies for effective grout cleaning and mold prevention.
Remember, every minute you invest in thorough cleaning guarantees the rest of your prep—and your final paint job—is built to last.
Making Repairs for a Perfectly Smooth Finish
Here’s a common mistake: thinking a fresh coat of paint will magically hide imperfections. The truth is, paint actually highlights them. Real surface preparation for painting is about creating a flawless canvas before a single drop of paint touches the wall.
A perfectly smooth, repaired surface is the secret behind that seamless, professional look. This is where the real craft comes in, turning flawed walls into an ideal foundation for new color.
Fixing Common Drywall Flaws
Over the years, every home in Monterey County will collect its fair share of dings, nail pops, and stress cracks. Fixing these issues correctly is straightforward but absolutely essential.
For small nail holes and dents, use a lightweight spackling compound. For bigger issues like stress cracks, switch to a vinyl joint compound, as it shrinks much less.
Pro Tip: Always slightly overfill the repair. This gives you some material to sand down, which is the key to making the patch perfectly flush and invisible once it's painted.
Repairing Wood Trim and Doors
Wood trim can really take a beating, especially baseboards and door frames. Addressing these flaws is a must for a polished look.
- Minor Nicks and Scratches: A high-quality, stainable wood filler is perfect for these small jobs.
- Larger Gouges or Damaged Corners: A two-part epoxy wood filler is what pros use. It creates an incredibly strong bond that can be shaped and sanded.
- Hazardous Materials: In older homes, be aware of potential hazards. If you suspect asbestos, proper abatement must be completed before starting any asbestos and DIY home improvements.
The Finishing Touch That Makes All the Difference
After you've filled every hole, there's one last detail that elevates a paint job from "good" to "great": caulking.
Applying a thin, smooth bead of paintable caulk where trim meets the wall closes gaps and creates a clean, uninterrupted line. This small step is a true signature of high-quality, professional work.
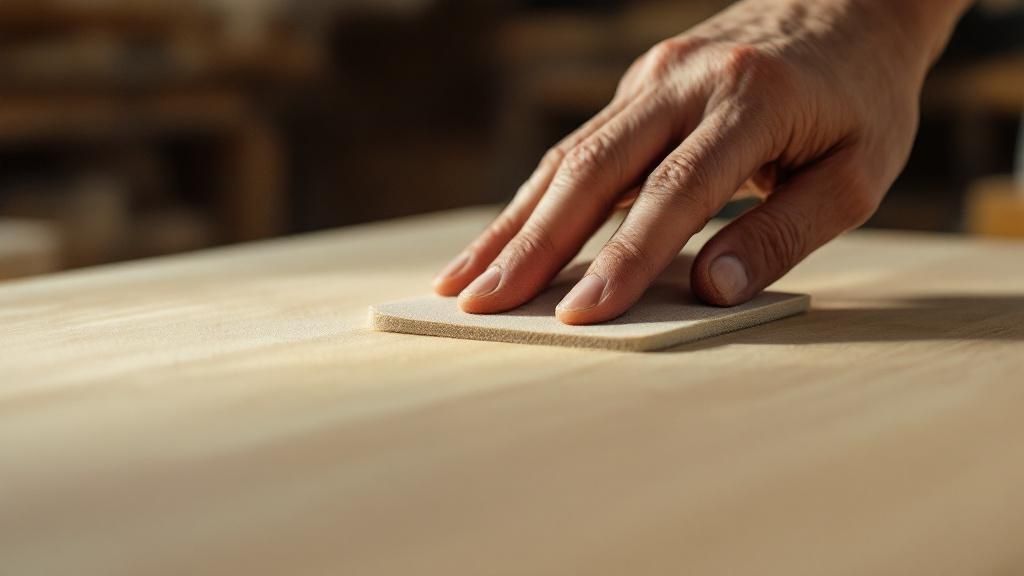
Sanding for Superior Paint Adhesion
Most people think sanding is just about making a surface smooth. The real reason is more important: it's all about creating grip. Sanding etches the surface with microscopic peaks and valleys, giving the primer and paint something to physically grab onto.
This mechanical bond is what makes a paint job last for years instead of peeling after a few months. Your goal is to "scuff-sand" previously painted surfaces to dull the finish so the new coat can adhere properly.
Choosing the Right Grit for the Job
The number on sandpaper tells you how coarse it is—the lower the number, the rougher the grit.
Here’s a quick rundown of the grits we use on our projects across Monterey County:
- 80- to 120-Grit: Your workhorse for most prep work. We use 120-grit to scuff-sand existing paint and for the first pass on new filler or compound.
- 150- to 180-Grit: Perfect for smoothing things out after the initial sanding and for prepping raw wood.
- 220-Grit: Reserve this for a flawless, glass-smooth finish. We use 220-grit for sanding between coats on high-visibility areas like front doors or cabinetry.
The real goal here is to create a uniform, completely dull surface. If you see any shiny spots, the paint won't stick as well there.
Hand Sanding vs. Power Sanders
Should you sand by hand or use a power tool? It depends on the job. For small patches or detailed trim, nothing beats the control of hand sanding with a sanding block or sponge.
But for big, flat areas like entire walls, an orbital sander is a game-changer. It's a non-negotiable tool for our professional crews working on a full residential exterior painting job.
No matter the method, dust control is critical. After sanding, vacuum everything with a brush attachment, then wipe surfaces with a tack cloth or a damp rag.
Choosing the Right Primer for the Job
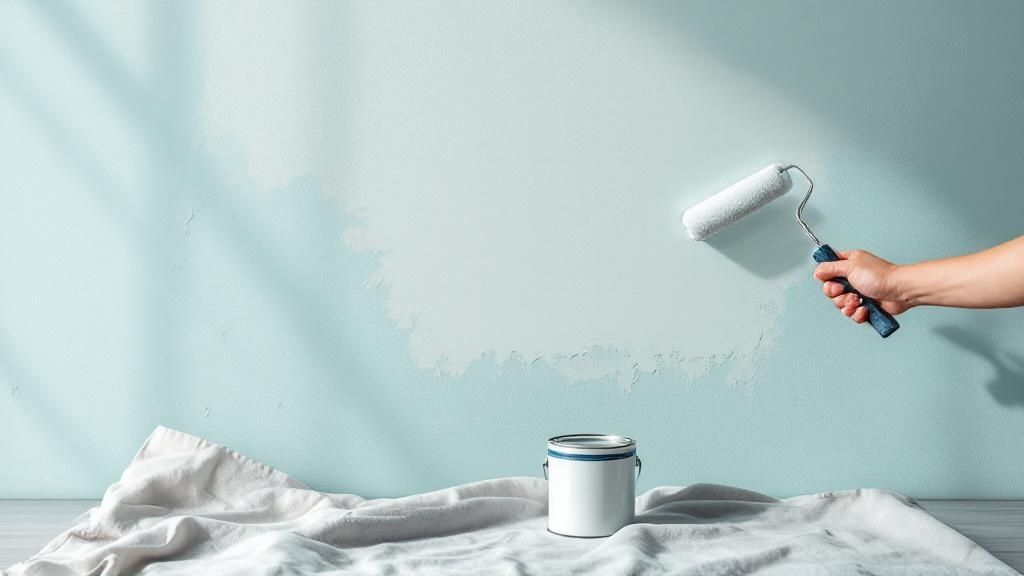
After all the cleaning, repairing, and sanding, applying primer is the final and most crucial step. Primer is a problem-solver that seals the surface, stops stains, and ensures your final color looks rich and even.
Think of primer as the handshake between your prepared surface and the finished paint job. Skipping it is like building a house on a shaky foundation—problems are just around the corner.
Matching Primer to Your Project
Not all primers are created equal. Picking the right type for your specific situation is essential for getting the best results.
- Latex (Water-Based) Primers: Versatile workhorses for most general interior jobs like bare drywall and previously painted walls. They dry fast and have low odor.
- Oil-Based (Alkyd) Primers: Your best friend for serious stains. We use it to cover water damage, smoke stains, or wood knots that bleed tannins.
- Shellac-Based Primers: The ultimate problem-solver for the toughest stains, sealing in severe smoke damage, odors, and heavy resin bleed.
The primer you choose directly impacts the performance and durability of your topcoat. A bonding primer is non-negotiable for slick surfaces like tile or vinyl.
Priming and Industry Standards
The primers we use are shaped by industry trends and regulations. Rules like the Clean Air Act limit volatile organic compounds (VOCs), pushing manufacturers to create safer, more eco-friendly formulas. This shift has accelerated the move toward high-performance water-based coatings.
Choosing the right products and techniques is a fundamental part of all our home renovation contractor services, ensuring every surface is perfectly prepped for a finish that lasts.
Frequently Asked Questions About Surface Preparation for Painting
1. Why can't I just paint over old paint?
While you can sometimes paint over a similar, flat-finish paint, it's rarely a good idea. Proper surface preparation for painting involves cleaning and scuff-sanding the old surface to remove gloss and grime. Applying a quality primer ensures the new paint adheres properly and the old color doesn't bleed through.
2. Is pressure washing always necessary for exterior painting?
For homes in coastal areas like Carmel and Pacific Grove, pressure washing is highly recommended to remove salt, mildew, and dirt that can cause paint failure. In drier, less exposed areas like Salinas, a thorough hand-washing might be sufficient if the surface is in good condition.
3. What's the difference between spackle and joint compound?
Spackle is best for small repairs like nail holes and minor dings because it dries quickly and shrinks very little. Joint compound is better for larger jobs like taping seams or fixing significant cracks because it's stronger and more durable, though it takes longer to dry.
4. Do I need to sand between coats of paint?
For a standard wall paint job, you typically don't need to sand between coats. However, for a super-smooth finish on trim, doors, or cabinets, a light sanding with fine-grit (220-grit) sandpaper between coats will knock down any imperfections and result in a more professional look.
5. How does Monterey's coastal climate affect my paint job?
The salty air and high humidity in Monterey and surrounding coastal towns can be tough on paint. It's crucial to use high-quality, mildew-resistant primers and paints designed for coastal conditions. The extended drying times due to humidity also mean you must be patient between steps.
For even more answers to your project questions, check out the information on our Legacy Painting & Renovating FAQs page.
Ready to give your home a flawless, long-lasting finish? Contact Legacy Painting & Renovating Inc. today for a free estimate on your next project!