A professional garage floor coating does more than just cover old concrete. It completely transforms a dusty, stained slab into a tough, beautiful, and valuable part of your home. Think of it as a high-performance upgrade designed to fend off damage, make cleaning a breeze, and seriously boost the look and feel of your garage.
Ready to transform your garage from a problem area into a durable, attractive space? This guide covers everything homeowners in Salinas and Monterey need to know about choosing the right garage floor coating, the installation process, and long-term care.
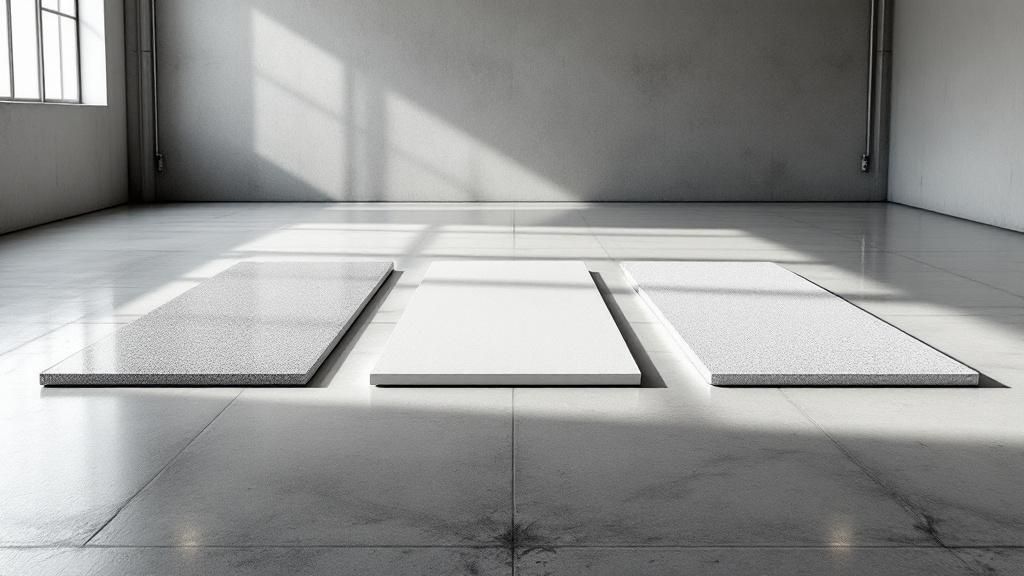
From Drab Concrete to a Durable Showpiece
For many homeowners here in Salinas and Monterey, the garage is so much more than a parking spot. It’s a workshop, a storage command center, or even a personal gym. But the floor? It's usually the most overlooked surface in the house—just a dull, porous concrete slab that’s a magnet for stains, cracks, and endless dust.
A professional garage floor coating system is the single best way to fix that. We’re not talking about a simple can of gray paint from the local hardware store. A real coating is a multi-layer system engineered to create a chemical bond with your concrete, resulting in a seamless, non-porous surface that’s unbelievably tough.
Moving Beyond Basic Concrete
That standard concrete floor in most garages is surprisingly vulnerable. Because it’s porous, it basically acts like a sponge for oil, gasoline, and other chemicals, leading to ugly, permanent stains. That same porosity lets moisture seep up from the ground, which can cause the concrete to break down and chip away over time—a problem called spalling.
A professional garage floor coating solves these problems head-on by:
- Creating an Impenetrable Barrier: The coating completely seals the concrete. Spills just sit on top, waiting to be wiped away without a trace.
- Eliminating Concrete Dust: It locks in all those fine particles that constantly shed from bare concrete, which means less dust on your cars, tools, and everything you have stored.
- Hiding Minor Imperfections: The thick, self-leveling base coat flows into small cracks and pits, leaving you with a smooth, flawless finish.
A high-quality garage floor coating doesn’t just protect; it elevates the entire space. For homeowners in communities like Carmel and Pacific Grove, it’s an investment in both looks and function, adding real long-term value to their property.
Think of it as giving your garage the same finished quality as the rest of your home. It's the first step toward creating a clean, organized, and genuinely usable multi-purpose room. This guide will walk you through everything you need to know about choosing the right coating, what the installation involves, and how to maintain it so your investment lasts for years.
Why a Coated Garage Floor Is a Smart Upgrade
A professionally applied garage floor coating isn't just about looks—it's a serious functional upgrade that adds real value to your home. For homeowners in places like Salinas and Carmel, a coated floor is one of the smartest investments you can make for your property.
Let's dive into the practical benefits that turn a dull concrete slab into a high-performance surface.
Superior Durability and Resilience
Think about what your garage floor goes through every day. It gets hammered by dropped tools, scraped by equipment, and ground down by heavy car tires. A standard concrete slab just wasn't made for that kind of abuse and will inevitably chip, crack, and stain.
A high-performance coating system, on the other hand, acts like armor for your concrete. It creates a thick, hardened shield that’s built to resist all that punishment. It's particularly tough against hot tire pickup—that annoying issue where hot tires cool and literally pull paint or weak sealers right off the floor. A professional-grade polyurea coating is chemically engineered to prevent this.
Effortless Cleaning and Maintenance
Bare concrete is basically a giant, flat sponge. It soaks up everything from oil and antifreeze to muddy water, leaving behind permanent, ugly stains that are impossible to remove. A quality floor coating completely seals those pores.
What you get is a seamless, non-absorbent surface that makes cleanup almost laughably easy. Spills just pool on top, waiting for you to wipe them away with a simple cloth. This means your garage in Monterey or Pacific Grove can stay spotless with a fraction of the effort.
Moisture and Chemical Resistance
Moisture is concrete's worst enemy. It can wick up from the ground underneath, causing the concrete to flake and crack (a problem called spalling) while creating a damp environment perfect for mold and mildew. A properly installed coating acts as a powerful waterproofing barrier, stopping that moisture dead in its tracks.
This level of protection is a big reason why the industrial floor coating market, which includes these systems, was valued at USD 6.7 billion in 2024 and is still growing. Homeowners and business owners alike are realizing how these coatings protect their investment from moisture and harsh chemicals for the long haul.
A sealed garage floor stops the slow-but-steady decay of your concrete slab, preventing moisture damage before it even has a chance to start.
Enhanced Safety and Air Quality
You might think a glossy floor is a slippery one, but that's not the case with professional systems. We actually broadcast an anti-slip aggregate into the topcoat during installation. This creates a subtle texture that gives you fantastic grip, even when the floor is wet.
A coated floor also gets rid of concrete dust for good. That fine powder constantly shed by bare concrete gets kicked up into the air, settling on everything in your garage and even making its way into your home. By sealing the surface, a garage floor coating makes for a much cleaner and healthier space. Our professional teams are ready to walk you through all the options. Find out more about our garage floor coating services in the Monterey area.
Choosing the Right Garage Floor Coating Material
When it comes to picking the perfect garage floor coating, understanding what you're actually putting on the concrete is everything. You'll hear terms like epoxy, polyurea, and polyaspartic thrown around, but each one offers a unique set of pros and cons.
Getting this choice right from the start means your new floor in Carmel or Pacific Grove will look great and hold up for years. We'll break down the three main professional-grade coatings in simple terms so you can confidently decide which system is the best investment for your garage.
The Time-Tested Standard: Epoxy Coatings
Epoxy is the classic, the one most people have heard of, and for good reason. It's a two-part resin that, when mixed, undergoes a chemical reaction and cures into an incredibly hard, thick, and durable surface. Think of it like pouring liquid armor onto your concrete that hardens into a seamless, protective shield.
One of its biggest benefits is its thickness, which does a fantastic job of filling in minor imperfections like small cracks or rough patches. Epoxy also holds its own against common garage spills like oil, gasoline, and various chemicals.
There are a few trade-offs to keep in mind, though:
- Cure Time: Epoxy takes longer to cure. You'll likely need to wait a few days before you can walk on it and up to a full week before parking your car.
- UV Sensitivity: Most standard epoxies will yellow or "amber" over time if they're hit with direct sunlight. This makes them a better fit for garages without windows or those protected by a UV-stable topcoat.
- Application Temps: Applying epoxy requires the temperature to be just right for the chemical reaction to work properly and for the floor to cure correctly.
The Flexible Innovator: Polyurea Coatings
Polyurea is a more modern and advanced coating from the same family as epoxy, but it’s a whole different animal. It’s also a two-part system, but the chemical reaction is incredibly fast, allowing a professional crew to install a complete floor system in just a single day.
Polyurea’s standout traits are its incredible flexibility and lightning-fast cure time. It can expand and contract with the concrete during temperature swings, which makes it far less likely to crack or peel compared to a more rigid coating.
This flexibility also makes it unbelievably tough against impacts and scrapes. It’s fully waterproof and stands up to a huge range of chemicals, especially the road salts we see along the coast in Monterey County. Because it cures so fast, it can be installed in a much wider range of temperatures.
The Premium Protector: Polyaspartic Coatings
Think of polyaspartics as a specialized, high-performance version of polyurea. They were originally developed to protect steel bridges from rust and corrosion, so you know they’re tough. In the world of garage floors, they serve as the ultimate topcoat.
Their claim to fame is being 100% UV stable. This means a polyaspartic topcoat will never yellow or fade, even in a garage flooded with sunlight. It’s the perfect way to lock in and protect the color and decorative flakes of your floor for life. On top of that, they offer best-in-class resistance to scratches, stains, and chemicals.
The demand for durable, attractive, and safe flooring solutions is surging. The global market for floor coatings was valued at USD 2.69 billion in 2019 and is expected to hit USD 4.73 billion by 2027. This isn't just about looks; it's about adding real function and value to a home. You can check out the full industry report on Fortune Business Insights.
Comparing Key Features of Garage Floor Coatings
To make the decision a little easier, we've put together a simple table that highlights the key differences between these three powerful coating systems.
| Feature | Epoxy Coating | Polyurea Coating | Polyaspartic Coating |
|---|---|---|---|
| Durability | Very hard and thick; good for hiding imperfections. | Extremely flexible and impact-resistant. | Superior scratch, stain, and chemical resistance. |
| Cure Time | Slow (2-5 days for foot traffic, 7 days for cars). | Very fast (walk-on in 4-6 hours, drive-on in 24 hours). | Very fast; often used as a quick-curing topcoat. |
| UV Stability | Prone to yellowing/ambering in sunlight. | Generally more UV resistant than epoxy. | 100% UV stable; will not yellow or fade. |
| Flexibility | Rigid; can become brittle over time. | Highly flexible; moves with concrete to prevent cracks. | Flexible and tough, but primarily valued for surface protection. |
| Application | Temperature-sensitive; requires a narrow range. | Can be applied in a very wide range of temperatures. | Can be applied in a very wide range of temperatures. |
| Best Use | Budget-friendly option for low-sunlight garages. | One-day installations; high-impact or high-traffic areas. | As a premium, UV-stable topcoat to protect any system. |
Choosing the right coating often comes down to balancing your budget, how you use your garage, and your long-term expectations. Each material offers a fantastic upgrade from bare concrete, turning your garage into a clean, durable, and functional part of your home.
The Professional Installation Process Step by Step
The real secret to a stunning, bulletproof garage floor coating isn't just about the product in the bucket—it's all about the process. This is what separates a floor that looks incredible for 15+ years from a DIY job that starts peeling in less than two. For homeowners here in Salinas and Monterey, seeing how it's done makes it clear why hiring an experienced crew is a true investment.
It all begins with turning your old concrete into the perfect canvas.
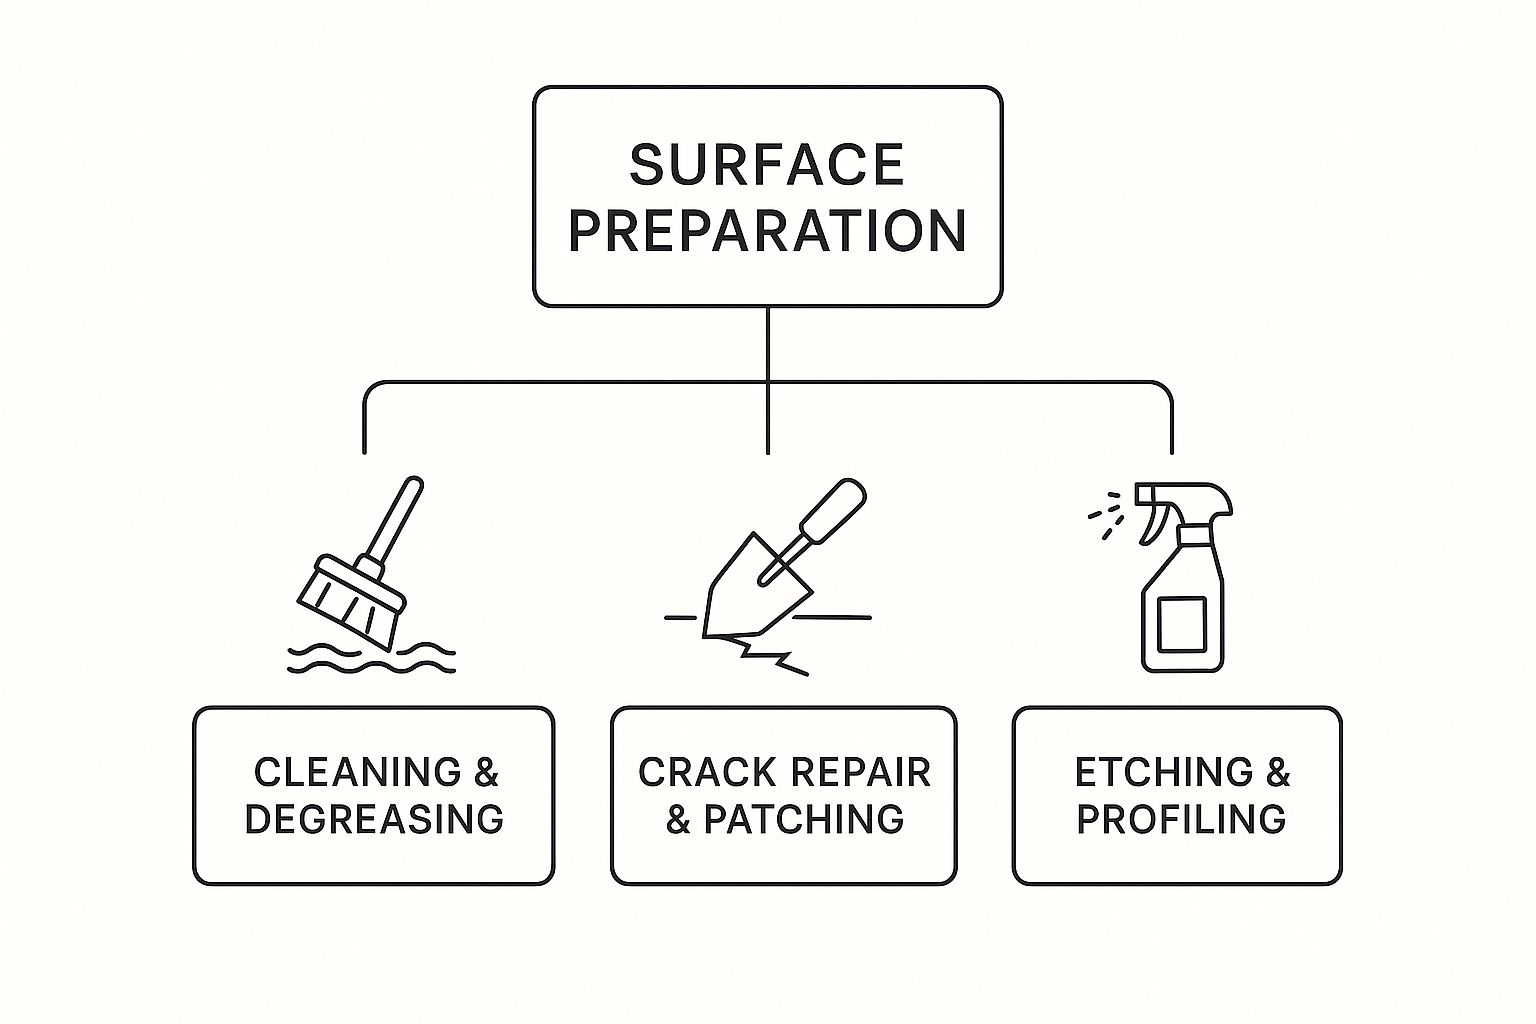
Step 1: Diamond Grinding the Concrete
This is, without a doubt, the most important step. A coating is only as good as the foundation it's bonded to. Forget the acid etching you see in DIY kits; professionals use one method and one method only: mechanical diamond grinding. We use heavy-duty, industrial grinders armed with diamond-laced discs to shave off the top layer of the concrete.
This powerful process completely removes old, failing paints, stubborn oil stains, and any other surface gunk. It also creates a "surface profile," opening up the concrete's pores to give it a texture like rough sandpaper. This allows the base coat to soak in deep and create a permanent bond.
Step 2: Meticulous Concrete Repair
With the surface ground down, we get to work making it flawless. Most garage floors have hairline cracks, pits from dropped tools, or spalling where chunks have chipped away. Our team meticulously hunts down and fixes every single one.
We use a high-strength, fast-curing polymer filler to patch all cracks and divots. Once it hardens, we grind it again until it's perfectly smooth and flush with the surrounding floor. This level of detail in surface preparation for painting and coating is a signature of true professional work.
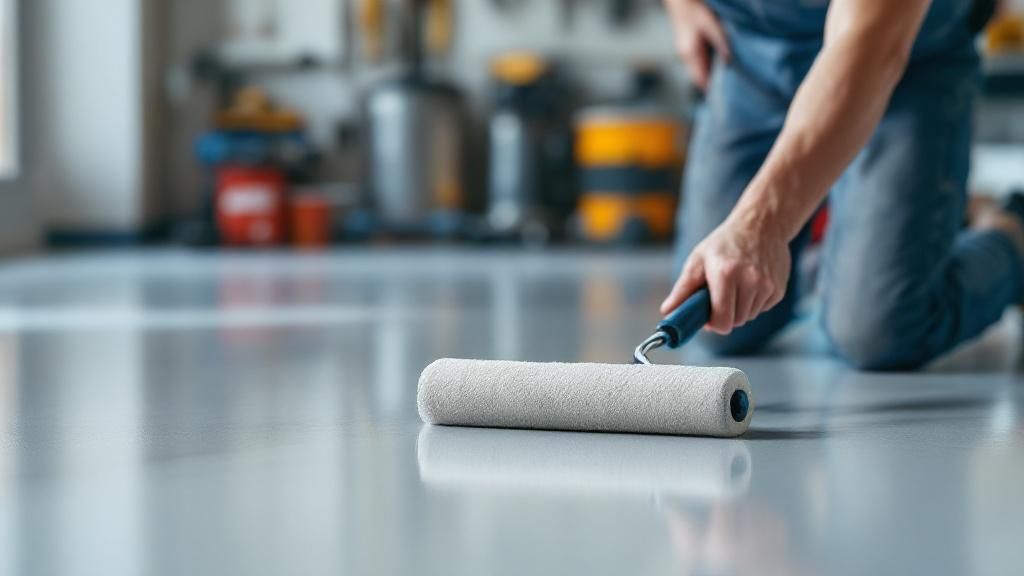
Step 3: Applying the Base Coat and Flakes
Now that we have a pristine foundation, it's time for the magic to begin. We start by applying the pigmented base coat—the first layer of the garage floor coating system. We use a 100% solids polyurea for this, prized for its incredible adhesion and flexibility.
While that base coat is still wet and sticky, we broadcast decorative vinyl flakes by hand over the entire floor until the base coat is completely covered. This technique is called "broadcasting to full rejection," and it ensures a uniform, dense layer of flakes for a rich, multi-toned look.
Broadcasting to "full rejection" does more than just create a beautiful, granite-like finish. That dense blanket of flakes actually builds up the floor’s thickness and strength, seriously boosting its resistance to impacts and abrasion.
Step 4: The Protective Topcoat
After the base coat has cured, we scrape off all the loose, excess flakes and vacuum the floor until it's perfectly clean. Then comes the final, all-important protective layer: a crystal-clear, UV-stable polyaspartic topcoat. This is your floor's armor against scratches, hot tires, chemical spills, and yellowing from the sun.
This topcoat flows over the textured flakes, locking them in place and creating a smooth, non-porous surface. We also mix in an anti-slip polymer aggregate to give you great traction without making the floor feel rough or dulling its beautiful gloss. The final result? A stunning, rock-solid floor that’s ready for anything.
Understanding Garage Floor Coating Costs
When you're ready to upgrade your garage, one of the first questions is always about the investment. A professional garage floor coating isn't just an expense; it’s a direct reflection of the quality materials, expert labor, and long-term value you're bringing to your home.
It's tempting to shop around for the lowest price, especially for projects in areas like Carmel or Pacific Grove. But a rock-bottom quote often means corners were cut in the crucial prep work or by using cheap materials, which can lead to peeling, bubbling, and hot tire pickup.
What Determines The Final Price?
Thinking about cost is a lot like budgeting for other home improvements, such as figuring out the average cost to paint a room. The little details really matter. Four main things shape your final quote:
- Total Square Footage: A big three-car garage will naturally need more material and time than a standard one-car space.
- Condition of Your Concrete: Is your current floor smooth and new, or is it a minefield of cracks and deep-set oil stains? Fixing up a damaged surface takes more time and specialized products.
- The Coating System You Choose: A premium multi-layer polyurea and polyaspartic system will cost more upfront than a basic epoxy. You're paying for superior performance, like UV stability and a much faster cure time.
- Custom Design Elements: A simple, solid color is the most budget-friendly option. A multi-color flake blend or a stunning metallic design requires more artistic skill and materials.
Investing in a professional garage floor coating isn’t just about looks. It’s a smart home improvement that adds lasting protection and can help maintain or even boost your property value.
The demand for these durable floors is skyrocketing. The global market for concrete floor coatings, valued at USD 5.38 billion in 2025, is on track to hit USD 8.84 billion by 2034. This boom shows that homeowners are catching on to the value of protecting their floors from the wear and tear that every garage faces.
Ultimately, it’s best to see your quote as a long-term investment. A high-quality system, installed by local experts in Monterey County, ensures your floor won't just look amazing for a season—it will perform for years.
How to Maintain Your New Garage Floor
One of the biggest payoffs of getting a professional garage floor coating is just how ridiculously easy it is to keep clean. Forget about that old porous, stain-collecting concrete. Your new floor is sealed, tough, and frankly, a breeze to maintain.
With just a bit of simple, routine care, that brilliant finish will last for years. It’s how you make sure your investment in your Salinas or Carmel home keeps looking fantastic.
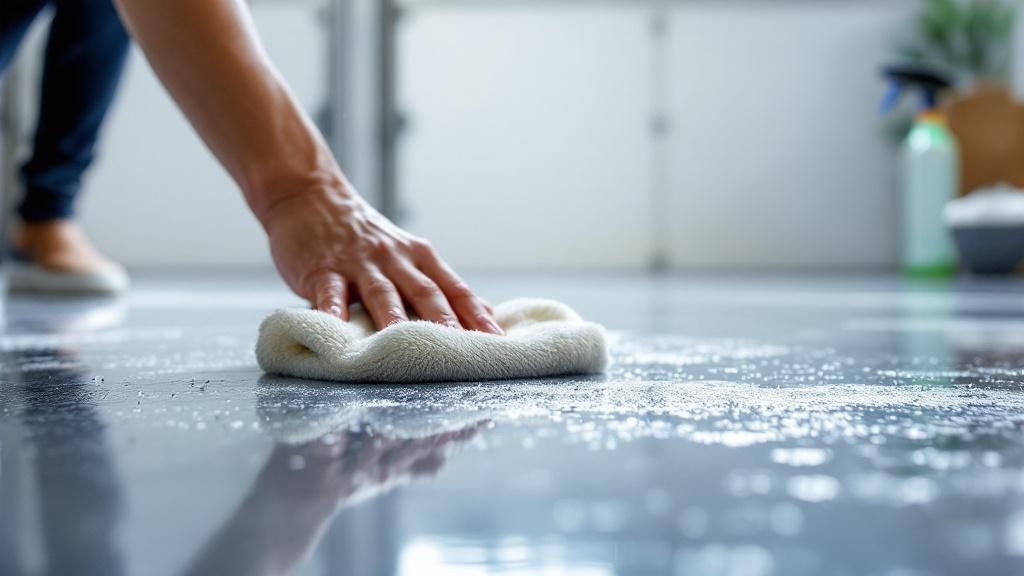
Simple Routine Cleaning
The best way to keep that floor looking brand new is with quick, regular clean-ups. The biggest enemy of a glossy topcoat is the fine grit and dirt that gets tracked in, which can act like sandpaper over time.
Here’s all you need to do for day-to-day upkeep:
- Sweep Frequently: Grab a soft-bristle broom or a microfiber dust mop once or twice a week. This is the single best thing you can do to protect the finish.
- Wipe Up Spills Immediately: Your floor is highly stain-resistant, but it's always smart to tackle spills as they happen. A paper towel or a soft cloth is usually enough.
Tips for a Deeper Clean
Every now and then, especially after a rainy winter in Monterey or a particularly dusty spell in Salinas, your garage floor will appreciate a more thorough cleaning to bring back that original shine.
When it's time for a deeper clean, reach for a pH-neutral cleaner. You want to avoid anything harsh or acidic, as those can damage the protective polyaspartic topcoat. Just mix the cleaner with water, give the floor a good mopping, and rinse with clean water.
It’s the same logic we apply to any high-quality finish project—proper care protects the investment. That principle of careful surface management is just as critical when you're learning how to prepare walls for painting.
Steer clear of soap-based cleaners. They often leave a hazy, slippery film that builds up over time, dulling your floor’s shine and making it a hazard when wet.
Finally, a word on tools. Never use steel wool, abrasive scouring pads, or stiff-bristled brushes on your new garage floor coating. They will scratch the finish. Stick to soft mops and cloths, and your floor will look as good as the day it was installed for years to come.
Frequently Asked Questions About Garage Floor Coatings
If you're thinking about upgrading your garage floor, you've probably got questions. It's a significant home improvement, and it’s smart to get all the details straight first. We've put together answers to the most common questions we hear from homeowners in Salinas, Monterey, and the surrounding areas.
How long does a professional garage floor coating last?
A professionally installed, high-quality garage floor coating is a true long-term investment. When we use premium materials like a polyurea basecoat and a polyaspartic topcoat, you can expect the floor to last 15 years or more with basic care. The secret is in the industrial-grade preparation and robust chemistry of a professional system.
Is a coated garage floor slippery when wet?
No, it doesn't have to be. During the installation, we broadcast a specialized anti-slip aggregate into the final topcoat while it's still wet. This creates a very subtle, almost invisible texture on the surface that gives you excellent grip, even with water on the floor.
How long does the installation take?
For most standard two-car garages, our team can typically complete the entire installation in just one to two days. A polyurea/polyaspartic system allows for a much faster installation and cure time than older epoxy systems. After the final coat, you can typically walk on your new floor in 24 hours and park your car in about 72 hours.
Can you coat an old or damaged concrete floor?
Absolutely. Our coating system is specifically designed to fix past damage and create a surface that’s better than new. Our process starts by filling in every crack, pit, and spalled area with a high-strength polymer filler. The diamond grinding stage then smooths everything out, creating a perfect canvas for the new coating.
Why is a professional installation better than a DIY kit?
It all comes down to the materials, equipment, and expertise. Professionals use 100% solids, industrial-grade coating systems that are far stronger and more durable than the water-based epoxies found in DIY kits.
The single most critical step that separates a professional job from a DIY failure is the mechanical diamond grinding. This specialized equipment creates the ideal surface profile for a permanent bond, something that cannot be replicated with the acid etching kits available to consumers.
When you hire an expert team like Legacy Painting & Renovating, you're investing in a guaranteed result, backed by a real warranty and the peace of mind that comes with it. For more answers, you can also explore our Legacy Painting & Renovating FAQs page.
Ready to transform your garage into a clean, durable, and impressive space? Contact Legacy Painting & Renovating Inc. today for a free, no-obligation estimate on a professional garage floor coating. Our experts serve the entire Monterey Bay area, including Salinas, Carmel, and Pacific Grove.