Direct Answer: Surface prep means washing, drying, scraping, sanding, caulking, patching, and priming before any topcoat goes on. On coastal homes it often takes more labor hours than the painting itself.
You paid for a full exterior repaint four years ago. Now the trim on the ocean-facing side is cracking, the caulk lines have pulled away from the window frames, and paint is flaking off the fascia in sheets. The paint didn’t fail. The prep failed.
I get calls like that all the time from homeowners in Monterey, Pacific Grove, and Carmel. One homeowner reached out about extensive cracking and peeling on parts of the exterior and asked if we even do that kind of repair work. That is almost always a prep problem, not a paint problem.
So here is what surface preparation actually includes, step by step, for both exterior and interior work. My goal is that by the end you can read a bid and tell whether prep is really in there.
Why surface preparation decides how long your paint job lasts
Paint is a film. It only performs as well as the surface it is stuck to, and on the Monterey Peninsula that surface takes a beating.
Here is what our local conditions do:
- Marine layer humidity keeps wood and stucco damp longer than inland markets like Gonzales or Soledad
- Salt air in Pacific Grove, Pebble Beach, and Carmel leaves a film that blocks adhesion if it isn’t washed off
- Fog-to-sun cycles expand and contract siding daily, which stresses every joint and caulk line
- UV after burn-off breaks down coatings from mid-morning on, especially on south and west walls
I notice something about our reviews. People don’t just talk about color. One customer wrote that our painters were “thorough in the preparation, painting and clean-up.” A retired general contractor wrote that the crew “kept everything protected and clean, made carpentry repairs as expected and needed.”
Those are operational compliments, not aesthetic ones. They describe prep. If you want more background on the climate side, I wrote about what Monterey’s coastal climate does to exterior paint over time.
Step 1: Wash the house, then actually let it dry
Every exterior job starts with pressure washing. We are removing dirt, mildew, spider webs, salt film, and chalk residue from the old paint. Chalk is that powdery layer you get on your hand when you rub aged paint. New paint will not bond through it.
Then comes the part low-bid jobs skip: dry time.
On the Central Coast, the marine layer often does not burn off until late morning, and it rolls back in by evening. A stucco wall or wood shingle that looks dry on the surface can still hold moisture underneath.
What that means in practice:
- Shaded north walls dry slower than sun-exposed walls, sometimes by a full day
- Stucco and old redwood hold moisture longer than smooth fiber cement
- We may wash one day and not start coating for a day or two, depending on the wall
Painting over damp substrate is how you get blistering and early peeling. It may not show up for a year, and by then the crew is long gone. If you want the scheduling side of this, see the right time of day to paint a house exterior on the Monterey coast.
Step 2: Scrape to a stable surface, then feather-sand the edges
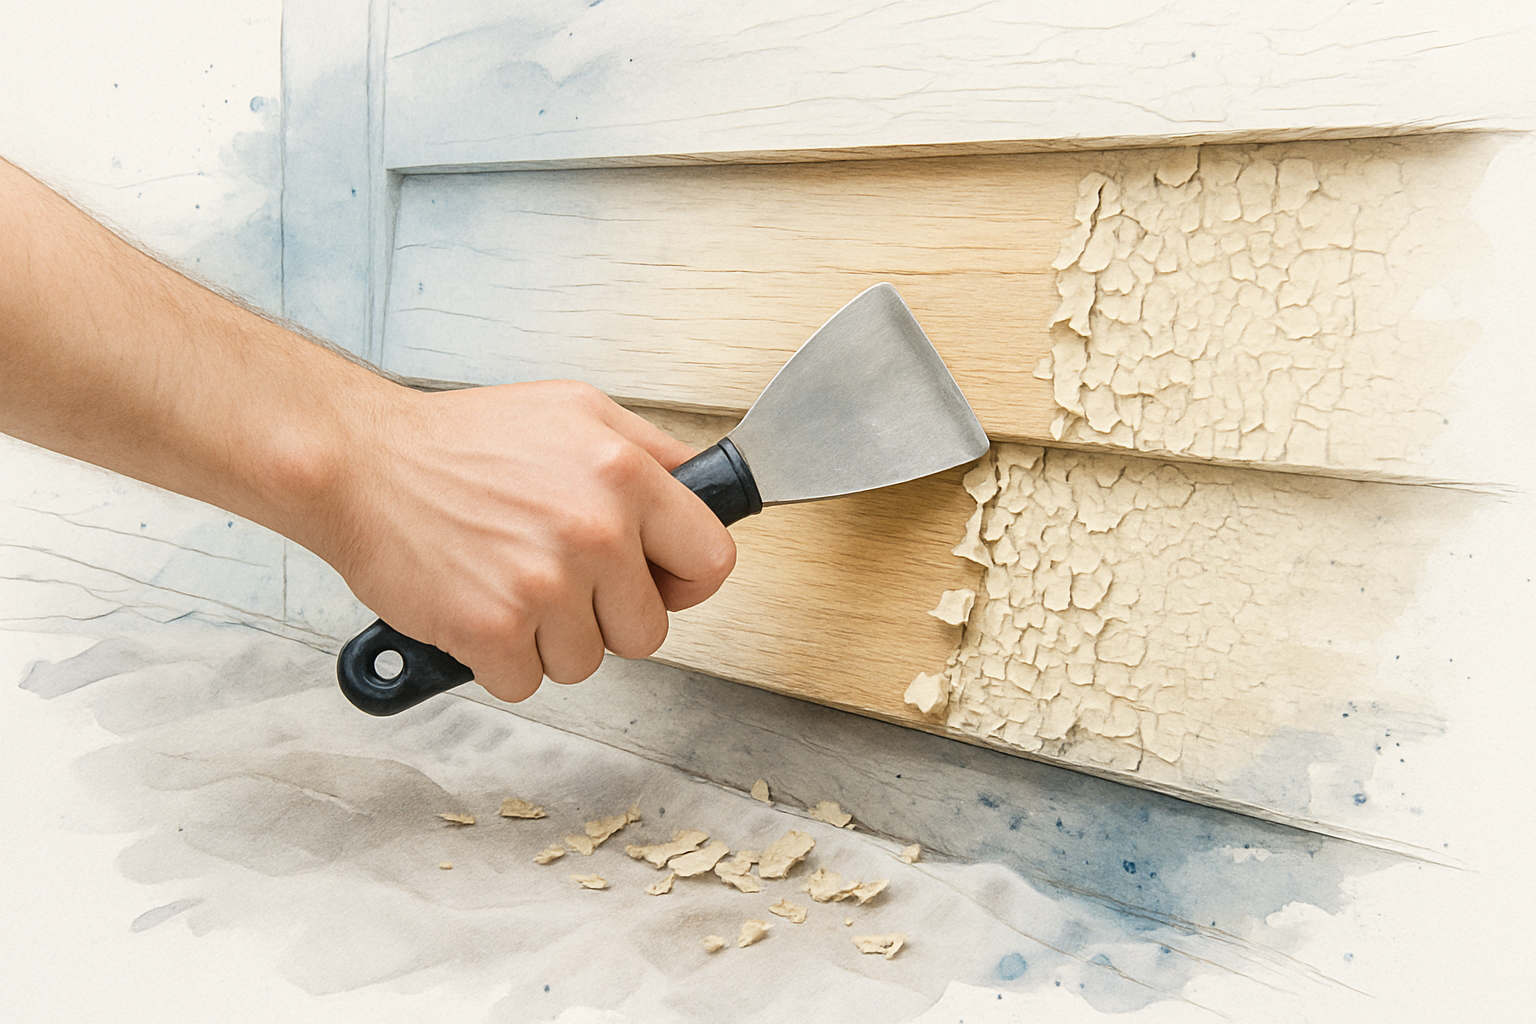
Next we scrape any loose, peeling, or cracked paint down to something stable. Stable means the remaining paint is bonded tight and won’t lift when you pull on it.
Then we feather-sand the edges of every scraped area. This is the step people don’t know to ask about.
When you scrape, you leave a ledge where old paint stops and bare substrate begins. If nobody sands that edge down, the new topcoat bridges over it and you can see the outline from the driveway. Feather-sanding blends that transition so the finished wall reads flat.
A note for older homes: many houses in Pacific Grove, Monterey, and downtown Salinas were built well before 1978, so the old layers may contain lead. Work on those surfaces falls under the EPA’s Lead Renovation, Repair and Painting rule, which sets requirements for containment and cleanup. Dry-scraping a 1920s cottage without containment is not just sloppy, it is a health issue for the people living there.
Step 3: Caulking, the step that surprises homeowners most
When homeowners watch our crew work, caulking is the step they comment on. There is a lot more of it than they expected.
Every place two different materials meet on an exterior is a potential water entry point. Water behind the paint film is what pushes it off the wall.
Joints that get sealed with a paintable exterior sealant:
- Where siding meets trim boards
- Where trim meets window and door frames
- Around penetrations like downspout brackets, light fixtures, hose bibs, and vents
- Corner boards and butt joints in wood siding
- Cracks at stucco control joints and around window returns
Here is the rule that separates real prep from fast prep: old caulk that has hardened, cracked, or pulled away from one side gets removed and replaced, not painted over. Painting over failed caulk hides the problem for about one wet season.
On a two-story stucco house, this step alone can take a crew most of a day. That is labor, and labor is why bids differ. It is also why the cheapest number is often the most expensive one over ten years, which I get into in is the cheapest house painting company a bad idea.
Step 4: Prime, because primer is not just thin paint
Primer gets treated like an optional upsell. It isn’t. Primer is the adhesion bond between your siding and your topcoat, and in salt air that bond is the whole ballgame.
Different surfaces need different primers:
- Bare wood needs a primer that seals the grain and blocks moisture movement
- Repaired or patched stucco needs a masonry-appropriate primer that handles alkalinity in fresh material
- Previously oil-painted trim needs a bonding primer so waterborne topcoats will grip
- Tannin-prone woods like cedar and redwood need a stain-blocking primer, or brown bleed-through shows up in the finish
A crew that puts the same bucket of general-purpose primer on every substrate is not matching the primer to the condition. That is a shortcut that costs you years.
Stucco is the most common exterior we work on across Salinas, Marina, and Seaside, and it has its own rules. I covered those in the best paint for stucco exterior walls in Monterey County.
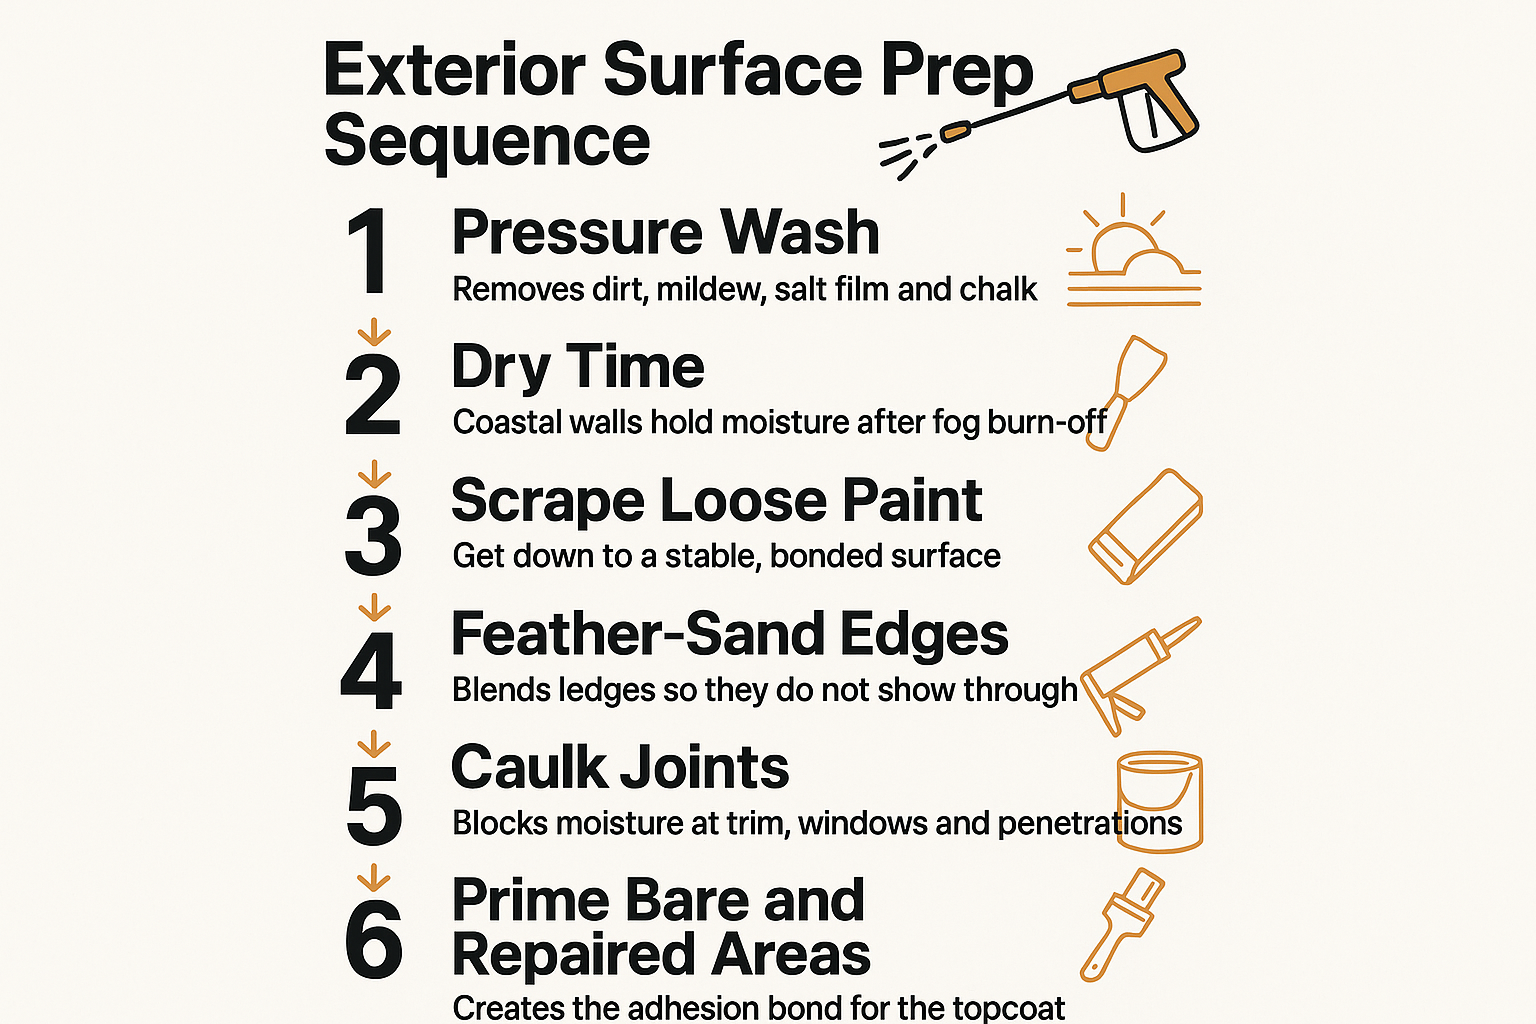
The exterior prep sequence at a glance
This is the order we follow on an exterior repaint, and the reason behind each step.
Interior prep runs a different sequence, and drywall patching is where it goes wrong
Interior prep is less about weather and more about contamination and repair.
The sequence looks like this:
- Clean the walls, especially kitchens and bathrooms where cooking grease and soap film build up
- Repair cracks, nail pops, dings, and drywall damage
- Let patches dry fully before anything goes over them
- Spot prime the repairs, then prime the wall
That drying step is where most interior jobs fall apart. A patch that gets skim-coated and primed the same day, then topcoated the next morning, often shows through as a dull spot. The patch absorbs paint differently than the surrounding wall, so you see a flat halo in raking light.
Done right, a patch gets two coats of drywall compound, sanded smooth, then a spot prime, then a full prime before topcoats. It takes longer. It also means you don’t see the repair from the couch.
One homeowner asked us about painting over four accent walls and touching up to match existing paint. Touch-up work lives and dies on prep too, because a patched and unprimed spot will never blend, no matter how good the color match is. Trim is its own conversation, and I broke that down in what’s actually the best paint for trim and baseboards.
What happens when each prep step gets skipped
Every prep step exists because skipping it produces a specific, predictable failure. Here is the short version.
| Prep step | Why it’s done | What failure looks like if skipped |
|---|---|---|
| Pressure washing | Removes salt film, mildew, and chalk | Paint sheets off in large flakes within a few years |
| Adequate dry time | Coastal walls hold hidden moisture | Blistering and bubbling, usually on shaded walls first |
| Scraping to stable paint | New coating needs a bonded base | New paint lifts along with the old layer underneath |
| Feather-sanding edges | Blends scraped transitions | Visible ridges and outlines you can see from the street |
| Caulking joints | Blocks water entry at seams | Trim rot, swollen wood, peeling around windows |
| Correct primer per substrate | Creates the adhesion bond | Poor adhesion, tannin bleed, uneven sheen |
| Interior patch priming | Evens out absorption | Dull flashing spots wherever repairs were made |
How to compare bids on prep instead of price
Here is the most useful thing I can give you. When you get bids, ask each contractor to walk you through their prep process step by step.
Don’t ask if they prep. Everyone says yes. Ask what they do, in what order, and why.
Listen for whether they mention:
- How they handle dry time between washing and coating
- Whether scraped edges get sanded
- How much caulking is included and whether failed caulk gets cut out
- Which primer goes on which surface, and why it differs
- How drywall or carpentry repairs are handled and who does them
The depth of that answer tells you more than any before-and-after photo. Someone who says “we’ll wash it down and get started” is quoting a different job than someone who can explain six steps and the reason for each.
Also worth doing: verify the license and insurance yourself before you sign anything. Any licensed painting contractor in California carries a CSLB number, and ours is #1066829. Prep quality and license status tend to travel together, because both come down to whether a contractor is building a business or chasing a check.
Frequently Asked Questions About Surface Preparation
How much of a paint job is prep work?
On a repaint of an older Monterey County home, prep often takes more labor hours than the actual painting. It varies a lot with condition. A newer stucco house in good shape needs far less than a 1930s wood-sided cottage in Pacific Grove with cracking paint and failed caulk.
Does prep work make the bid more expensive?
It’s labor, so yes, more prep means more hours. But it is the part of the bid that determines whether you repaint in six years or twelve. Costs vary widely by home size, siding type, and condition, so the only real answer for your house comes from a walkthrough and a written estimate.
Can I skip primer if I buy paint-and-primer-in-one?
Not on bare wood, fresh patches, repaired stucco, or previously oil-painted trim. Those products work fine as a topcoat over a sound, already-painted surface. They are not a substitute for a dedicated bonding, masonry, or stain-blocking primer where the substrate actually calls for one.
My paint is peeling and my house is from the 1920s. Is that lead paint?
It might be. Homes built before 1978 can have lead in the older layers, which is common in the historic parts of Pacific Grove, Monterey, and Salinas. Testing is the only way to know, and the EPA’s RRP rule sets how that surface has to be handled during prep. Don’t sand or dry-scrape it yourself in the meantime.
How long after pressure washing should you wait before painting?
It depends on the wall, the sun exposure, and the marine layer that week. Sunny walls may be ready the next day. Shaded north-facing walls and dense stucco can need longer, and a moisture reading beats a guess every time.
Thinking through a painting project in Monterey County?
If you are collecting bids and want someone to walk the house and talk through what prep your specific siding and trim actually need, our team does free estimates across Salinas, Monterey, Pacific Grove, Carmel, and the surrounding areas. You can reach Legacy Painting and Renovating at (831) 917-0047 or through the contact form at legacypaintingrenovating.com. Even if you go another direction, ask whoever you hire to explain their prep sequence step by step.