Direct Answer: Under paint, a filled pull hole disappears. Under a clear coat on natural wood, it almost never does, because filler takes finish differently than wood. Match the old hole spacing instead.
Most of the cabinet calls I get on the Monterey Peninsula start the same way. The wood is still good, the kitchen just looks dated, and the homeowner wants a fresh clear coat plus new handles and pulls.
Then comes the line I hear almost every time: “we’ll just fill the old holes.” On painted cabinets, that works. On natural wood under a clear finish, it usually does not, and I would rather say so at the walkthrough than after the doors are back on the hinges.
This article stays narrow on that one decision: changing cabinet hardware and drawer slides during cabinet refinishing. What hides, what shows, how to measure before you buy, and what your drawer boxes will actually accept.
Why Filled Holes Vanish Under Paint and Show Under a Clear Coat
Paint is an opaque film. Fill a hole with a quality wood filler, sand it flat, prime it, and the topcoat covers everything. The door reads as one surface.
A clear coat does the opposite. It is transparent by design, so anything under it stays visible, and filler does not absorb stain or finish the way wood fiber does.
That means a patched spot on a cherry or oak door typically shows up as:
- A slightly different color, often lighter or flatter than the panel around it
- A dead zone with no grain running through it
- A small circle that catches light differently once the sheen goes on
A skilled hand can tint and grain a patch to blur the edges. On a hallway door nobody studies, that is often fine. On a kitchen island front at eye level, in the hard afternoon light you get in Carmel Valley once the fog burns off, it is the kind of detail that bugs the owner forever.
So I give homeowners three honest paths instead of a promise I cannot keep.
Your Three Real Options for New Hardware on Natural Wood
Every clear-coat kitchen I have worked on lands in one of these three lanes.
1. Match the existing hole spacing. Buy pulls drilled at the same center to center distance and the old holes never exist. This is the cleanest outcome and the cheapest one.
2. Cover the old holes with the new hardware. Pulls with a wide backplate, or a longer pull whose posts sit outside the old holes, can hide small patches behind metal. Measure carefully, because “almost covered” looks worse than not covered at all.
3. Accept paint if the layout has to move. If you want hardware in a different position, or you are switching from knobs to long bar pulls, paint erases the history of the door. Plenty of homeowners who swore they wanted wood end up happy here once they see what refinishing wood cabinets while keeping the natural grain actually locks them into.
There is a fourth path I rarely recommend: plugging holes with real wood dowels cut from matching stock. It can look good on flat grain. It costs real labor time per hole and the result still depends on how close the grain match is.
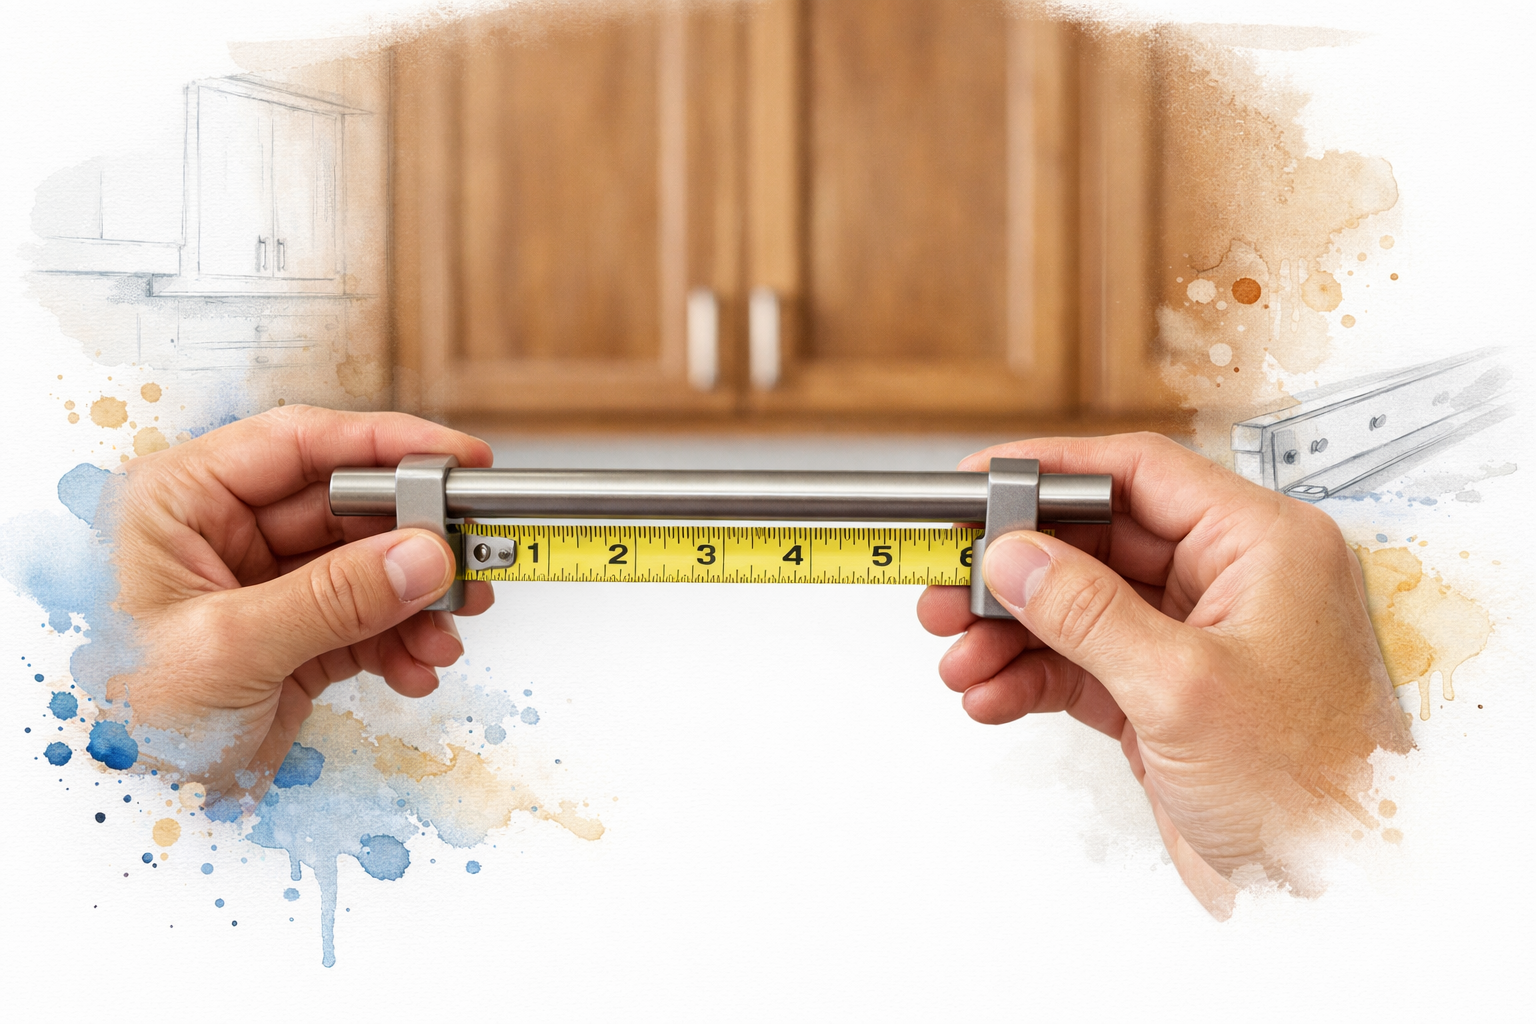
Measure Center to Center Before You Buy Anything
Almost every homeowner shops for pulls by eye. The holes already drilled in your doors decide what you can buy, and that is a five minute check you can do tonight.
Here is how I do it in the field:
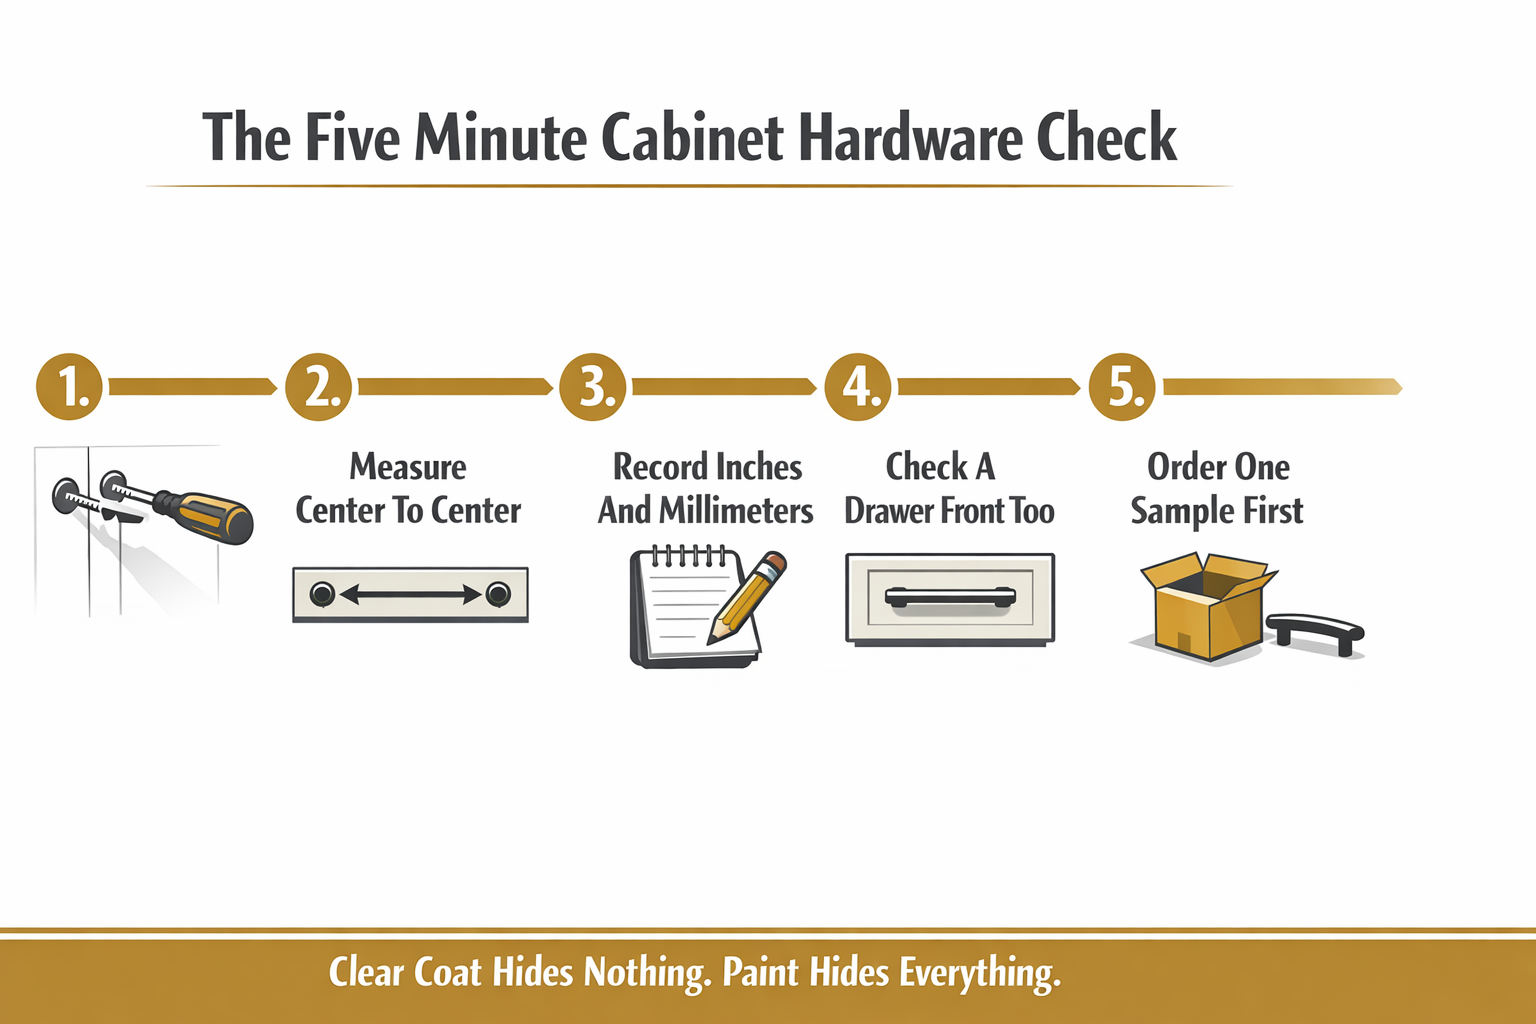
- Take one pull off a door and measure from the center of one hole to the center of the other, not edge to edge
- Write the number down in both inches and millimeters, since hardware is sold both ways
- Check a drawer front too, because drawers often use a wider spacing than doors
- Check an older section of the kitchen separately if any cabinets were added later
Common spacings you will run into are 3 inches (76mm), 96mm, 128mm, 160mm, and 5 inches (128mm) on larger drawers. Single-hole knobs are the wild card, since moving from a knob to any two-hole pull always leaves one hole in the middle.
One more thing worth doing: order a single sample pull and hold it against the door before you buy twenty-eight of them. A cardboard template with your hole centers punched in it travels better than a showroom photo and tells you the truth in about ten seconds.
What Each Hardware Choice Means for Your Finish
This is the chart I sketch on a notepad during walkthroughs so homeowners can see the tradeoff before they shop.
| Your choice | What happens to old holes | Best for |
|---|---|---|
| New pull, same center to center spacing | Reused, nothing to patch | Clear coat on natural wood, lowest risk |
| Pull with a wide backplate or longer span | Patched, then hidden behind metal | Clear coat, when spacing is close but not exact |
| Knobs replaced with two-hole pulls | One center hole patched and visible | Painted cabinets only |
| Hardware moved to a new position | Multiple patches in open grain | Painted cabinets only |
| Wood dowel plugs cut from matching stock | Partially hidden, grain match varies | Low-visibility doors, adds labor time |
The Five Minute Hardware Check
Run through this before you order a single pull. It takes longer to find the tape measure than to do the check.
Drawer Slides: The Box Decides, Not the Catalog
Hardware questions almost always come with a slide question attached. One Carmel Valley homeowner put it perfectly in a message to us, saying they were open to side mount or undermount but were “not sure if existing drawer boxes support undermount installation.”
That is the right thing to be unsure about. Undermount soft close slides are fussy about the box they go into. They generally need:
- Specific side clearance between the box and the cabinet opening, often around 1/2 inch total
- A notched or cut back on the drawer box so the hardware clips can engage
- A bottom panel thick enough and seated well enough to carry the slide
- A reasonably square box that has not racked over the years
A lot of Peninsula kitchens were built before that hardware was common. Monterey County housing stock skews older, with a big share of homes built in the mid 1970s and earlier, and those original drawer boxes were built for side mount runners.
Side mount soft close slides are a fit decision, not a downgrade. They tolerate older boxes, they install faster, and the soft close action feels the same when you shut the drawer.
How I check it at the walkthrough: pull one drawer all the way out, flip it over, and look at the bottom panel, the back, and the joinery. Two minutes with one drawer tells me whether undermount is realistic or whether we are talking about new boxes.
Veneer Edges Change the Plan, So Talk Repairs First
Older wood kitchens wear out in the same places: around the handles, along door edges, and anywhere a thumb lands a thousand times a year. On veneered panels, that shows up as chipping or delamination right at the edge.
A filled pull hole sitting an inch from a lifting veneer edge is two repairs fighting over the same small piece of wood. Fill one and sand it, and you can easily disturb the other.
That is why the hardware plan gets finalized after the repair plan, not before. During a walkthrough I am looking for:
- Loose or bubbled veneer along door and drawer edges
- Soft, chalky wood near sink cabinets where steam collects
- Previous repairs, including old filler someone already tried
- Doors that have been re-drilled once before
Photos help, but on wood cabinets I want to see the actual doors in person. Quoting this blind leads to surprises nobody enjoys.
When the Hardware Actually Goes Back On
Timing surprises people more than any other part of this. Hardware comes off at the very start, with every pull, hinge, and screw bagged and labeled by location.
Hole filling, slide installation, and box work all happen while the doors and drawers are already off and the boxes are open. That overlap is the efficiency, and it is also why this reads as one sequenced job rather than two.
The new pulls go back on only after the finish has hardened, not just dried to the touch. Those are different things. A clear coat can feel dry in a few hours and still be soft underneath for days.
On the Monterey Peninsula, that matters more than it does inland. Marine layer mornings in Monterey, Pacific Grove, and Seaside keep humidity up and temperatures down, and both slow cure time. Grabbing a door by a fresh pull before the film has set is how a fingerprint or a dent becomes permanent.
A good crew builds that wait into the schedule instead of apologizing for it later. One review of our interior work mentioned a job that “included changing out all of the door hardware and working around my master bathroom remodel. All completed without a ‘hitch,” which is really a comment about sequencing more than about paint.
If you are trying to plan around the disruption, our breakdown of how long your kitchen is out of commission during a cabinet refinish covers the full timeline.
Frequently Asked Questions About Cabinet Hardware and Slide Upgrades
Can you really not hide a filled hole under a clear coat?
You can soften it, not erase it. Tinted filler and hand-grained touch-up get a patch close, but filler takes finish differently than wood, so in direct light it reads as a flat spot with no grain. On a painted door it disappears completely.
What if I want knobs instead of pulls?
Going from a two-hole pull down to a single knob leaves one hole visible unless the knob’s base plate covers it. Going the other direction, from a knob to a pull, always leaves a hole in the middle of the new pull’s span. Both are fine on painted cabinets and risky on clear-coated wood.
Are side mount soft close slides worse than undermount?
No. Undermount slides stay hidden and give a slightly cleaner look when the drawer is open, but side mount soft close feels identical in daily use and fits older boxes that were never built for undermount hardware. On a lot of mid 1970s Monterey County kitchens, side mount is simply the correct answer.
Does a hardware swap add much to the cost of a refinish?
It adds labor time rather than a lot of material, and the range depends on door count, how many holes need filling, and whether slides are part of the job. Costs vary quite a bit across the Peninsula, so the honest number comes from an on-site look at your actual cabinets.
Should I buy the hardware myself or have the contractor supply it?
Either works, but buy it before the job starts and confirm the spacing first. Doors go back on after the finish cures, and waiting on a backordered pull holds up the last day of the project.
My cabinets are older. Is there anything to worry about with sanding and drilling?
If your home was built before 1978 and the cabinets have any old painted surfaces, lead-safe work practices apply. The EPA’s Renovation, Repair and Painting rule covers containment and cleanup requirements, and that comes up often in older Pacific Grove and Carmel homes.
Thinking Through a Cabinet Hardware Change?
Hardware and slide questions are worth raising at the walkthrough, before anything gets sanded or ordered, because the answers shape the whole plan. We work on cabinets across Monterey, Carmel, Carmel Valley, Pacific Grove, and Salinas, and we are licensed and insured under CSLB #1066829. If you want a second set of eyes on your doors and drawer boxes, we offer free estimates at (831) 917-0047 or through the contact form at legacypaintingrenovating.com.