Direct Answer: Refinishing wood cabinets without painting means degreasing, sanding evenly, repairing veneer, then applying a clear coat. The clear finish shows every flaw, so prep quality decides the result.
A homeowner in Carmel Valley reached out about her kitchen with a scope written out cleaner than most bids I read. She wanted her cherry cabinets cleaned, prepped, sanded inside and out, then given a new clear coat. In her words, the “goal is to refresh and protect (not repaint or change color).”
That one sentence changes almost everything about how the job gets done. Most cabinet advice online assumes you are painting, because paint is forgiving and easier to sell. A clear finish hides nothing.
So here is what the work really involves when you want to keep the wood grain visible: why prep has to be tighter, how veneer damage gets handled honestly, and why the order you schedule things in matters more than any single step.
Why a clear coat is harder than paint
Paint is a mask. It covers sanding scratches, filled dings, patched holes, and 25 years of uneven old finish. A clear coat magnifies all of it and then locks it in under gloss.
That means the sanding has to read the same across every door, every drawer front, and every face frame. If one door got sanded with a coarser grit or an aggressive orbital pass, you will see it the first sunny morning when light rakes across the doors.
But the step that decides more jobs than sanding is degreasing. Years of cooking oil film builds up on the doors nearest the range and the ones above it, and new finish will not bond through it. Sanding a greasy door just grinds the oil deeper into the grain.
The order I follow on cherry, oak, and maple:
- Clean first, with a degreaser rated for finished wood, then rinse and let everything dry fully
- Scuff sand by hand on profiles, detail edges, and beads where a machine skips or burns through
- Sand flats evenly with the same grit across all pieces, no exceptions for the doors nobody looks at
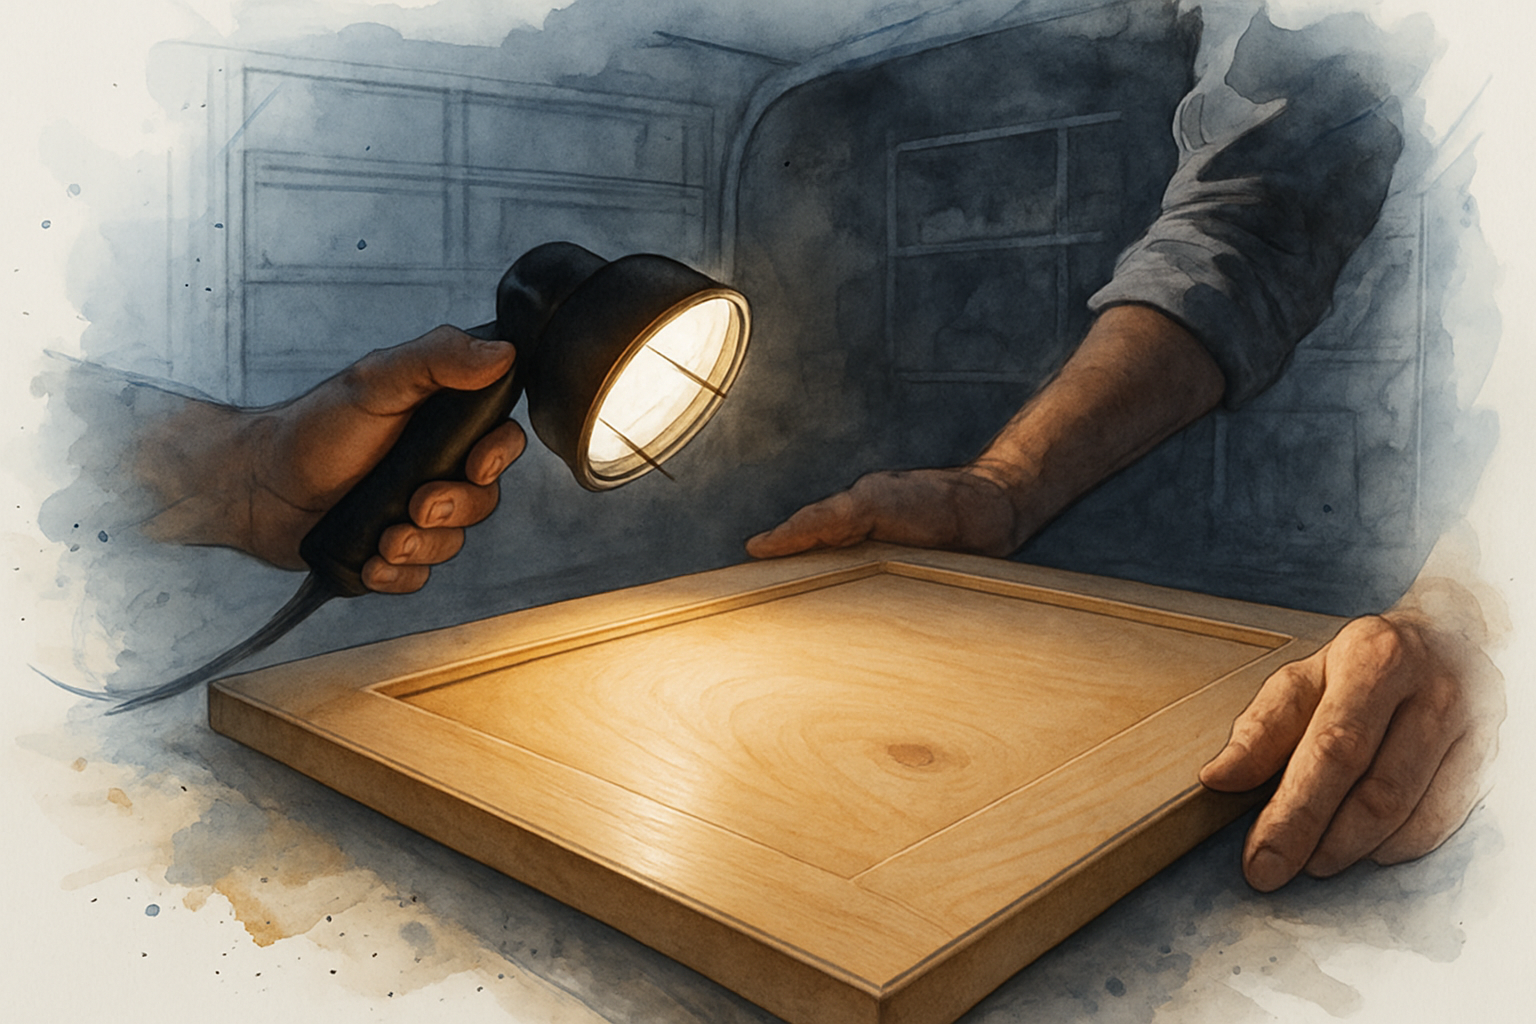
- Check the surface in raking light before any finish goes on, holding a light low and sighting down the panel
- Vacuum and tack every piece, since a clear film shows dust nibs you would never notice under paint
That raking light check is the part homeowners never see, and it is the reason two refinish jobs at the same price can look nothing alike a year later. Good surface prep is most of the job, and it is even more true here.
Veneer chips and delamination: the usual surprise
The same Carmel Valley homeowner asked about veneer chipping and lifting along the edges of a few panels. That is the single most common surprise I find on cabinets built in the 1980s and 1990s, and it lands very differently under a clear coat than under paint.
Under paint, a veneer patch disappears. Under clear finish, you are asking a repair to match grain direction, color, and how the wood takes stain. Realistic options:
- Re-glue lifted veneer where the sheet is intact and just separating, clamped flat and cleaned up
- Patch with matching species, cut to follow the grain line so the seam falls where the eye expects one
- Color-matched fill blended with touch-up toner, used on small chips and edge damage
I will say this plainly: a veneer repair under clear finish is blended, not invisible. A good one is hard to find unless you know where to look. A bad one looks like a bruise.
There is also a point where repair stops making sense. If a single door has widespread delamination, water swelling at the bottom edge, or a split panel, it is usually better to replace that one door and finish it to match than to chase the repair. When several doors are in that shape, the conversation shifts toward refinish versus replacement, and that is worth having before anyone starts sanding.
Sequencing saves more money than rushing any single step
One Monterey County kitchen I looked at had new stone countertops coming, which meant a cabinet or two had to come out and go back in. The homeowner asked a smart question: is there an efficiency in doing the refinishing while the counters are off?
Yes, and the order matters. Here is the sequence that generally works:
- Doors and drawer fronts come off early and get finished off site, where dust and overspray are controlled
- Boxes and face frames get done in place, with the kitchen masked off and floors protected
- Cabinet removal and reinstall for the countertop work happens before final finish on the affected boxes
- Countertop templating happens once cabinets are in their final position, never before
- Reassembly and hardware go on last, after the finish has had real cure time
Get that order wrong and you pay for it twice. Template too early and the stone does not fit. Reinstall a cabinet after final coat and you touch up a fresh finish.
Coordinating around other trades in a kitchen you still live in is its own skill. One local homeowner wrote about an interior job that ran alongside a bathroom remodel: “He and his crew followed through on my requests.” – Arlene P. If you want a realistic picture of downtime, we broke it down in how long your kitchen is out of commission during a cabinet refinish.
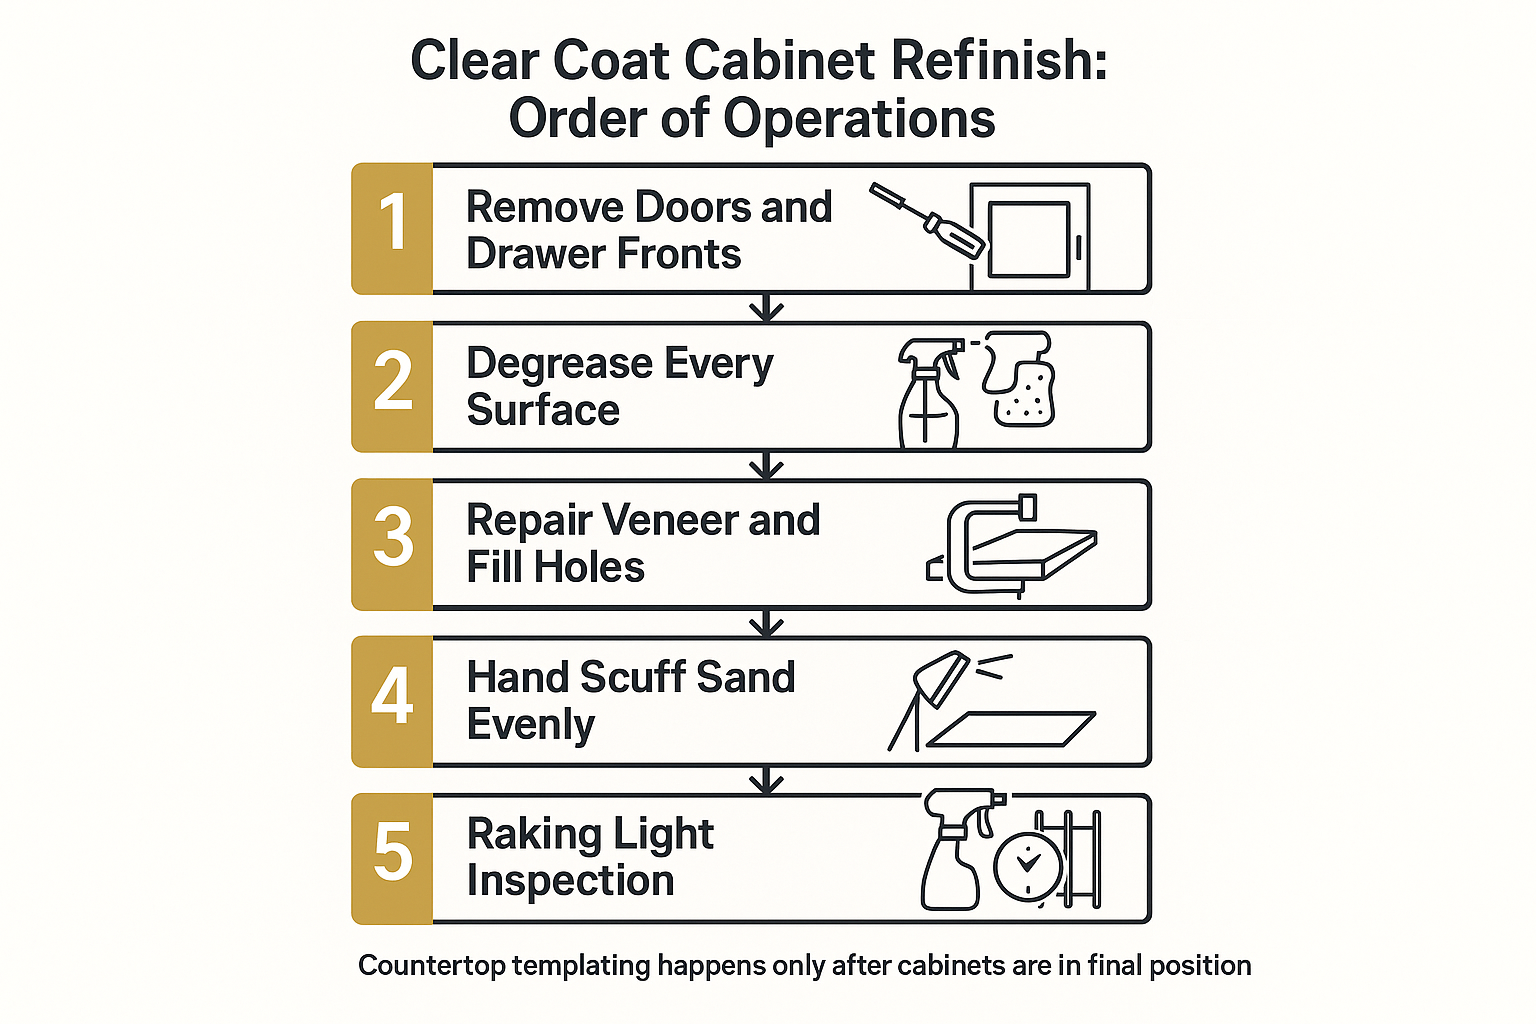
The order of operations on a clear coat cabinet refinish
This is the sequence I follow when the goal is to keep the natural wood and coordinate around other trades.
Hardware and drawer slides: what rides along and what it costs you
Most refinish projects pick up a hardware change at the same time, and one homeowner asked directly whether her existing drawer boxes would take undermount soft-close slides. Here is how the choices compare.
| Upgrade | What it needs | The catch under clear finish |
|---|---|---|
| New pulls on existing hole spacing | Matching center-to-center measurement | No filling needed, which is the cleanest outcome by far |
| New pulls on new hole spacing | Fill and patch the old holes | A filled hole shows through clear coat far more than under paint |
| Side-mount soft-close slides | Side clearance and a solid drawer side | Retrofits into most existing boxes without rebuilding drawers |
| Undermount soft-close slides | Specific drawer box height, depth, and bottom thickness | Often means new drawer boxes, which changes scope and budget |
| Single replacement door | Matching species and profile | Finished to match, best done alongside the rest of the doors |
Hardware holes are a bigger deal than people expect
Filling an old pull hole and hiding it under a clear coat is one of the hardest things to do well in this trade. The fill takes finish differently than the wood around it, and it sits right at eye level where your hand goes a hundred times a week.
So when a homeowner shows me a new pull they love, my first question is about center-to-center spacing. If we can find a pull that covers the existing holes, or one with a backplate, that is usually the smarter move than patching.
On drawer slides, the honest answer is that undermount slides are wonderful and picky. They need the right box dimensions and a bottom panel thick enough to carry the hardware. Side-mount soft-close slides drop into more existing boxes and get you most of the same feel for less disruption.
Marine layer, cure time, and why California limits clear coatings
Cabinet finishes cure by chemistry and by air, and the Monterey Peninsula gives you plenty of the wrong air. Cool fall mornings and marine layer humidity slow waterborne finishes down noticeably compared to an inland kitchen in Salinas on a dry afternoon.
Here is the part that trips people up: dry time and cure time are not the same thing. A door can feel dry to the touch in an hour and still be soft enough to imprint under a felt bumper, stick to a face frame, or block against the cabinet next to it weeks later.
That is why I would rather leave doors on a rack a day or two longer than hand a homeowner a kitchen that prints fingerprints into the finish. Rushed reassembly is the most common cause of a refinish that looks bad by month two.
Product selection here is also shaped by state rules. California regulates clear wood coatings as their own category, with separate limits for varnishes, lacquers, sanding sealers, and clear stains. That is a big reason waterborne two-component systems have become the practical choice for cabinet work in this state instead of old-school solvent lacquer.
Those systems also keep indoor air far easier to live with during the job, which matters when the kitchen is in the middle of the house. If the low-odor question is on your mind, what low-VOC actually means in California covers it. And if you are still weighing color against grain, what holds up on painted cabinets a year later is a fair comparison point.
Frequently Asked Questions About Refinishing Wood Cabinets Without Painting
Can you refinish cabinets without changing the wood color at all?
Usually yes on cherry, oak, and maple in sound condition. Cleaning and a fresh clear coat will make the wood look a little richer and deeper, which most homeowners like, but the species and stain color stay the same. If you want a noticeably different tone, that means stripping to bare wood, which is a bigger job.
Does refinishing cost less than painting?
Not always, and that surprises people. Costs vary a lot with condition and door count, but clear coat work often takes more hand sanding and more careful repair than a repaint, because nothing hides. The only way to know your number is a walkthrough where someone counts doors and checks the grease and veneer situation.
How long before I can use the kitchen normally again?
You can typically get back to daily cooking well before the finish reaches full hardness. I tell homeowners to expect a few weeks of being gentle: no sliding heavy items on shelves, no stacking on fresh surfaces, and leave the felt bumpers off a little longer than you would on an inland job.
Will the veneer repair be invisible?
It will be blended, not invisible. Under a clear coat you are matching grain and color at the same time, and anyone who promises a repair nobody can find is overselling it. On a badly damaged door, replacing it and finishing it to match is often the better outcome.
Should I do the countertops before or after refinishing?
Coordinate them. Cabinets need to be in their final position before the countertop is templated, and any boxes that come out for the install should go back in before the final coats land on them. Sorting the order out at the estimate stage saves real time, which is part of what a good estimate should tell you.
Thinking through a cabinet refinish in Monterey County?
If you have cherry, oak, or maple cabinets you would rather refresh than repaint, the details worth sorting out early are veneer condition, hardware spacing, and how the work lines up with any countertop plans. Legacy Painting and Renovating offers free on-site walkthroughs for homeowners in Monterey, Carmel, Carmel Valley, Pacific Grove, and Salinas. You can reach us at (831) 917-0047 or through the contact form at legacypaintingrenovating.com whenever you are ready to talk it through.