Getting your drywall ready for paint is single-handedly the most important step for a professional, durable finish. This isn't just about giving the walls a quick wipe. It's a careful process of inspecting, repairing, cleaning, and priming the surface so the paint sticks properly and looks absolutely flawless.
Time and again, we see issues like peeling, bubbling, and ugly blemishes pop up down the road. The number one culprit? Rushed or skipped prep work.
Why Perfect Prep is a Painter’s Secret Weapon
Think of your drywall as the canvas for your masterpiece. You wouldn't see an artist start painting on a dirty, damaged canvas, and the same rule applies to your walls. The final quality of your paint job is directly tied to the quality of the preparation.
We know picking the perfect color is the exciting part, but that's a decision best saved for when the groundwork is truly done. If you need some inspiration later, you can check out our guide on expert paint color selection for your home.
From our experience working on homes all over Monterey and Carmel, we’ve seen what happens when prep work gets cut short. The result is almost always disappointment. Flaws that were barely noticeable before suddenly get magnified by a fresh coat of paint, especially with satin or semi-gloss sheens.
The Foundation of a Flawless Finish
Putting in the effort up front creates a perfectly uniform, non-porous surface that lets the paint do its job exactly as the manufacturer intended. This tackles several key things that make or break a project:
- Rock-Solid Paint Adhesion: Dust, grime, and grease are paint's worst enemies. They create a barrier that stops the paint from bonding to the wall, which leads straight to chipping and peeling.
- A Smooth, Uniform Surface: Filling every last hole, crack, and ding is non-negotiable if you want that glass-smooth finish that screams "professional."
- True Color and Sheen: Primer is the hero here. It seals the raw drywall and any patched spots, forcing the paint to absorb evenly. This prevents blotchy areas or "flashing," where you can see the repairs right through the final coat.
- Built-in Durability: A properly prepped and primed wall gives the paint film the support it needs, making it much tougher against scuffs, stains, and everyday life.
Meticulous drywall preparation isn't just a preliminary task—it's the very foundation of a durable and beautiful paint job. Investing time here saves you from frustrating touch-ups and premature repainting later.
Before you start sanding and priming, it's helpful to understand the key stages involved. Each step plays a specific role in creating that perfect canvas for your paint.
Key Stages of Drywall Preparation
| Stage | Objective | Common Tools |
|---|---|---|
| Inspection & Repair | Identify and fix all imperfections like holes, cracks, and dents. | Putty knife, spackle/joint compound, sandpaper, drywall tape |
| Sanding | Smooth out all patched areas and rough spots to create a level surface. | Sanding block, pole sander, fine-grit sandpaper (120-150 grit) |
| Cleaning | Remove all dust, dirt, and grease to ensure proper paint adhesion. | Tack cloth, microfiber towels, TSP substitute or mild detergent |
| Priming | Seal the surface and create a uniform base for the paint. | High-quality primer, roller, brush, paint tray |
Think of these stages as the building blocks for a successful project. Rushing or skipping any one of them can compromise the final look and longevity of your paint job.
The importance of drywall can't be overstated; it's the main interior surface in most homes. Globally, the drywall market hit USD 48.0 billion and continues to grow. You can dig into the numbers in this in-depth market analysis. For homeowners in Pacific Grove or Salinas, this means the effort you put into prep directly pays off with a higher-quality, longer-lasting result.
How to Find and Fix Every Wall Imperfection
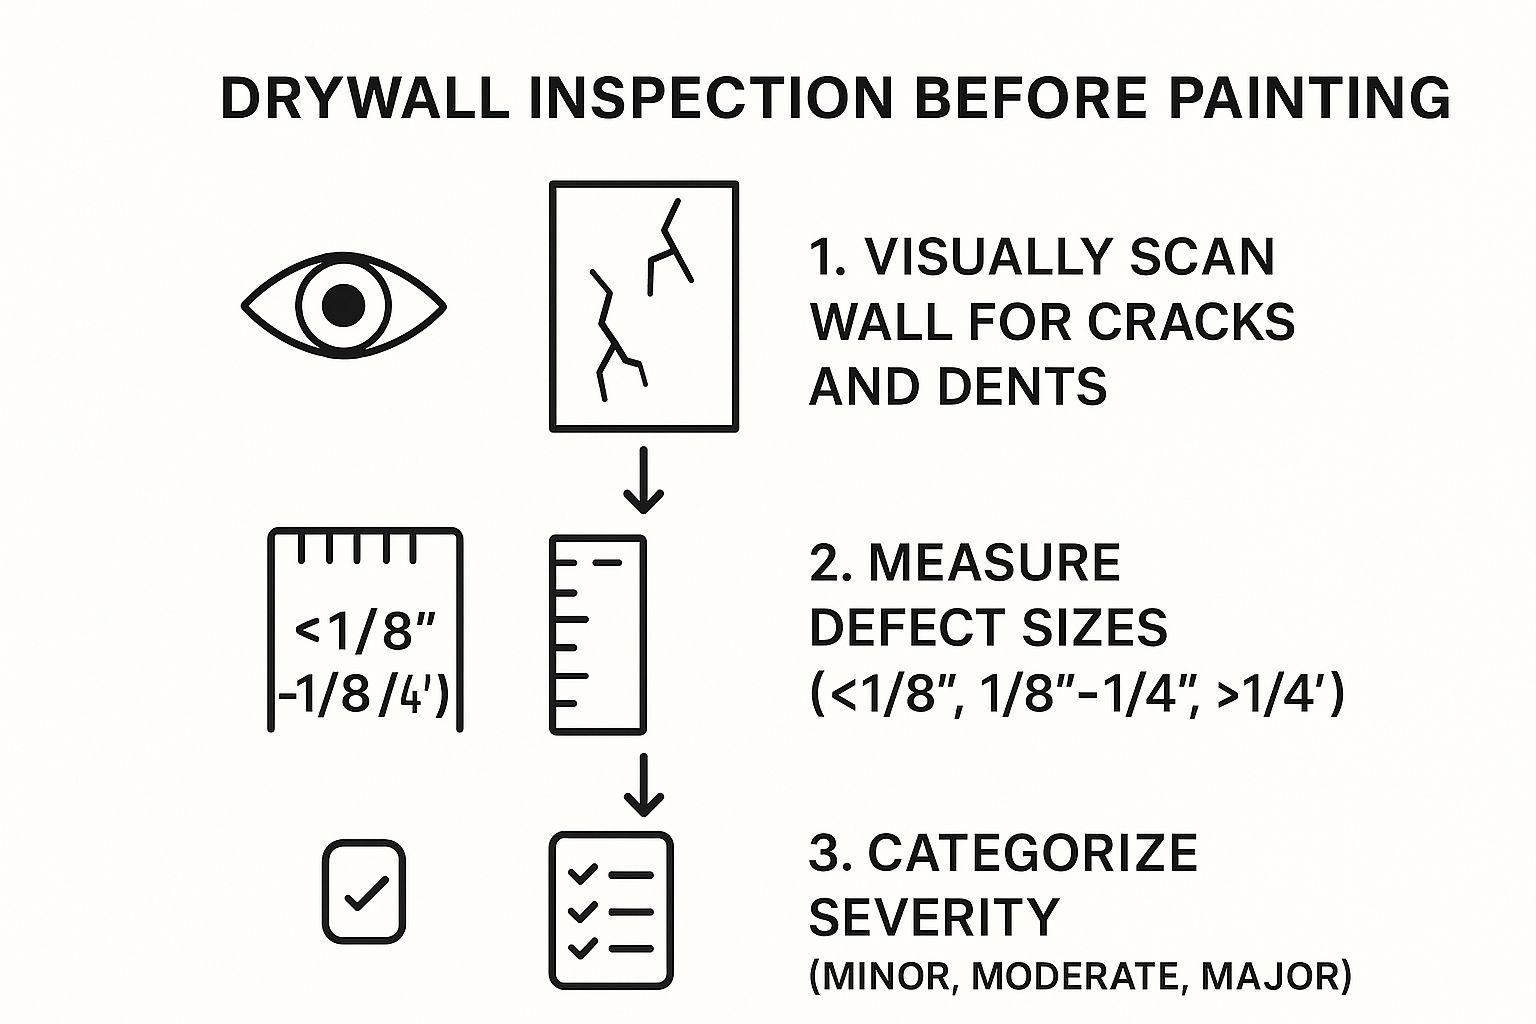
Every wall tells a story, often through a collection of dings, hairline cracks, and surprise holes left behind from years of life. If you want a truly professional paint finish, you have to deal with this history head-on. Proper drywall prep isn't just a quick once-over; it's about meticulously hunting down and repairing every single flaw, no matter how small.
Before you can fix anything, you have to know what you’re looking for. A thorough inspection is your first, most critical task. Get up close, grab a bright work light, and hold it low against the surface. This trick makes shadows pop, revealing even the most subtle imperfections you'd otherwise miss.
Identifying Common Drywall Damage
As you scan the walls, you’ll probably run into a few usual suspects. In the homes we work on across Salinas and Monterey, nail pops are everywhere. These are those little circular bumps or cracks where a drywall nail or screw has worked its way loose over time.
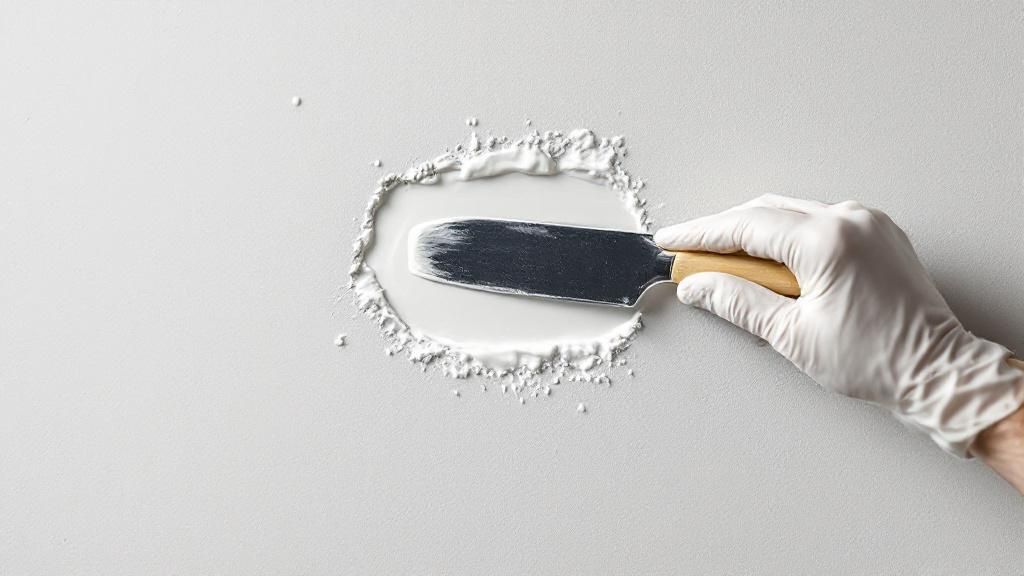
Then you have bigger problems, like the hole left behind when a doorknob slammed into the wall. A little dab of spackle won't cut it here; you'll need a proper drywall patch. For the smaller stuff—dings, dents, and tiny hairline cracks—a quality spackling paste or all-purpose joint compound is your best friend.
The key is to apply thin, even layers, letting each one dry completely before you even think about adding the next. This methodical approach ensures your repairs are strong and seamless.
Mastering the Art of the Invisible Patch
Making a patch truly disappear is an art form, and it takes patience. The secret is feathering the edges. After you apply the compound with a putty knife, use the edge of the blade to smooth the compound out and around the perimeter, blending it seamlessly into the wall around it.
Pro Tip: For a repair that’s completely invisible, plan on at least two or three thin coats of compound. You'll need to sand lightly between each coat. This slowly builds up the repair until it's perfectly flush with the wall.
This detailed prep work is a huge part of any professional paint job. In fact, a 2022 survey by the Painting Contractors Association (PCA) found that preparation can account for up to 70% of the labor on a high-quality interior painting project. That number alone shows you just how vital these repairs are.
By taking the time to methodically find and fix every flaw, you're getting the wall back to a blank slate. For more guidance on transforming your space, check out our other home painting tips and get free quotes to see how our expertise can make a difference. This careful work sets the stage perfectly for the next critical step: sanding.
The Art of Sanding for a Glass-Smooth Finish
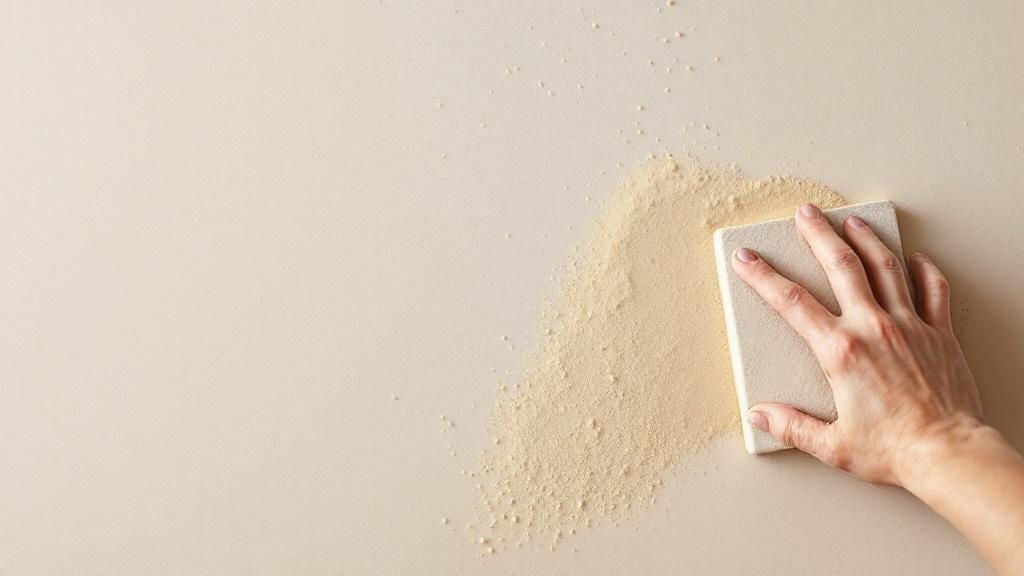
Once your drywall repairs have had a chance to fully cure, we get to the part of the job where real craftsmanship makes all the difference: sanding. This is the critical step that separates a splotchy, amateur-looking paint job from a stunning, professional one. It’s how you take those patched areas and make them blend so perfectly that the wall feels like a single, seamless sheet of glass.
The goal here is simple—level the joint compound until it disappears into the surrounding drywall. But there’s a catch. You have to be careful not to get too aggressive, or you’ll scuff up the drywall's delicate paper facing. Any damage there will absolutely show through your final coat of paint.
Choosing the Right Tools and Sandpaper Grit
For small, one-off repairs, a simple sanding sponge or a hand-held block will do the trick just fine. But if you’re tackling a bigger project, like sanding a whole room after a fresh drywall install, a pole sander is a non-negotiable tool. It’s a lifesaver for covering large areas quickly and keeping the pressure even and consistent.
The sandpaper you choose is just as important as the tool you put it on. The wrong grit can either leave the surface too rough or make smoothing out imperfections take forever.
- Medium Grit (120-150): This is your starting point. Use it to knock down any obvious high spots or ridges on the dried compound.
- Fine Grit (180-220): After your first pass, switch to a finer grit. This is what creates that final, polished feel by erasing any of the subtle scratches left behind by the medium-grit paper.
Pro Tip: One of the best tricks in the book is to use a bright work light held at a sharp angle to the wall. This trick, called "raking light," casts long shadows across the surface, making any pinholes, ridges, or uneven spots you missed completely obvious.
Mastering Professional Sanding Techniques
To avoid creating ugly grooves or low spots, always sand using a light, circular motion. Let the sandpaper do the work. Pressing too hard is a classic rookie mistake that almost always leads to an uneven finish. You’ll want to feather the edges of your repair outward, blending the compound smoothly into the existing wall.
Let’s be honest: drywall preparation for painting is a dusty job. Before you start, seal off doorways with plastic sheeting and cover any furniture that can’t be moved out of your Pacific Grove home. Using a shop vacuum with a brush attachment can make a world of difference. On our projects, we often bring in dustless sanding systems to eliminate nearly all airborne particles from the get-go.
This careful, methodical approach is key to getting the best possible results with residential interior painting in Pacific Grove. Once you’ve achieved that perfectly smooth, dust-free surface, you’re ready for the final steps before paint.
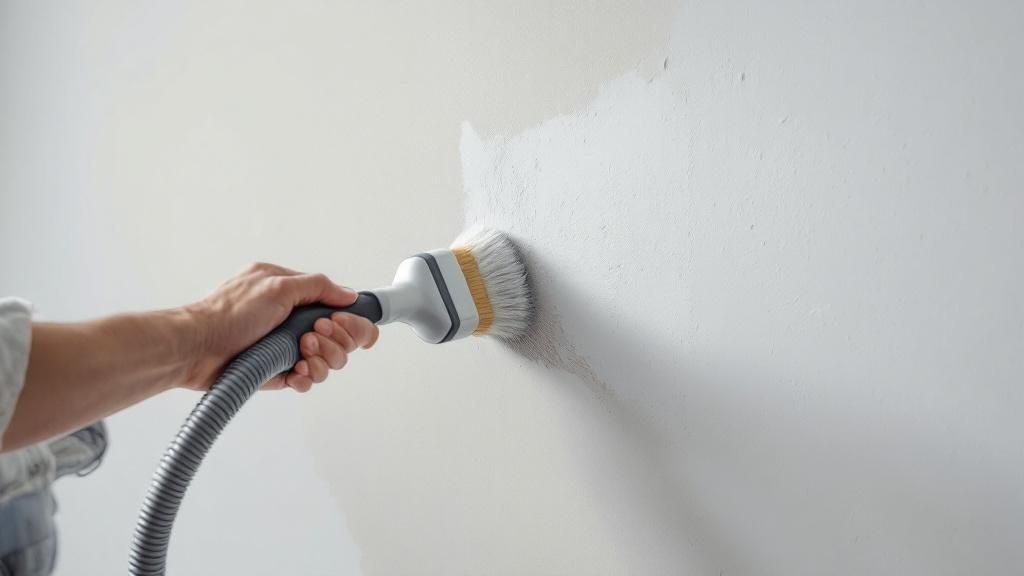
Cleaning and Priming for a Flawless Foundation
After all your careful patching and sanding, you’ll notice a fine layer of dust has settled on just about every surface. This chalky residue is the number one enemy of a good paint job, and getting rid of it is a non-negotiable step in drywall preparation for painting.
Even a little bit of dust can stop your primer and paint from bonding correctly, which inevitably leads to peeling and chipping. You don't want to see your hard work literally flake away.
The cleaning process has to be meticulous. Start by vacuuming the walls with a soft-bristled brush attachment. After that, wipe everything down with a slightly damp microfiber cloth to grab any dust that the vacuum missed.
Choosing the Right Primer for the Job
Once your walls are pristine and completely dry, it's time to lay the groundwork for your color. Primer is the unsung hero that guarantees your final paint job looks vibrant, even, and professional. It seals the porous surfaces of new drywall and joint compound, preventing the topcoat from soaking in unevenly.
This is what causes "flashing," where your repaired spots have a different sheen than the rest of the wall. It’s a dead giveaway of a DIY job. Knowing your options is key to a lasting finish, whether you're touching up a small repair in your Carmel home or tackling a full renovation.
Here’s a quick guide to help you pick the right primer for your walls.
Primer Selection Guide
| Primer Type | Best For | Key Benefit |
|---|---|---|
| Latex-Based (Water-Based) | New or repaired drywall, most interior projects. | Flexible, fast-drying, and excellent at sealing porous surfaces. |
| Oil-Based | Walls with stubborn stains like water spots, ink, or smoke. | Creates a super durable, stain-resistant barrier that stops bleed-through. |
| Shellac-Based | Severe smoke and water damage, covering strong odors. | The most powerful stain-blocker for the toughest jobs. |
For most standard drywall repairs, a high-quality latex PVA (polyvinyl acetate) primer is the perfect choice. It's made specifically to seal drywall paper and compound, creating a uniform canvas for your paint.
Selecting the right primer isn’t just a friendly suggestion; it’s a critical step that dictates the durability and appearance of your paint. It turns a porous, inconsistent wall into a uniform surface ready for color.
Once your walls are primed, they are finally ready for that exciting coat of color. This entire process, from repair to priming, is the foundation of a great paint job. If you’d rather leave it to the experts, you can learn more about our professional residential interior painting contractor services.
Your Final Inspection Checklist Before Painting
Alright, that moment right before you pop open the paint can is your final opportunity to guarantee a perfect job. After all the careful patching, sanding, and priming, this last quality check is what separates a good paint job from a great one. Think of it as the final walkthrough before the big show.
This isn't just a quick glance. The whole point is to catch any tiny flaws that the primer might have suddenly made visible. It’s amazing what a fresh coat of primer can reveal.
Performing the Angled Light Test
The best trick in the book for this final check is to use a bright work light. Grab a portable work light, hold it close to the wall, and shine it across the surface at a very low, sharp angle.
This is a technique we call "raking light," and it works because every little bump or divot will cast a long shadow, making it impossible to miss. Methodically move the light across every inch of your primed walls.
You’re hunting for:
- Pinholes: Tiny little holes in the primer or the joint compound underneath.
- High Spots or Ridges: These are sneaky leftovers from where the sanding wasn't quite perfect.
- Rough Patches: Spots that feel different or look gritty, usually from an uneven primer coat.
Correcting Last-Minute Flaws
So, what if you find something? Don't panic. Finding a small flaw after priming is completely normal and, thankfully, easy to fix.
Finding a small flaw after priming is common and easily fixable. The key is a delicate touch—you're making a minor adjustment, not re-doing the entire surface.
If you find a slight high spot or a bit of grit, a very light touch-up is all that’s needed. Grab a fine-grit sanding sponge—a 220-grit is perfect for this—and gently feather the spot until it’s smooth.
Once it feels smooth to the touch, wipe away the tiny bit of dust with a tack cloth. Then, just dab a little primer over that one spot with a small artist's brush. Let it dry completely, and you're good to go.
This final check is the last, crucial step in your drywall preparation for painting. It’s that satisfying moment when you can step back and know the canvas is perfect. All your hard work has led to this point, setting you up to transform your Monterey County home with a beautiful, lasting color.
Frequently Asked Questions About Drywall Prep
Even with the best guides, questions always pop up on the job. To help you get over those final hurdles with confidence, our team at Legacy Painting & Renovating Inc. put together some of the most common questions we hear from homeowners across Salinas, Monterey, and beyond.
How long should drywall mud dry before sanding?
The real answer is: it depends. The type of compound, thickness of the layer, and room humidity all play a part. As a rule of thumb, standard all-purpose joint compound needs at least 24 hours to cure. Quick-setting "hot mud" can be ready in as little as 20-90 minutes. If the patch feels cool or damp, it needs more time.
Do I really need to prime new drywall before painting?
Yes, a thousand times, yes. Skipping primer is the single biggest mistake that leads to a blotchy, unprofessional paint job. New drywall paper and fresh joint compound absorb paint at different rates, causing an uneven sheen called "flashing." A good PVA drywall primer seals these porous surfaces and creates a uniform canvas for your paint.
What is the best way to manage drywall dust?
Drywall dust gets everywhere, so containment is key. Seal the room with plastic sheeting, cover furniture, and use a shop vacuum with a HEPA filter as you go. After sanding, wipe walls with a damp microfiber cloth. Most importantly, always wear a quality N95-rated dust mask to protect yourself.
How can I fix a crack that keeps coming back?
A recurring crack is usually a stress crack from your home's natural movement. To fix it properly, you need drywall tape. Scrape out the old filler, apply a thin layer of compound, and press paper or fiberglass mesh tape into the mud. Squeeze out the excess, let it set, then apply two more thin coats, feathering the edges and sanding between layers.
Can I paint over old paint without preparing the drywall?
We strongly advise against it. Painting over dirty, glossy, or damaged walls leads to poor adhesion, peeling, and a finish that highlights every imperfection. At a minimum, you should clean the walls with a TSP substitute and scuff-sand any glossy surfaces to help the new paint stick.
Your Trusted Painting and Renovation Experts
Proper drywall preparation is the cornerstone of a beautiful, long-lasting paint job. While it requires patience and attention to detail, the results are well worth the effort.
Ready to transform your home with a flawless finish? Contact Legacy Painting & Renovating Inc. today for a free, no-obligation estimate! Our team of experts proudly serves homeowners and businesses in Salinas, Monterey, Carmel, Pacific Grove, and the surrounding communities.