Want to know how to fix drywall damage without making it worse? It's simple: avoid three common mistakes. Don't use the wrong tools, don't grab the wrong materials, and don't rush the job.
A cheap putty knife can easily scratch your wall. Generic spackle often fails in the humid air we get in Monterey, leaving you with a fix that looks worse than the original problem.
Why Most DIY Drywall Repairs Fail
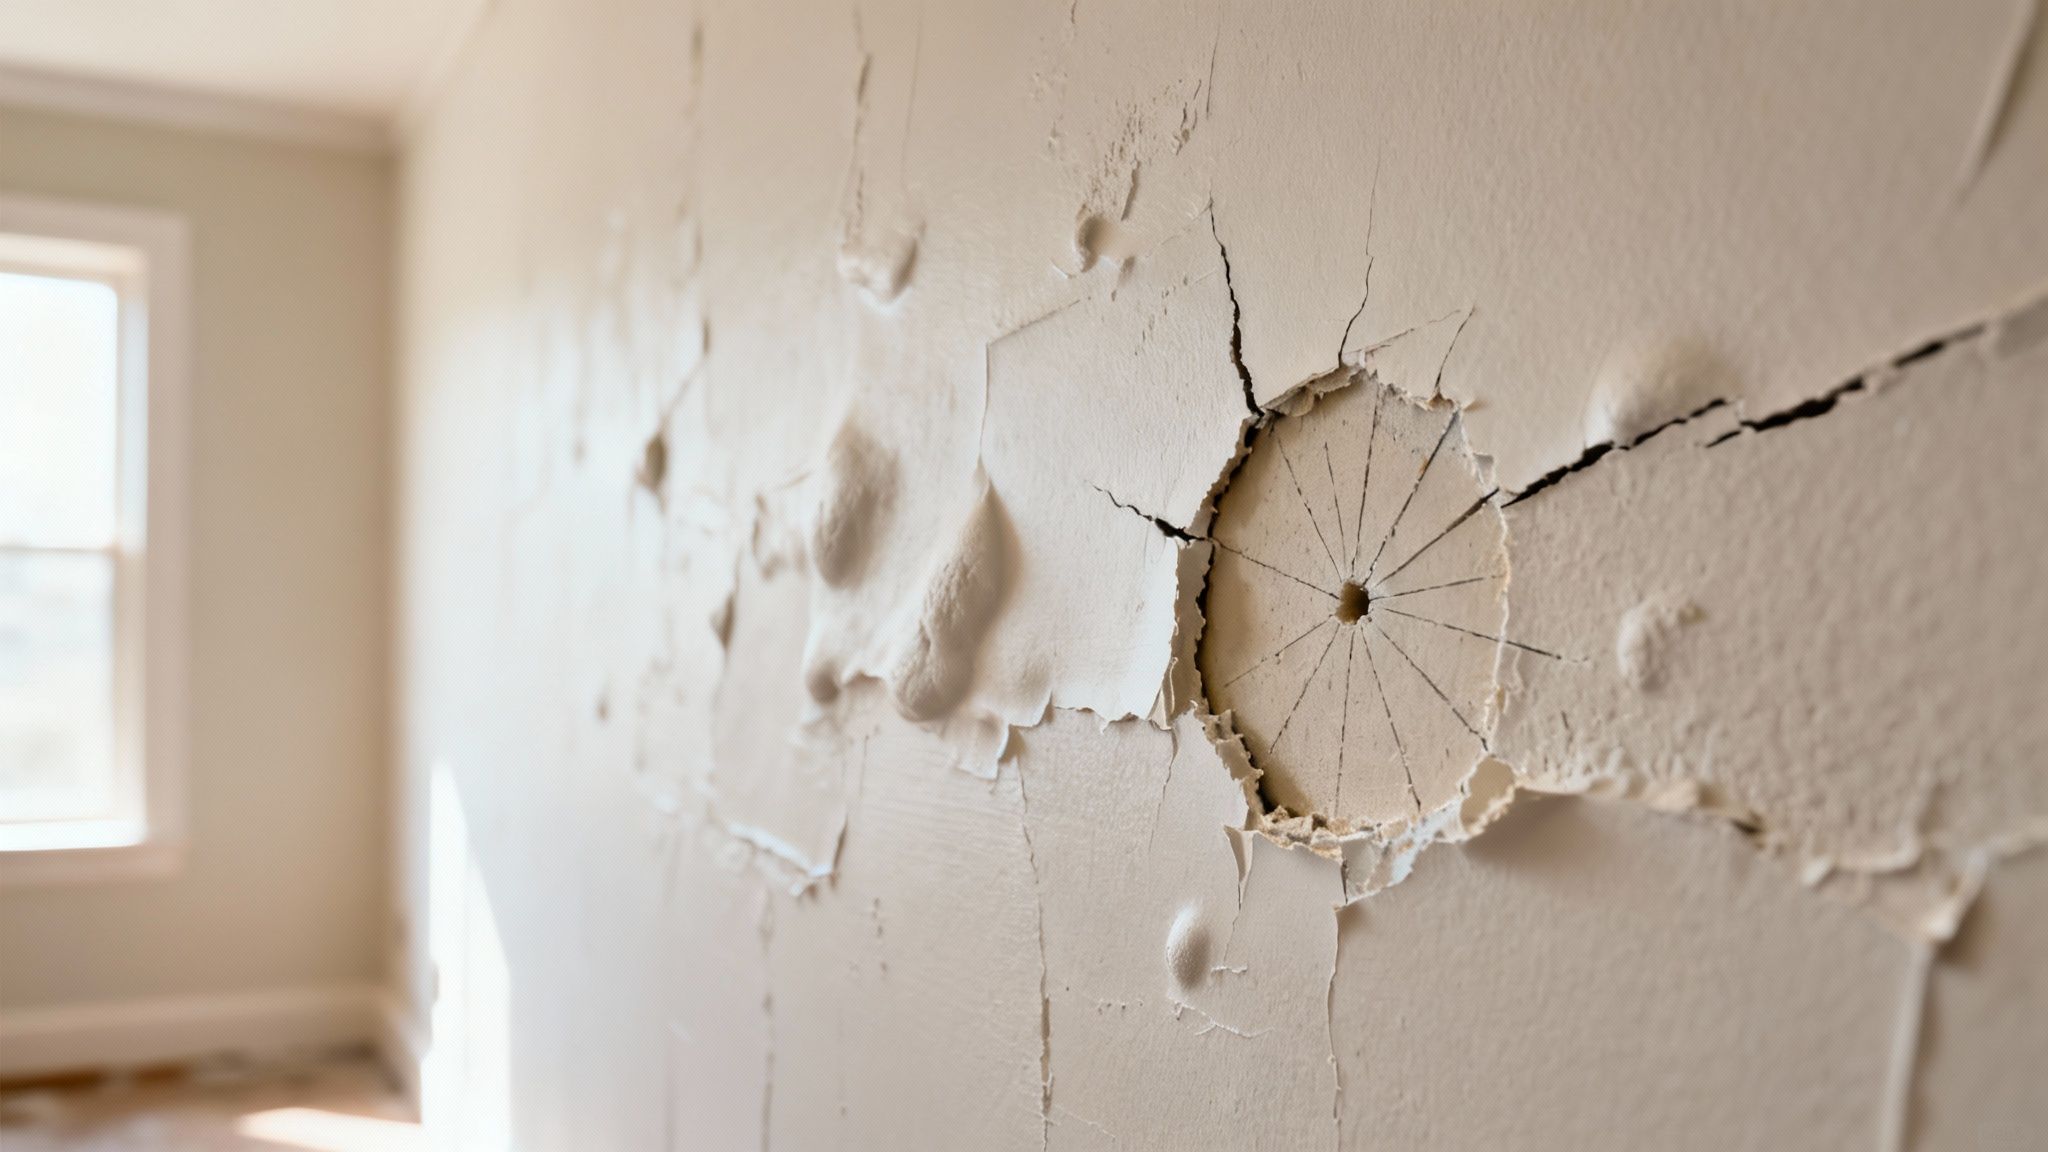
Before you open that tub of joint compound, let's look at why many DIY repairs fail. I've seen it all over Salinas and Pacific Grove. Homeowners create bumps, visible seams, or patches that crack weeks later.
This isn't to scare you. Understanding what not to do will help you get a perfect, invisible repair. The goal is a smooth finish, not a project you have to fix twice.
The Rush to Finish a Project
Patience is key. We all want to get projects done quickly. But putting on thick layers of compound or sanding before it’s dry creates a weak patch. This leads to cracks and an uneven surface you can't hide with paint.
A professional-looking repair takes patience. Each thin layer of compound needs about 24 hours to dry completely. This creates a strong, smooth surface.
Mismatched Tools and Materials
Fixing a large patch with a small, flimsy putty knife won't work well. It's like painting a room with a tiny artist's brush. It just makes a streaky, uneven mess.
Using the wrong type of compound or tape for the damage is also a common mistake. Sometimes the problem is deeper, which is why it helps to know what causes drywall cracks in the first place.
Common DIY Mistakes vs. The Professional Approach
| Common Mistake | Why It Makes Things Worse | The Legacy Painting Pro Method |
|---|---|---|
| Using All-Purpose Spackle for Everything | Spackle shrinks and cracks easily. It doesn't sand as smoothly as joint compound, making it bad for larger repairs or cracks. | We pick the right material for the job. We use lightweight joint compound for thin coats and setting-type compound (hot mud) for deep holes to make sure it's strong. |
| Applying One Thick Coat of Compound | A thick coat dries unevenly. The outside hardens while the inside stays wet. This leads to shrinking, cracking, and a weak patch. | We apply several thin, even layers. Each coat dries completely before the next one is applied. This builds a strong, flat surface. |
| Sanding Too Early or Too Aggressively | Sanding before the compound is cured can tear the patch. Using rough sandpaper can leave deep scratches that show through the paint. | We wait at least 24 hours between coats. We use a fine-grit sanding sponge (120-grit or higher) with a light touch for a smooth finish. |
| Ignoring the Prime Coat | Painting directly over fresh mud causes "flashing." The patched area looks different from the rest of the wall because it has a different sheen. | We always apply a quality drywall primer-sealer over the repair. This seals the compound and makes sure the final paint coat looks even and professional. |
The difference is in the details and the patience to do it right. When damage is too much to handle, a professional drywall repair contractor ensures a perfect, lasting fix.
Choosing the Right Tools and Materials for the Job
Walking into a hardware store can be a lot to take in. But having the right gear is key to a professional result. The secret to learning how to fix drywall damage without making it worse is what's in your toolbox.
A common mistake is grabbing the first putty knife you see. For a seamless repair, you need a flexible 6-inch taping knife. Its width and flexibility are perfect for "feathering" the edges of your patch. This means blending the compound smoothly into the wall so no lines are visible.
Selecting the Right Compound and Tape
Next, let's talk about the mud. You'll see two main kinds: all-purpose joint compound and fast-setting compound ("hot mud").
- All-Purpose Joint Compound: This is great for beginners. It's pre-mixed and gives you plenty of time to work before it dries. It's perfect for the final, smooth layers.
- Fast-Setting "Hot Mud": This comes as a powder you mix with water. It sets up fast, sometimes in just 20 minutes. It's very strong and doesn't shrink much. We use it for deep holes on the first pass.
For tape, we often recommend fiberglass mesh tape for most DIY repairs. It’s self-adhesive, so it's easy to use and adds extra strength. This is great for homes in Pacific Grove and Carmel that might have cracks.
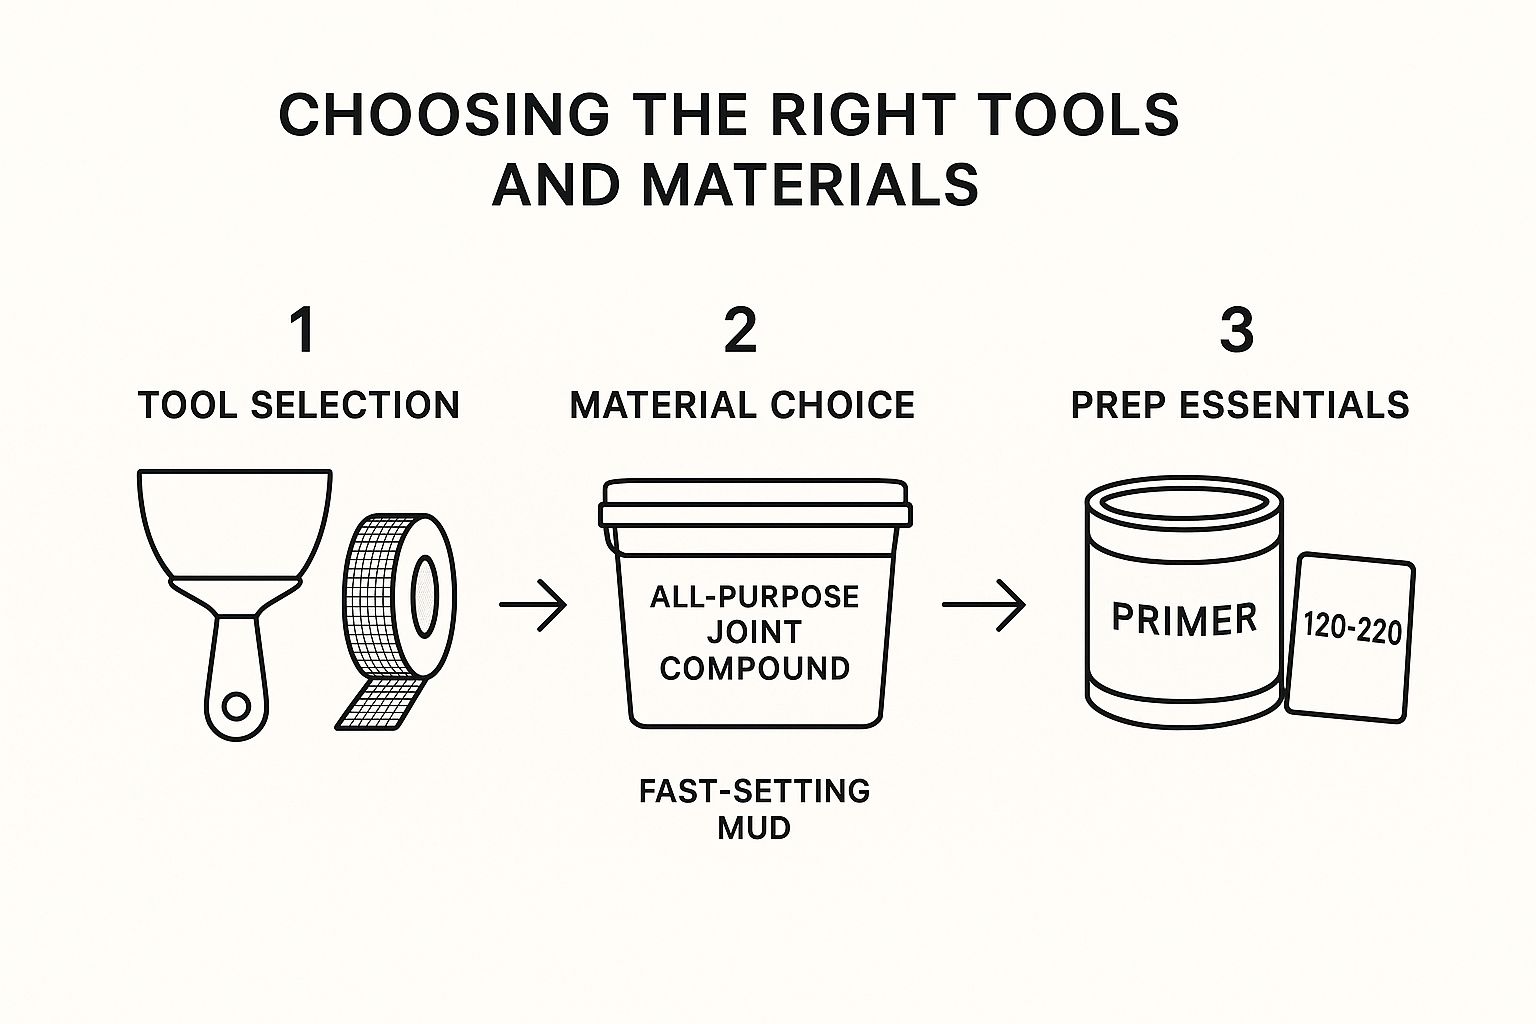
Pairing the right tools with the right materials is a simple formula for success.
Don't Forget the Finishing Touches
Finally, let’s talk about the items that make a repair look professional. A quality drywall primer is a must. It seals the new mud so your topcoat of paint doesn't soak in differently. This prevents a dull spot called "flashing."
You'll also need sandpaper. Start with 120-grit for initial smoothing. Then move to a finer 220-grit for a perfect finish before priming. To learn more about great tools, see our guide on the 12 best paint brushes for walls.
Expert Tip: For big projects, it's good to understand all your options. Researching materials pays off. There are great resources for choosing the right interior wall materials.
A Practical Guide to Flawless Drywall Repair
You have your tools, so it's time to start. The real secret to learning how to fix drywall damage without making it worse is being patient and methodical. We use three stages: Preparation, Application, and Finishing. These are the steps our pros use in homes across Carmel and Salinas.
The Critical Preparation Phase
A perfect patch starts before you open the joint compound. First, get the damaged area clean and dry. Remove any loose paper or crumbling bits. If you patch over dust, the compound won't stick well.
Next, for holes or deep gouges, you'll want to bevel the edges. Use a utility knife to trim the drywall paper around the hole at a 45-degree angle. This creates a V-shaped groove that helps the compound stick better.
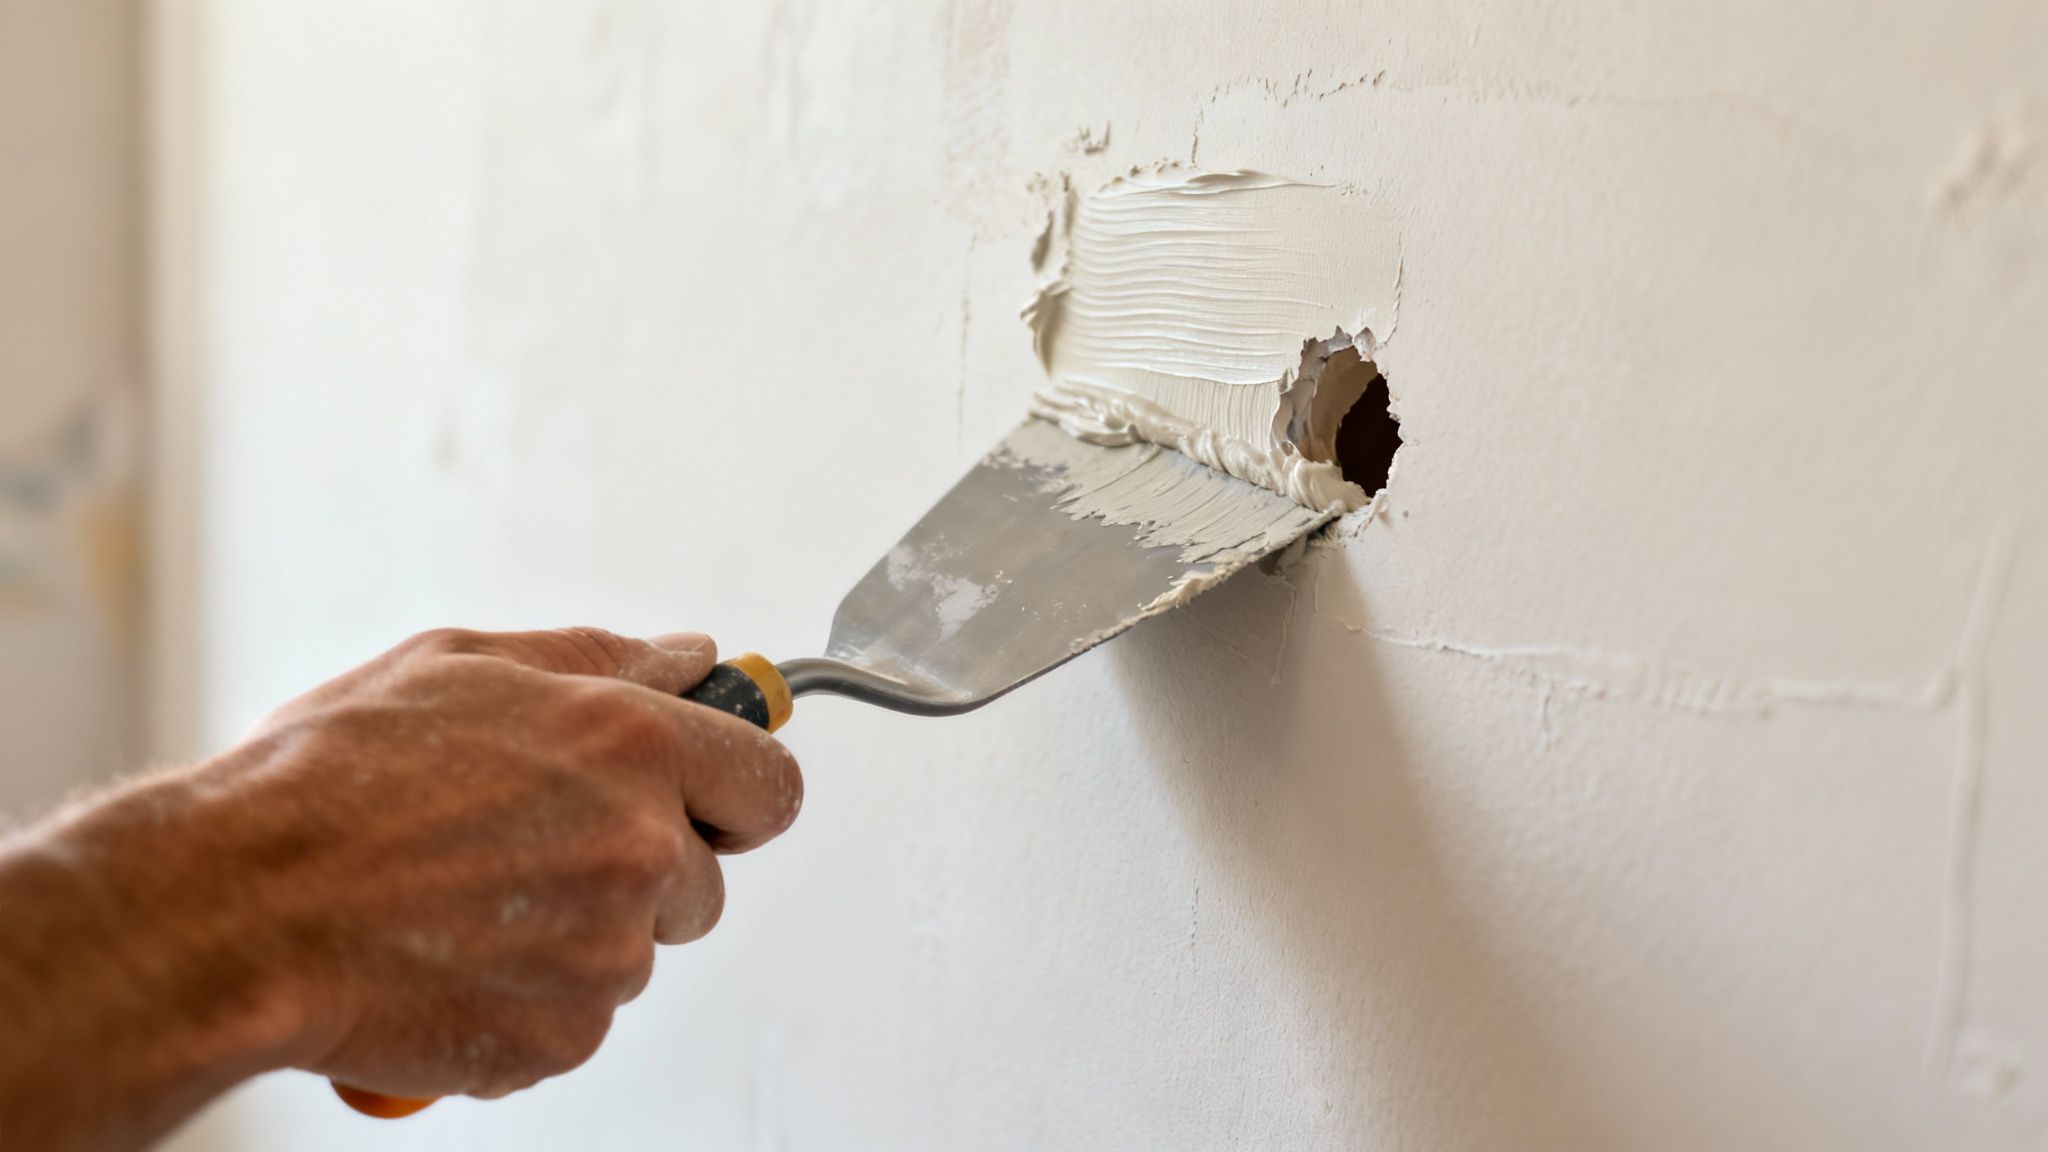
The Art of Application
This is where many DIY repairs go wrong. It's tempting to put a thick layer of mud in the hole all at once. That's a big mistake. Thick coats of compound shrink, crack, and create a lumpy mess that's hard to sand.
The Professional Technique: Less is more. Apply a thin, even layer of joint compound with your 6-inch taping knife. Spread it just beyond the damaged area. The goal is to build up the area slowly for a flat, strong finish.
Once the first thin coat is on, feather the edges. Hold your taping knife at a low angle and press firmly to smooth the outer edges. This creates a smooth transition from the patch to the wall. For more on this, check out our guide on drywall preparation for painting.
Achieving a Perfect Finish
Now for the hard part: waiting. You must let the first coat dry completely, which takes about 24 hours. If you rush it, you'll mess up the patch.
Once it's dry, lightly sand the patch with a 120-grit sanding sponge. You’re just knocking down any high spots. Use gentle, sweeping motions.
Wipe away the dust with a damp cloth. Now you're ready for your second coat. Apply another thin layer, spreading it a little wider than the first. Feather the edges, let it dry, and sand it again. Most small repairs need two or three thin coats.
Achieving an Invisible Finish with Texture and Paint
You've patched the hole and sanded the mud. The surface is smooth. But this is where many DIY repairs fail. A flat patch on a textured wall sticks out.
Nothing screams "I fixed this myself" like a smooth spot on a textured wall. Blending the texture and paint is what makes a repair truly invisible. It’s all in the details.
Matching Your Wall's Texture
First, you have to know your wall's texture. Look closely. Does it have a bumpy pattern like an orange peel? Or does the pattern seem flattened, or "knocked down"?
Most homes in Carmel and Monterey have one of these styles. You can match them with aerosol texture sprays from the hardware store. They have adjustable nozzles for different finishes.
The real secret? Practice on a scrap piece of cardboard first. This is a must-do step. It lets you get a feel for the spray so you can get a perfect match before you touch the wall.
Pro Tip: For older or unique textures, a sea sponge works great. Thin some joint compound with water and lightly dab it onto the patch. It’s an old trick that gives you great control.
Once your texture is on, let it dry for another 24 hours. If you want to learn more, we have a guide on textured wall painting techniques.
Quick Guide to Common Wall Textures
| Texture Type | How to Identify It | Simple DIY Matching Technique |
|---|---|---|
| Orange Peel | A fine, bumpy surface like an orange skin. It's very common. | Use an aerosol texture spray can. Adjust the nozzle and test on cardboard first. |
| Knockdown | Looks like orange peel that has been flattened with a trowel. | Apply an orange peel texture, wait 10-15 minutes, then gently run a wide drywall knife over it to flatten the peaks. |
| Popcorn | A chunky texture for ceilings in older homes. It's very distinct. | Special popcorn texture mixes are available. They are usually applied with a hopper gun sprayer. |
| Sand Swirl | A pattern of overlapping half-circles made by swirling a thick, sandy paint. | Mix fine sand into primer or joint compound and apply it with a thick brush in a swirling motion. |
Priming and Painting for a Flawless Blend
It's tempting to paint right over the new texture, but don't skip the primer. This is a crucial step. Without it, you’ll get "flashing"—a dull spot where the new patch soaks up paint differently. A good primer creates an even surface for the final color.
Once the primer is dry, it’s time to paint. The best way to get a perfect color match is to cut a small chip of the existing paint from a hidden spot (like inside a closet). Take it to your paint store. Their computers can mix a near-perfect match.
Use a small roller to apply the first coat, feathering the edges out. Let it dry. If you can still see the repair, a second coat should do the trick. Your wall will look like new.
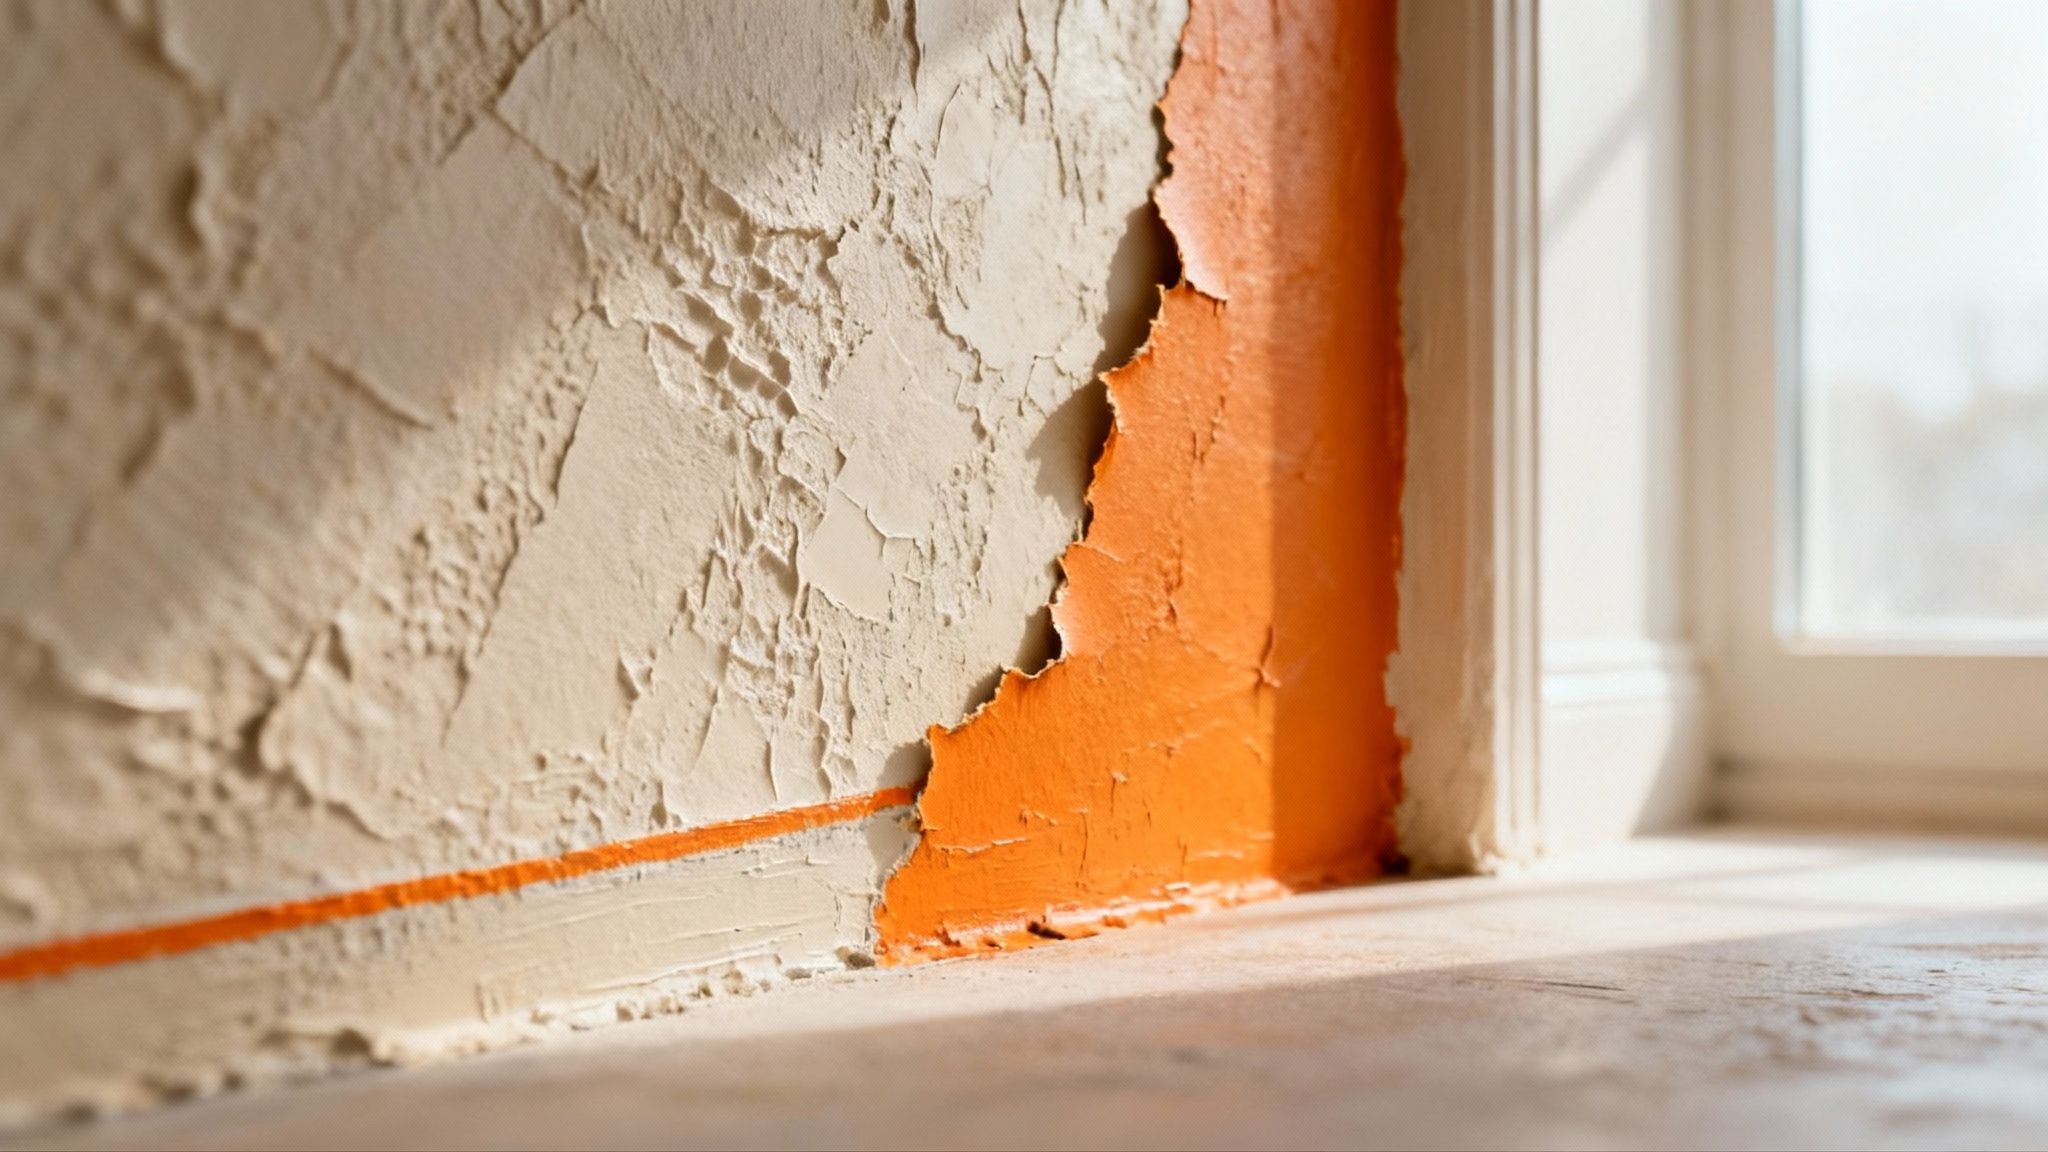
Repairing Drywall in Coastal and Older Homes
Homes around Monterey County, especially on the coast in places like Pacific Grove and Carmel, have unique challenges. The salt air and humidity can make standard drywall repairs fail early.
Knowing a few tricks makes a big difference for a fix that lasts. The key is picking materials that can handle these tough conditions. Regular joint compound might not hold up.
For any patch job in a bathroom, kitchen, or on a wall facing the ocean, use moisture-resistant or mold-resistant drywall products. It’s a small upgrade that makes a big difference in our coastal environment.
Dealing with Humidity and Salt Air
Damp air is drywall's enemy. It weakens the core and can lead to mildew. Using the right products from the start is very important.
- Moisture-Resistant Drywall ("Green Board"): This has a special paper backing that slows down moisture absorption.
- Mold-Resistant Drywall: This type is even better. It's treated to stop mold and mildew from growing.
The best plan is to stop moisture problems before they start. We cover this in our guide on how to prevent mold growth.
The Quirks of Lath and Plaster Walls
Many beautiful older homes in our area have lath and plaster walls, not drywall. Trying to patch these walls with modern methods can cause more damage. The old plaster is brittle and can crumble easily.
Tap the wall. If it feels rock-solid, it's likely plaster. If you see thin wooden strips (the lath) behind the hole, that's your proof.
When working on plaster walls, be gentle. You'll need a special plaster patching compound made to bond with the old material. Apply it in thin layers, building it up slowly. This careful method creates a strong repair that respects the home’s original character.
Got Questions About Drywall Repair? We’ve Got Answers.
We've heard just about every drywall question from homeowners across Monterey County. Here are common questions with simple answers to help you learn how to fix drywall damage without making it worse.
How Long Should I Wait for Joint Compound to Dry?
Patience is key. Drying time depends on the compound, how thick you applied it, and the humidity. A good rule is to wait at least 24 hours between coats. If the patch feels cool or damp, it's not ready. Rushing this step often leads to cracks.
Can I Just Use Spackle Instead of Joint Compound?
For tiny nail holes, spackle is a quick fix. But for anything bigger, like dents or cracks, you need joint compound. It’s much stronger and more durable. Joint compound shrinks less and sands down smoother, giving you that professional, invisible finish.
What's the Best Way to Handle a Hairline Crack?
A hairline crack can be tricky. It will reappear if you just put mud over it. The best way to fix it is to widen the crack a little with a utility knife, making a shallow "V" shape. This gives the compound something to hold onto. Then, put fiberglass mesh tape over the crack before applying your first thin coat of mud. The tape adds strength to prevent the crack from coming back.
Do I Really Need to Use a Primer Over the Patch?
Yes, absolutely. Primer is a must if you want a truly invisible repair. It seals the new joint compound, which is very porous. If you skip it, the patched area will soak up paint differently, leaving a dull spot called "flashing." This is a clear sign of a DIY repair. Priming ensures the whole wall has an even sheen.
Expert Insight: Think of primer as the bridge between your repair and your paint. It makes sure the old wall and the new patch accept the paint in the same way. That's the secret to a professional look.
My Wall Has an Old, Weird Texture. How Can I Match It?
Matching unique textures, like those in older Carmel and Monterey homes, takes practice. Don't try it on the wall first. Grab a scrap piece of drywall or cardboard to experiment on. Play around with different tools—a sponge, a stiff brush, or even a crumpled plastic bag dipped in thinned-down mud. This lets you get the pattern right before you touch the actual wall.
Feeling overwhelmed or just want a perfect result? The team at Legacy Painting and Renovating Inc. has the experience to handle any drywall repair, from small dings to major restorations. We guarantee a flawless finish every time for homeowners in Salinas, Monterey, and the surrounding areas. Contact us today for a free, no-obligation estimate!