
If you want a paint job that lasts, you can't just slap a coat of paint on bare wood and call it a day. The real secret to a durable, flawless finish lies in what you do before you even open the paint can. It all boils down to four key stages: a deep clean to get rid of grime, repairing any dings or cracks, sanding everything smooth, and finally, applying a quality primer.
This guide walks you through the professional steps on how to prep wood for painting, ensuring a beautiful, long-lasting result for your home in Monterey, Salinas, or beyond. This sequence isn't just a suggestion; it's the professional standard for a reason.
Why Prepping Wood Is the Most Critical Step
Skipping the prep work is the single biggest mistake we see, and it's what separates a professional job from one that fails in a year. When you cut corners here, you're practically inviting peeling, chipping, and bubbling. This is especially true in the damp, salty air we get around Monterey and Carmel.
Think of this preparation time not as a chore, but as an investment. You're building a stable foundation for the paint to grab onto, ensuring it looks great and holds up for years.
An Investment in Longevity
Every hour you spend on prep now will save you countless frustrating hours on future touch-ups and repairs. For homeowners in places like Salinas and Pacific Grove, that means a paint job that can handle the seasonal weather shifts without failing prematurely.
This principle is universal. A solid foundation is everything, whether you're learning how to prepare walls for painting or tackling a wooden deck.
Taking the time to properly clean, repair, and sand wood is what separates an amateur paint job from a professional, long-lasting finish. It’s the difference between a project that looks good for a few months and one that looks great for years.
To put it all in perspective, here’s a quick breakdown of the core stages.
The Four Pillars of Wood Preparation
This table gives a quick look at the core stages of wood preparation and what each one accomplishes.
| Stage | Primary Goal | Why It Matters |
|---|---|---|
| Cleaning | Remove Contaminants | Dirt, grease, and grime block paint from sticking directly to the wood. |
| Repairing | Create a Flawless Surface | Fills imperfections so the final coat looks smooth and uniform. |
| Sanding | Improve Adhesion | Scuffs up the surface to give the primer and paint something to grip. |
| Priming | Seal and Stabilize | Creates a uniform base, blocks stains, and ensures even paint absorption. |
Getting the surface ready is simply non-negotiable. And beyond the specifics of wood prep, understanding general DIY considerations always reinforces the importance of doing things right from the start.
Now, let's walk through the exact steps professional painters use to guarantee a perfect result every time.
Cleaning and Repairing for a Solid Foundation
You wouldn't build a house on a shaky foundation, right? The same logic applies to painting. A truly professional paint job starts with a surface that's not just clean, but immaculately clean and perfectly smooth.
Every bit of dirt, grease, or grime can sabotage the final look and cause the paint to fail down the road. This is especially critical in coastal areas like Pacific Grove, where salty air can leave a subtle, paint-repelling film on everything.
Getting the Surface Spotless
For most interior wood, a simple solution of mild dish soap and warm water gets the job done. If you're tackling tougher jobs like greasy kitchen cabinets or grimy exterior trim, you might need a degreaser like Trisodium Phosphate (TSP) or a TSP substitute.
When you start cleaning, keep these tips in mind:
- Work in small, manageable sections. This keeps your cleaning solution from drying on the surface before you can rinse it off.
- Stick to soft cloths or sponges. You want to clean the wood, not scratch it with abrasive scrubbers.
- Rinse everything thoroughly. Go back over the area with a fresh, damp cloth to wipe away any leftover soap residue.
- Let it dry completely. Wood has to be 100% dry before you even think about sanding or priming. Give it at least 24 hours.
The basic principles for cleaning wood are pretty universal. Our guide on how to clean walls before painting covers similar ground. And if you run into some really tough spots, knowing how to remove stubborn stains is a skill that will definitely pay off.
Making Flawless Repairs
With the wood clean and dry, it's time to play detective. Go over every inch of the surface and look for nail holes, dings, scratches, and cracks. A fresh coat of paint will only make these flaws stand out more.
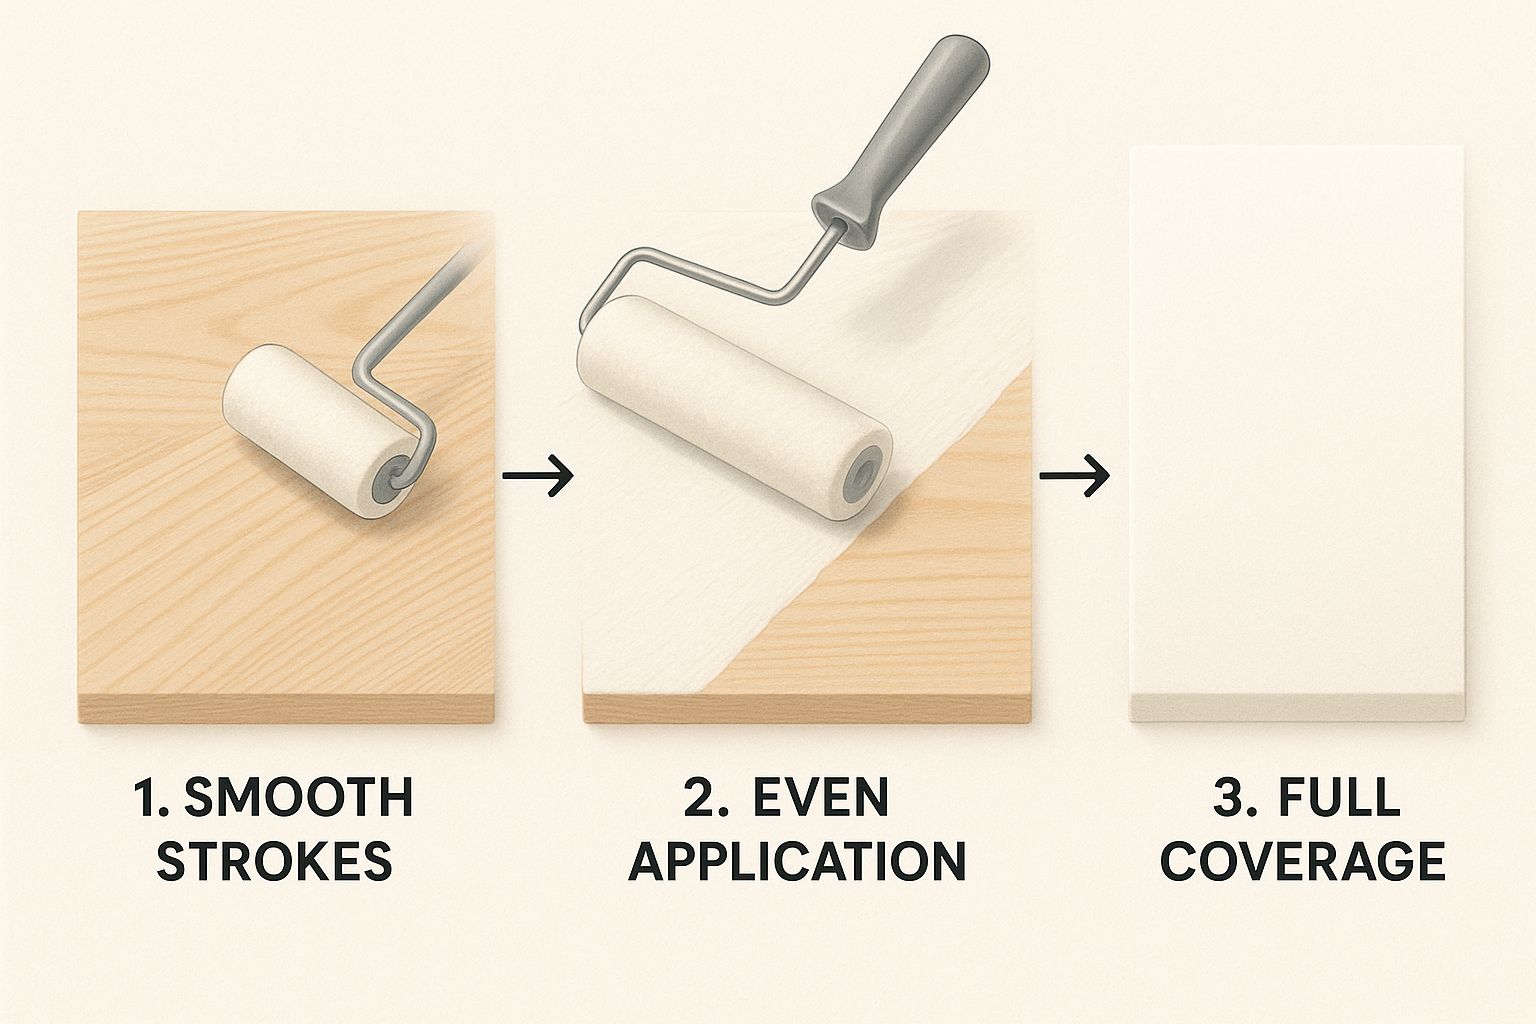
Using a flexible putty knife, apply a high-quality, paintable wood filler to any imperfection. I always slightly overfill the hole or crack because most fillers shrink a bit as they dry. Once it’s fully cured (check the product instructions), you’ll sand it perfectly flush.
Pro Tip: For deeper gouges, don't try to fill it all in one go. Apply the wood filler in thin layers, letting each one dry completely before adding the next. This prevents the filler from cracking and creates a much stronger repair.
This step is what really separates a DIY paint job from a professional one. Taking the time to fill every last imperfection creates the seamless canvas you need for a great finish.
Sanding Wood for Professional-Level Smoothness
Now that your wood surface is clean, dry, and repaired, it’s time for the most important part of prepping wood for paint: sanding.
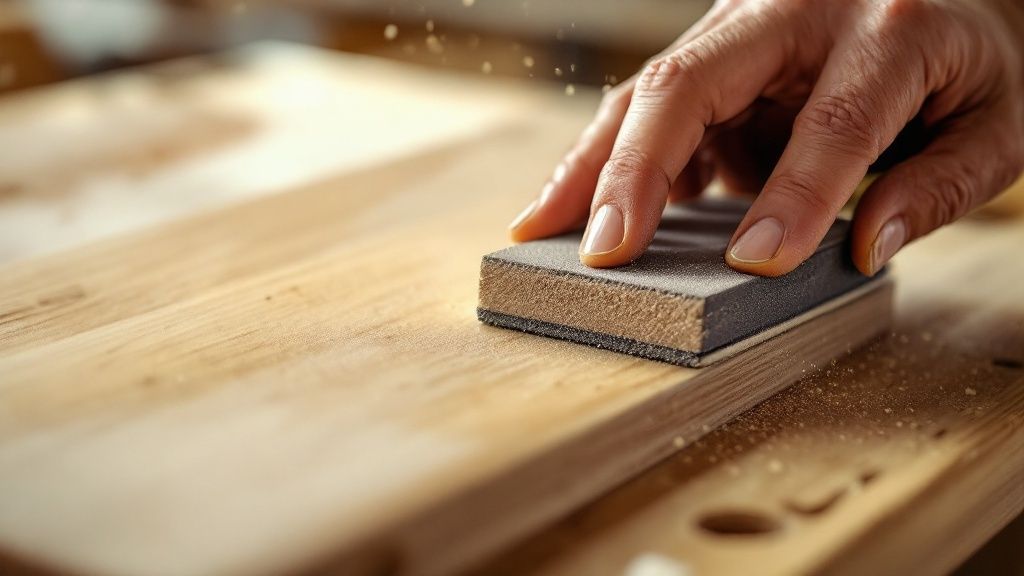
Lots of people think sanding is just about making the wood feel smooth. The real magic is that sanding creates tiny grooves on the surface, giving it what pros call "tooth." This texture is what primer desperately needs to grab onto, creating a bond that won't quit.
If you skip this step, the primer and paint just sit on a slick, flat surface. In the humid coastal air we get here in Monterey, that’s a recipe for peeling and chipping.
Choosing the Right Sandpaper Grit
Walking into the sandpaper aisle can feel overwhelming, but it's simpler than you think. Sandpaper is graded by "grit"—the number of abrasive particles per square inch. A lower number means a coarser grit, and a higher number means a finer grit.
Here’s a quick guide to help you choose the right tool for the job.
Choosing the Right Sandpaper Grit
| Grit Range | Name | Primary Use Case |
|---|---|---|
| 60-80 | Coarse | Best for aggressive work, like stripping old paint or leveling deep gouges. |
| 100-150 | Medium | Your go-to for general sanding, smoothing bare wood, and feathering repaired areas. |
| 180-220 | Fine | Use this for the final pass right before priming to get a silky-smooth finish. |
Having these options available means you're prepared for whatever the wood surface throws at you.
Hand Sanding vs Power Sanders
So, should you sand by hand or grab a power sander? For smaller, more intricate projects—like a picture frame or detailed chair legs—hand sanding gives you maximum control.
But for bigger surfaces like doors, cabinets, or a deck at your Carmel home, an orbital sander is your best friend. It saves an incredible amount of time and delivers a more consistent, even finish. For more pro tips, check out our team's detailed guide on surface preparation for painting.
The Final and Most Important Cleanup
After you've finished sanding, your project will be covered in a fine layer of wood dust. This dust is the enemy of a smooth paint job. You have to get rid of every last speck.
Start by vacuuming the entire surface with a brush attachment. Once you've vacuumed, follow up with a tack cloth or a clean, lint-free rag lightly dampened with mineral spirits. This will pick up any stubborn residue left behind.
Choosing and Applying the Right Primer
After all that hard work, the wood is finally ready for the unsung hero of every great paint job: primer. Primer is the essential bridge connecting the raw wood to that beautiful final color. It seals the surface, blocks stains, and makes sure your topcoat goes on evenly.
Skipping this step is like building a house without a foundation—the results just won't last. For our clients here in the damp coastal air of Carmel, using the right primer is non-negotiable. It's what prevents moisture damage and keeps the paint from failing.
Picking the Perfect Primer for Your Project
Not all primers are created equal. The three main types—oil, latex, and shellac—each have specific strengths that make them the right tool for different jobs.
- Oil-Based (Alkyd) Primer: This is the traditional workhorse for exterior projects and any high-traffic areas. It offers incredible durability and is our go-to for exterior trim and doors.
- Latex-Based (Water-Based) Primer: For most interior projects, a latex primer is a fantastic, user-friendly choice. It’s flexible, dries quickly, and cleans up easily with soap and water.
- Shellac-Based Primer: Got tough stains from water or smoke? Dealing with knotty woods like pine that tend to bleed resin? Shellac-based primer has unparalleled stain-blocking power.
This focus on proper prep and material choice is what separates the pros from the amateurs. Homeowners everywhere demand durable, high-quality finishes, and using the right primer is key to meeting that demand.
Tips for a Flawless Primer Application
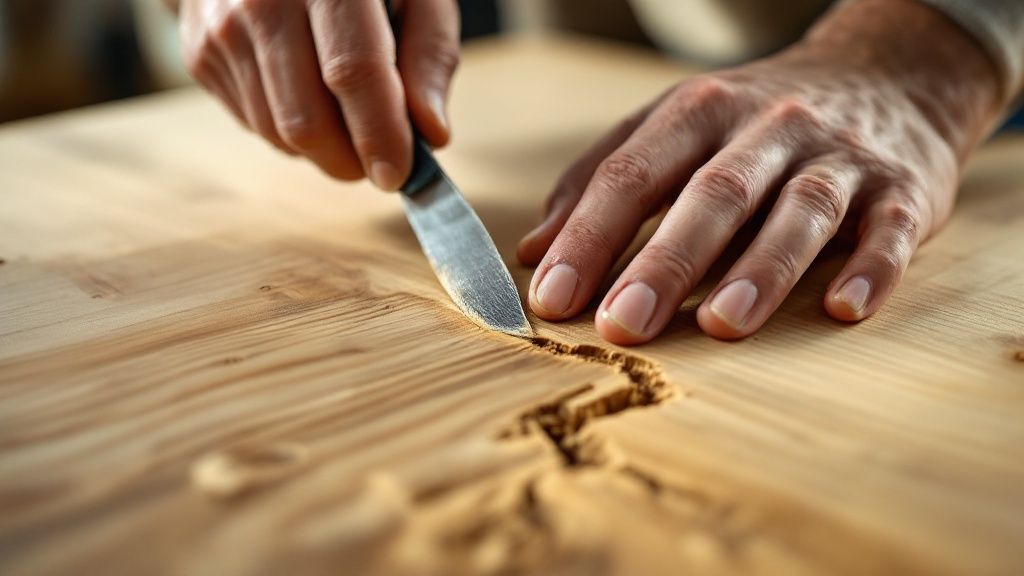
Once you've got the right primer, applying it correctly is just as important. The goal is a thin, even coat that covers the entire surface without any drips or heavy spots.
Use a high-quality brush for cutting in along edges and a roller for larger, flat surfaces. Apply the primer with long, smooth strokes, always maintaining a "wet edge" to avoid ugly lap marks.
The most common mistake we see is people rushing the drying process. Primer needs time to fully cure. Always check the can for the manufacturer’s recommended recoat time and actually follow it.
That little bit of patience ensures the primer does its job perfectly. You'll be left with a stable, uniform base that’s ready for the final color.
Handling Different Wood Types and Conditions
Not all wood is created equal, and your prep strategy has to adapt to what you’re working with. A new piece of lumber needs a different touch than a vintage dresser that’s seen decades of use in a Salinas home.
The biggest mistake is treating every wood surface the same. An approach that works for a simple pine board could spell disaster on an oily wood like teak. You absolutely have to adjust your technique for a professional, long-lasting finish.
Prepping Tricky Wood Varieties
Certain types of wood come with their own challenges. If you skip these steps, they can ruin your paint job later.
Here are a few common culprits you'll likely run into:
- Knotty Woods (like Pine): Those dark knots in pine are full of natural resins that will bleed through paint, leaving ugly yellow or brown stains. The only surefire way to stop this is to spot-prime every knot with a shellac-based primer.
- Oily Woods (like Teak or Rosewood): These woods contain natural oils that prevent paint from gripping correctly. Before sanding, wipe the entire surface down thoroughly with a rag dampened with acetone or lacquer thinner to remove surface oils.
- Pressure-Treated Wood: This wood is saturated with moisture when you buy it. If you paint it too soon, you’re just trapping that moisture inside, which causes bubbling and peeling. It must dry out completely, which can take several weeks or even a few months.
Tackling Common Surface Problems
Beyond the type of wood, you also have to assess its current condition. Is it new, covered in old paint, or has it been exposed to the elements?
Exterior siding on a home in a damp area like Pacific Grove is a magnet for mildew. You can't just paint over it. It has to be killed first with a solution of one part bleach to three parts water, then scrubbed and rinsed completely.
Crucial Tip: When prepping previously painted wood, your main goal is to create a smooth foundation. Scrape away any loose or peeling paint. Then, use medium-grit sandpaper (100-150 grit) to "feather" the hard edges where the old paint meets the bare wood for a seamless look.
Frequently Asked Questions (FAQs)
Prepping wood for paint is a craft, and it’s smart to get the details straight before you start. Here are the most common questions our team hears from homeowners across Salinas and Monterey.
Do I really have to sand before painting every time?
Yes, with very few exceptions, sanding is non-negotiable. It creates microscopic grooves—what we call “tooth”—that the primer can physically bite into. Even a brand-new piece of lumber has a slick sheen from the milling process that can prevent paint from bonding properly.
What’s the worst that can happen if I paint over dirty wood?
Painting over dirt, grease, or dust is asking for paint failure. All that grime creates a barrier between the wood and your primer, making a solid bond impossible. It might look decent for a week, but soon you will see the paint start to bubble, chip, and peel away.
How do I know which primer to use?
The right primer is your secret weapon. Here’s a quick cheat sheet:
- Latex (Water-Based): Best for most bare interior wood projects like trim and doors.
- Shellac-Based: The problem-solver for stubborn wood knots or old water and smoke stains.
- Oil-Based: Your best bet for exterior wood that has to stand up to the coastal air in places like Carmel.
Can’t I just use a paint-and-primer-in-one product?
While "all-in-one" paints have their uses, they are not a true substitute for a dedicated primer, especially on bare or tricky surfaces. They work best when repainting an already clean, painted wall in a similar shade. For bare wood or stained wood, a separate, high-quality primer is essential.
How long should I wait between steps?
Patience is everything in painting. After cleaning, wood must be completely dry. Here on the Monterey Peninsula, that can easily take 24-48 hours because of the damp air. After priming, check the can for the manufacturer's recommended recoat time and follow it to avoid a tacky mess. Rushing can lead to problems like learning how to fix paint drips.
Ready to skip the prep work and leave it to the professionals? The team at Legacy Painting & Renovating Inc. has the expertise to deliver a flawless, long-lasting finish for your home or business in Salinas, Monterey, Carmel, or Pacific Grove. Contact us today for a free, no-obligation estimate! https://legacypaintingrenovating.com