Getting rid of old caulk isn't just a suggestion. It's the first step for a clean, professional finish. When caulk cracks and pulls away, it lets water seep behind walls and tiles. This can lead to water damage and mold.
Taking the time to remove it properly ensures your new sealant can do its job. It helps create a solid bond that will last for years.
Why You Can't Just Caulk Over the Old Stuff
That cracked, yellowing caulk around your tub might seem small, but it can signal bigger trouble. Failing caulk is an open invitation for water, drafts, and bugs to get into your house. Putting a new layer on top is like putting a bandage on a deep cut. It hides the problem but doesn't fix it.
For homeowners here in Monterey County, from Salinas to Pacific Grove, a perfect seal is critical. A bad caulk line can lead to serious headaches.
- Water Damage and Mold: A tiny gap is enough for water to get into your walls. Soon, you could have wood rot and mold growing where you can’t see it.
- Wasted Energy: Gaps around windows and doors create drafts. This makes your furnace and AC work harder, raising your energy bills.
- Unwanted Pests: Small insects can squeeze through tiny openings in your exterior caulk. A small crack can turn into a big pest problem inside.
A Quick Heads-Up for Older Homes
Removing old caulk is also a safety issue, especially in the historic homes you see in Carmel. Before you start scraping, you should know what you're dealing with. A modern marine sealant adhesive caulk is very different from what was used decades ago.
If your home was built between the 1950s and 1980s, the caulk might contain toxic polychlorinated biphenyls (PCBs).
These hazardous chemicals can be a health risk if not handled carefully. Careful removal and disposal are essential.
Getting this prep work right is key to a successful project. To see how this step fits into the bigger picture, check out our guide on how to plan a home renovation.
Assembling Your Caulk Removal Toolkit
Having the right tools can make a big difference. It can turn a frustrating chore into a satisfying project. Whether you're working with delicate tile in a Pacific Grove bathroom or window frames in a Salinas home, your toolkit is key.
The goal is simple: get all the old caulk off without scratching the surfaces underneath. For most jobs, you only need a few reliable items.
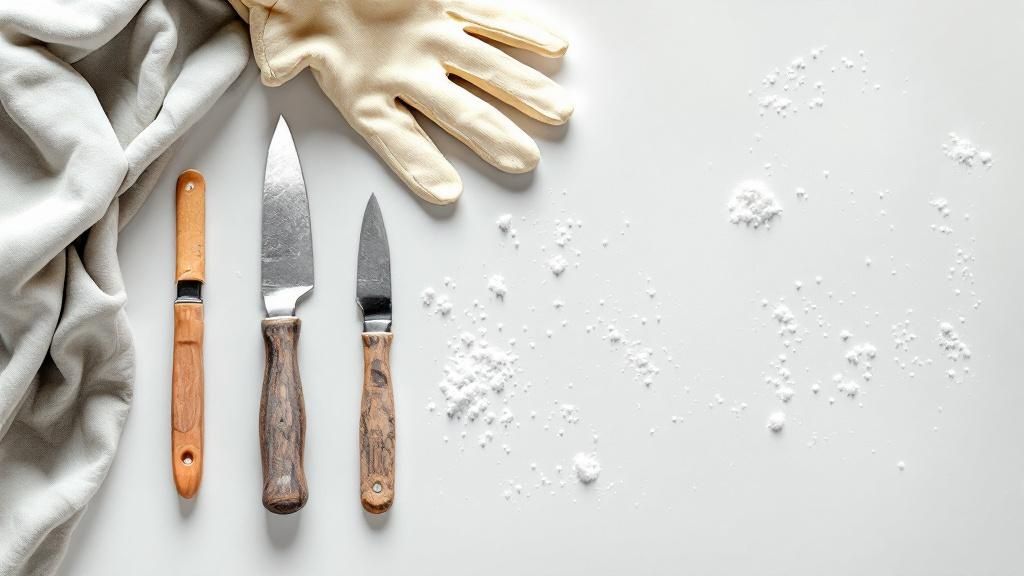
The Go-To Hand Tools
Your first tools will usually be manual ones. They give you the control you need when working near sensitive materials.
A sharp utility knife is great for slicing through the top and bottom edges of the caulk. This simple action helps break the seal.
Once you've scored the caulk, a putty knife or a special caulk removal tool is perfect for prying it out. A plastic scraper is also a good choice for delicate surfaces. It is less likely to scratch acrylic tubs or painted trim.
Choosing Your Caulk Removal Tool
Picking the right tool depends on the caulk's age, type, and the surface. Here’s a quick breakdown to help you decide.
| Tool Type | Best For | Pros | Cons |
|---|---|---|---|
| Utility Knife | Scoring silicone and acrylic caulk | Precise, great for starting the job | Can easily scratch surfaces if not careful |
| Putty Knife | Prying up loosened caulk beads | Inexpensive, versatile | Can gouge softer materials like wood or drywall |
| Plastic Scraper | Delicate surfaces (acrylic, fiberglass, painted wood) | Minimizes risk of scratching | Not effective on very hard, old caulk |
| Oscillating Tool | Hard, stubborn caulk on durable surfaces | Fast and powerful, saves a lot of effort | Requires skill to avoid damaging surfaces; noisy |
Using a combination of these tools is usually the best approach. Start gently with a plastic scraper and only move to other options if needed.
When You Need More Power
Sometimes, you'll run into caulk that seems stuck for good. A power tool can save you hours of scraping. Learning how to remove old caulk means knowing when to switch from manual to power tools.
An oscillating multi-tool can handle the toughest jobs. If you use one, the EPA's guide on caulk removal methods has some great safety tips.
Pro Tip: If you use an oscillating tool, attach a flexible scraper blade. It vibrates to break the caulk’s bond instead of cutting, which helps protect the surface.
Finally, don't forget your safety gear. Always wear safety glasses to protect your eyes. A good pair of work gloves will also keep your hands safe.
Prepping Your Workspace for a Clean Job
A little prep work now saves a lot of cleanup time later. Before you pick up a scraper, a few simple steps will make the project cleaner and safer.
First, clean the area. Use an all-purpose cleaner to get rid of any soap scum, grime, or mildew on the old caulk. It's hard to see what you're doing if you’re working through layers of gunk.
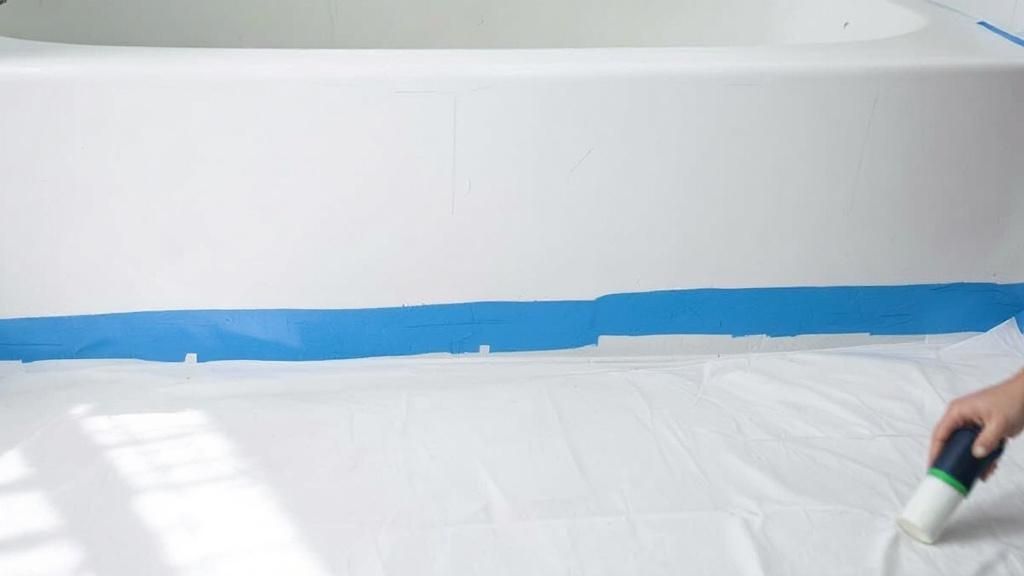
Protect Your Surfaces
Next, protect everything around the caulk line. Painter's tape is your best friend against accidental scratches, whether on a bathtub or a historic windowsill in a Carmel home.
Apply tape along both sides of the caulk bead. Leave a tiny gap right next to the caulk. This creates a guideline and a protective barrier—a key part of any good surface preparation for painting.
Pro Tip: Leave the tape in place. When you apply new caulk, this same tape will help you create a perfectly straight line.
Finally, make sure you have good ventilation. Open a window or use a fan, especially if you use a chemical caulk remover. The fumes can be strong, so fresh air is important for safety.
Proven Techniques for Removing Stubborn Caulk
Your workspace is prepped and your tools are ready. Now it's time to remove the caulk. Getting rid of old caulk isn't about force; it's about working smart. The goal is a clean removal without damaging your home's surfaces, whether you're in Salinas or Carmel.
A pro trick is to soften the caulk before you scrape. If you have hard latex or acrylic caulk, a heat gun on a low setting works well. Hold it several inches away to gently warm the bead until it becomes soft.
Softening and Slicing
For tough, rubbery silicone caulk, a commercial caulk softener is better. Silicone is made to resist heat, so a chemical softener is more effective. Apply it and let it sit to break down the caulk's bond.
Once the caulk is soft, grab your utility knife. Carefully slice along the top and bottom edges of the bead. This step cuts the connection to the wall and fixture, making it easier to peel out the caulk.
This image shows the basic removal process.
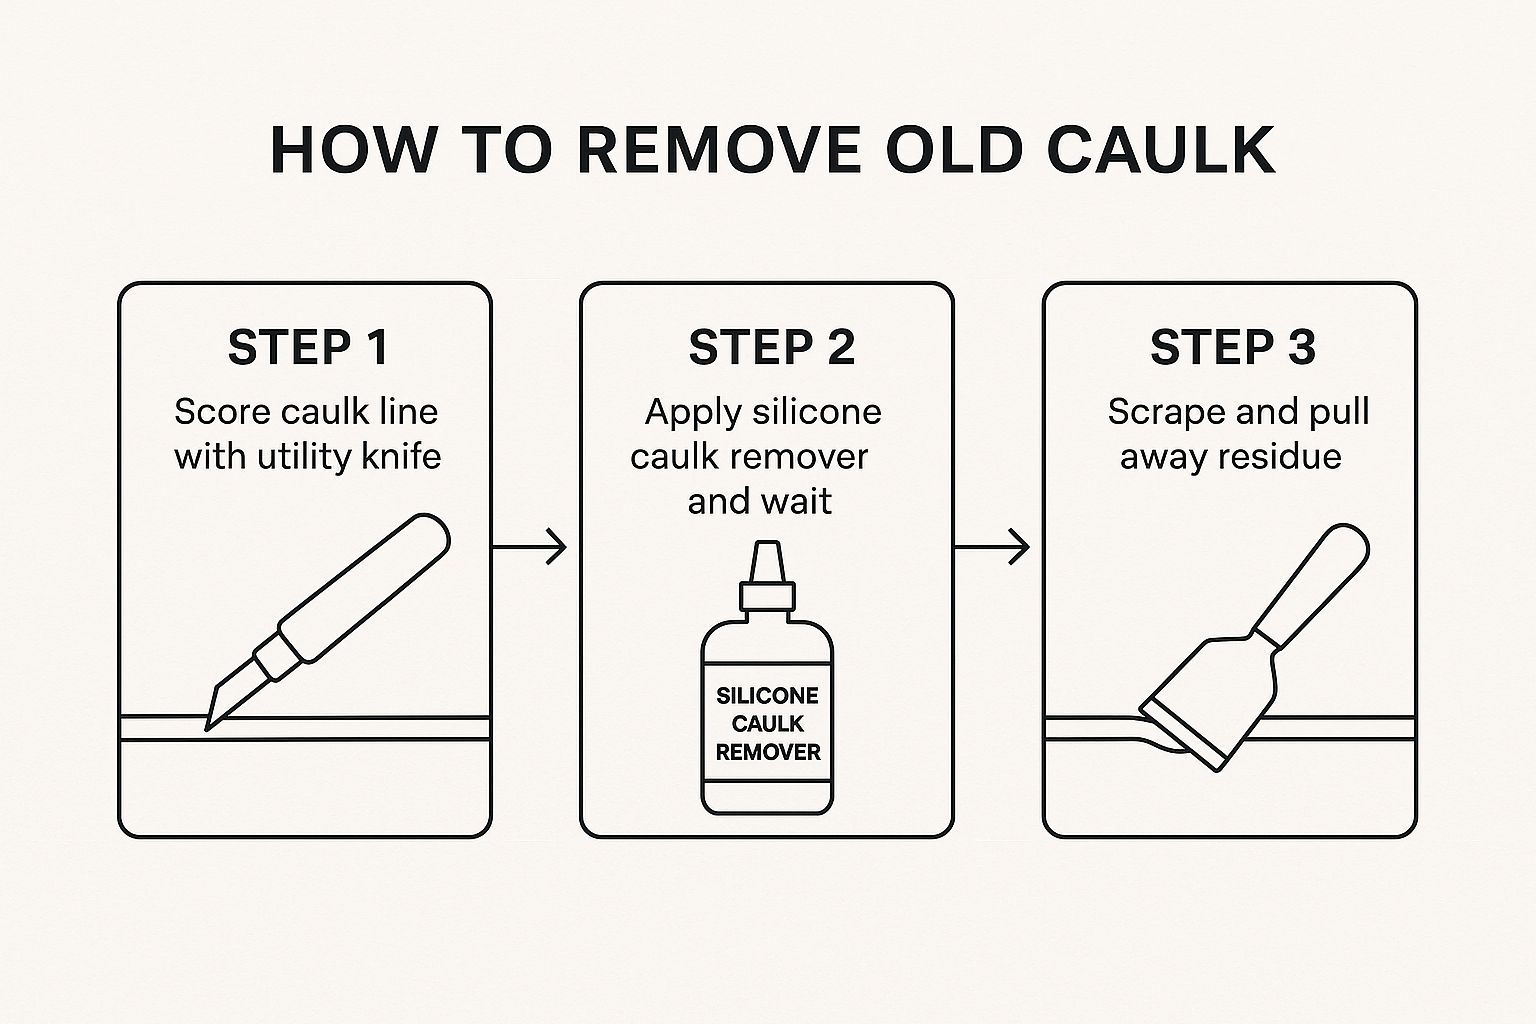
As you can see, it’s a simple process: score, treat, and scrape. Following these steps will give you a clean, professional finish.
Scraping and Removing Residue
After scoring the edges, use a putty knife to get under the bead and pry it up. If you can lift a corner, you can often pull out long sections at once. It’s a lot like the process in our guide on how to remove wallpaper easily—finding the right starting point is key.
Expert Tip: If you hit a hard section, don't just dig at it. Apply more heat or softener. Then, use a plastic scraper to gently chip away at it. Patience now will save you from costly repairs later.
Finally, tackle any bits of residue left behind. Use your scraper to get everything off. This last step is crucial because a perfectly clean surface ensures the new caulk will form a lasting seal.
The Final Clean Up for a Perfect Finish
Getting the big chunks of caulk out is a good feeling, but you're not done yet. The final cleanup is what makes the difference between a DIY job and a professional seal. This step ensures your new caulk holds tight against the coastal moisture we get in Monterey County.
First, deal with any sticky residue. The right tool for this depends on the type of caulk you removed.
Removing Final Residue
If you were dealing with silicone, a cloth with mineral spirits works best. It dissolves the tacky film without harming most surfaces. For latex caulk, a little rubbing alcohol is usually all you need. Always test any solvent on a small, hidden spot first.
Once the residue is gone, handle the dust and debris. A vacuum with a brush attachment can get into the joint to suck up any flakes and dust. Any leftover particles can get trapped under the new sealant and create weak spots.
If you notice any dings in the paint, our guide on how to fix paint drips can help you touch them up.
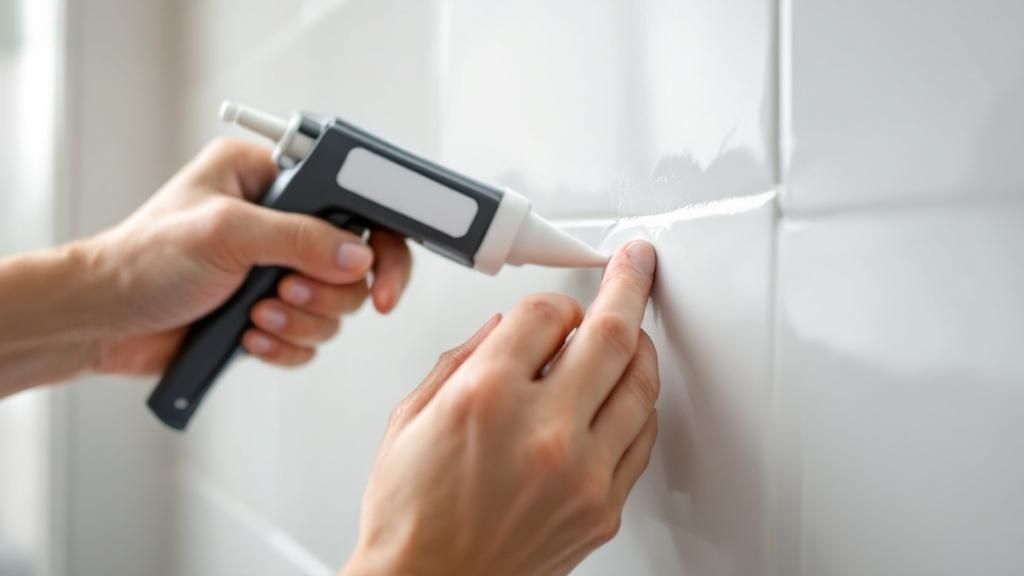
The secret to a perfect, waterproof seal is a perfectly prepared surface. The joint has to be 100% clean, dry, and free of any dust, oils, or solvents before you apply new caulk.
After you've removed all the old material, a thorough workspace cleaning is essential. Give the joint one last wipe with a clean, dry cloth, and you're ready for a fresh start.
Frequently Asked Questions About Caulk Removal
We often hear the same questions from homeowners around Monterey County. Getting these answers straight will help you finish your project with confidence.
How do I know if my old caulk is silicone or latex?
Here’s a simple trick. Dab a small spot of the caulk line with rubbing alcohol. If the caulk gets soft or gummy, it’s a latex or acrylic product. If it stays rubbery and doesn't change, it's almost certainly 100% silicone.
Can I apply new caulk over old caulk?
No. Putting new caulk over an old, cracked layer is only a temporary fix. It traps moisture and can lead to mold growth. The new caulk won't bond properly and will peel away quickly. You must remove all the old caulk first.
What is the best way to remove caulk from a delicate surface?
Patience is key. Use a heat gun on its lowest setting, holding it several inches away to gently soften the caulk. Then, use a plastic putty knife or a plastic razor blade to carefully scrape it away. This method reduces the risk of scratching the finish.
Can I use vinegar to help remove old caulk?
Vinegar is not very effective. It might help with very old, hard latex caulk, but it does almost nothing to silicone. A commercial caulk remover made for silicone is a much better choice.
How long should I wait before applying new caulk?
The surface must be completely dry. After cleaning out the joint, wait at least a few hours. For porous surfaces like grout or unpainted wood, it's best to wait a full 24 hours to ensure all moisture has evaporated.
For more answers, check out the Legacy Painting & Renovating FAQs page to see more insights from our local experts.
Summary for Meta Description: Learn how to remove old caulk like a pro with our step-by-step guide. We cover the best tools, techniques for stubborn caulk, and cleanup tips for a perfect, long-lasting seal in your Monterey County home.
Need a hand with your home renovation project in Salinas, Monterey, or Carmel? The experts at Legacy Painting & Renovating Inc. are here to help. Contact us today for a free estimate!