Ever wonder what the real secret is to a flawless, long-lasting paint job? It’s not just the color you choose or how carefully you apply it. The true unsung hero of any great paint project is what goes on before the first coat of color even touches the wall: the primer.
Think of it this way: you wouldn't build a house on shaky ground. Paint primer is the solid foundation for your paint. Skipping this step is one of the most common—and costly—mistakes we see homeowners make, from Salinas to Monterey. It almost always leads to frustrating issues like peeling, ugly stains bleeding through, and having to repaint far sooner than planned.
What Is Primer and Why Is It So Important?
At its core, paint primer is a special preparatory coating you apply before your final paint color. Its entire purpose is to create the perfect canvas, helping your expensive topcoat stick better, look truer to its color, and last for years.
When you paint directly onto a bare surface, you’re gambling. That surface might be too porous and drink up your paint, too slick for it to grab onto, or have old stains that will eventually reappear. Primer solves these problems before they can ruin your finish.
In fact, proper surface preparation for painting is the single most important part of the process, and primer is the undisputed star of the show. So, what exactly does this wonder-product do? It actually wears several hats at once.
The Four Core Functions of Primer
Primer isn’t just an “extra coat.” It’s a dedicated problem-solver, engineered to tackle common surface issues before you even open your can of color.
For any project, from a quick interior refresh in Pacific Grove to a full exterior overhaul in Carmel, primer is working behind the scenes to deliver a professional result. Here's a breakdown of the four essential jobs a quality primer handles.
| Function | What It Does | Why It Matters for Your Home |
|---|---|---|
| Ensure Adhesion | Acts like a powerful adhesive, gripping the wall and giving the topcoat an ideal surface to bond to. | This is what prevents the dreaded peeling, chipping, and blistering that can ruin a paint job. |
| Seal the Surface | Forms a barrier over porous materials like new drywall or bare wood, which would otherwise absorb paint unevenly. | Your paint will go on smoothly and uniformly, without patchy or dull spots. |
| Block Stains | Creates a shield that stops stubborn stains—like water spots, smoke, or marker—from bleeding through the new paint. | Your beautiful new color stays clean and flawless, without ghosts of old stains reappearing. |
| Create Even Color | Provides a neutral, consistent base color, which helps your chosen paint color look rich and true to the swatch. | You'll achieve the exact color you wanted with fewer coats, saving time and money. |
Ultimately, a good primer is the key to a finish that not only looks professional on day one but continues to look great for years.
Skipping primer might seem like a shortcut to save time and money, but it almost always costs more in the long run. A properly primed surface is the secret to a professional paint job that lasts for years, not just months.
How Primer Creates a Flawless Paint Finish
It’s a common misconception that primer is just a thicker, less colorful version of paint. The truth is far more technical. Primer is a sophisticated middleman, engineered at a microscopic level to create the perfect handshake between a tricky surface and your new paint.
The real science is in its unique formula. Primer molecules are loaded with powerful binders that give them the ability to physically and chemically grip onto surfaces where paint alone would fail. This is the secret to making paint stick to slick materials like metal, glass, or old, glossy paint.
Sealing Porous Surfaces for Uniformity
One of primer’s most critical jobs is taming porous materials. Fresh drywall, raw wood, and plaster are like giant sponges. If you apply paint directly, they soak it up unevenly, creating a blotchy finish known as "flashing."
Primer solves this by creating a uniform, non-porous film over the entire surface. This seals everything, ensuring your topcoat dries evenly and the color looks rich and consistent. For any new construction or a Salinas home renovation, this step is non-negotiable for a professional look.
Creating a Strong Chemical Bond
Beyond just gripping and sealing, primer forges a powerful chemical bond that is the key to a long-lasting paint job. It creates a stable, uniform foundation that your topcoat can lock onto flawlessly. This prevents common paint failures like peeling, chipping, and blistering.
For homeowners in coastal climates like Carmel and Pacific Grove, this bond is crucial. The constant battle with moisture and salt in the air is tough on paint. A quality primer acts as your first line of defense, locking out moisture and stopping it from ever getting behind the paint film.
This protective quality is why the global paint primer market is always growing. It’s an essential first coat that improves adhesion, boosts durability, and protects the surface underneath from moisture and corrosion.
Choosing the Right Primer for Your Project
Figuring out the right primer might seem overwhelming, but it's simple once you know the main types. It’s like a chef picking the right oil for a specific dish; a painter must choose the right primer for the surface.
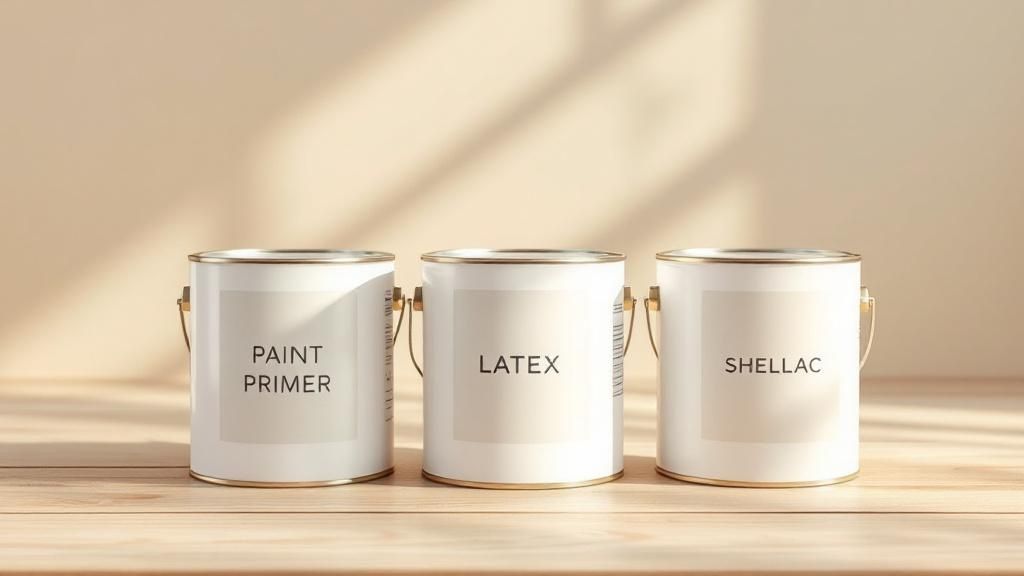
Here in the Monterey Bay area, this choice is everything. You could be working with new drywall in a Salinas home one day and weathered wood on a classic Pacific Grove house the next. The three main categories are oil-based, latex-based, and shellac-based primers.
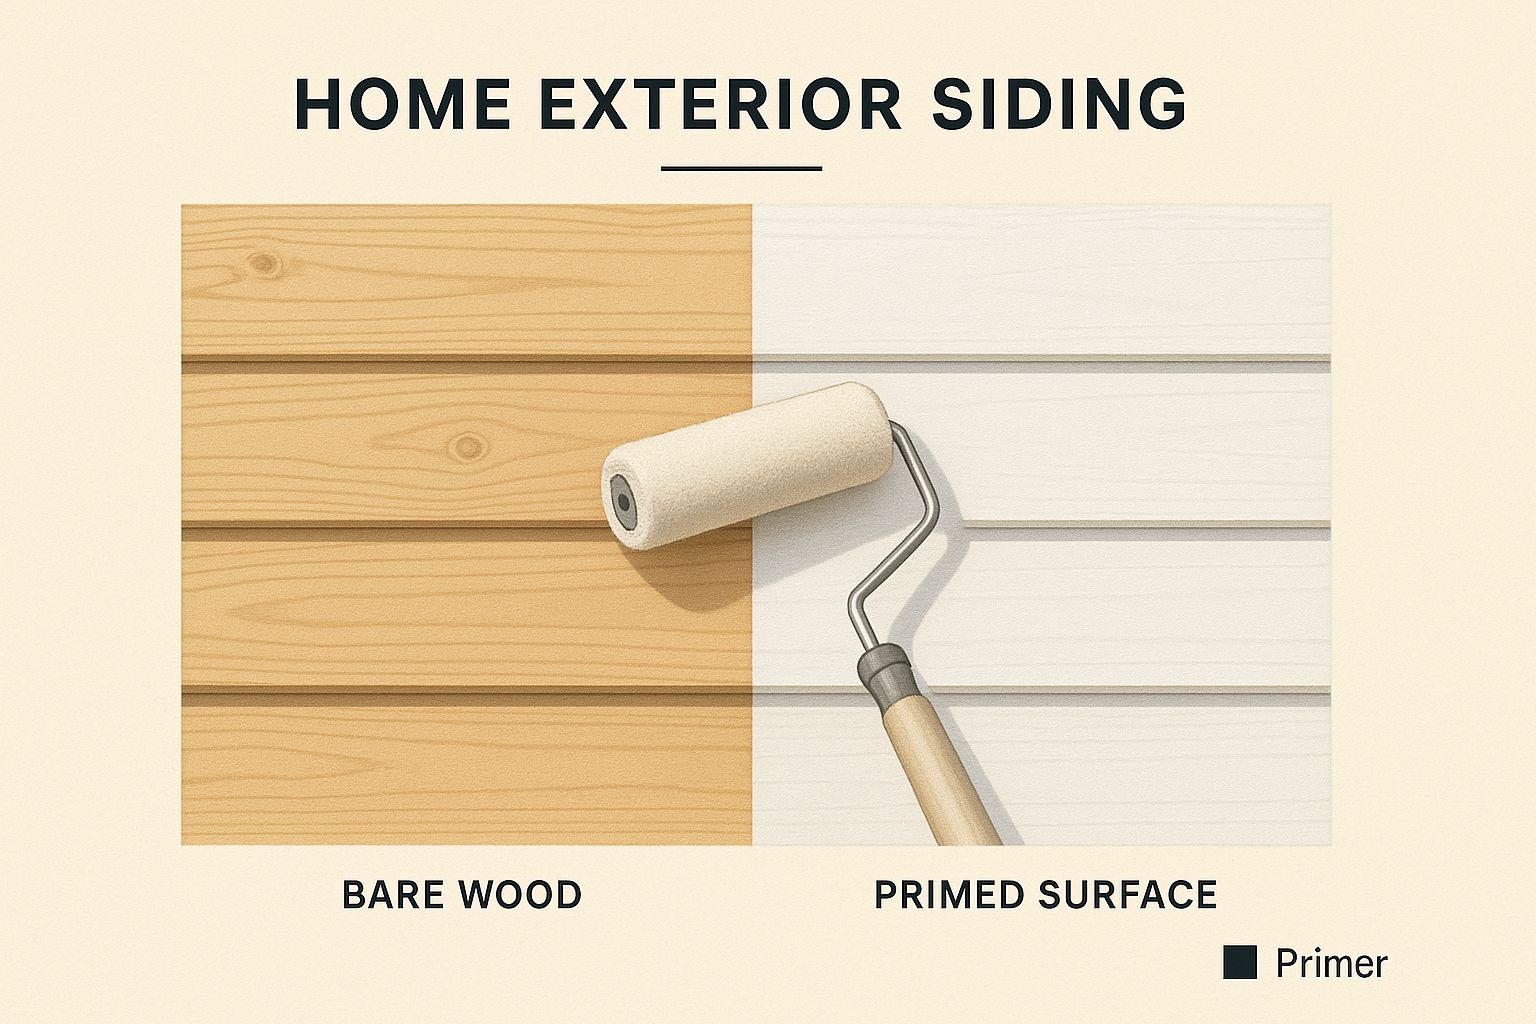
As you can see, the primed side offers a smooth, uniform base. This is what allows your topcoat to stick evenly and show its true, vibrant color.
Understanding the Three Main Primer Types
Making the right choice starts with knowing your options. Every primer type has a unique makeup designed for specific jobs, from locking down stains to providing a flexible base for interior walls. Of course, no primer can work on a dirty surface—a crucial first step is to how to clean walls before painting.
Here’s a quick breakdown to help you pick the perfect foundation for your paint job:
- Oil-Based (Alkyd) Primers: These are incredible at blocking heavy-duty stains from water damage, ink, and nicotine. They also do an amazing job of sealing porous wood and stopping tannins—natural oils in cedar and redwood—from bleeding through.
- Latex-Based (Acrylic) Primers: As the most versatile choice, latex primers are your go-to for most general jobs. They're perfect for unfinished drywall, softwood, and masonry like brick. Their flexibility and easy soap-and-water cleanup make them a favorite for any interior painting in Monterey.
- Shellac-Based Primers: Think of shellac primers as the ultimate problem-solvers. They have unbelievable stain-blocking power, sealing in heavy smoke damage, powerful odors, and stubborn wood knots. They dry fast and stick to almost any surface.
Pro Tip: If you're renovating an older Carmel home with plaster walls or dealing with lingering odors, a shellac-based primer is often the only thing that will guarantee those old problems don’t come back to haunt your beautiful new paint job.
Primer Type Comparison: Oil vs. Latex vs. Shellac
| Primer Type | Best For | Pros | Cons |
|---|---|---|---|
| Oil-Based | Bare wood, metal, interior/exterior stain blocking | Excellent adhesion, fantastic stain blocking, very durable finish. | Strong odor (high VOCs), slow to dry, and cleanup requires mineral spirits. |
| Latex-Based | New drywall, softwood, brick, and general repainting projects. | Low odor, dries fast, stays flexible to prevent cracking, and cleans up with soap and water. | Not as effective at blocking severe stains as oil or shellac-based options. |
| Shellac-Based | Severe smoke/water stains, wood knots, strong odors, glossy surfaces. | Dries incredibly fast, has amazing stain-blocking power, and sticks to almost anything. | Strong fumes, requires denatured alcohol for cleanup, and can become brittle over time. |
At the end of the day, choosing the right primer isn’t just about following directions on a can—it’s about setting your project up for a beautiful, durable finish.
When You Absolutely Must Use a Primer
While primer is recommended for most paint jobs, there are a handful of situations where it’s completely non-negotiable. Skipping it in these key scenarios is asking for a paint job that will fail, costing you more time and money.
This is where primer really shows its value. Whether you're working on a classic Carmel cottage or a newer build out in Salinas, knowing these rules is the difference between a pro-level finish and a DIY disaster.
Painting Over Fresh Drywall
New drywall is incredibly porous and will soak up paint unevenly. The result? A blotchy, uneven finish that pros call "flashing." You'll especially notice this on patched areas.
Imagine you've repaired a hole in your Monterey living room wall. If you paint directly over that fresh patch, it will always look duller than the rest of the wall. You must use a coat of drywall primer to seal that porous surface for a uniform base.
Making a Dramatic Color Change
Going from a dark, moody color to a light and airy one? You'll be stuck applying three, four, or even more coats of your expensive paint trying to hide the old color.
A single coat of a gray-tinted primer is your best friend here. It will neutralize that old, dark color far more effectively and cheaply than piling on more topcoats. This one step ensures your beautiful new color looks just like it did on the swatch.
Covering Glossy or Slick Surfaces
Paint needs something to bite into. Slick, glossy surfaces—like old oil-based paint, metal, or laminate cabinets—offer zero grip. If you paint directly onto them, it’s only a matter of time before the new paint starts to peel.
For these jobs, you have to use a bonding primer. This is formulated specifically to stick to difficult surfaces. It creates a grippy foundation that your new paint can lock onto for a secure finish.
Sealing Porous Materials or Stains
Some materials and stains are stubborn and can ruin a paint job from underneath unless you stop them with the right primer.
- Bare Wood: Raw wood, especially pine and cedar, contains natural oils called tannins. These oils will bleed through latex paint, leaving ugly yellow stains. You'll need an oil-based or shellac primer to block them.
- Porous Masonry: Surfaces like brick or concrete will drink up enormous amounts of paint if you don't seal them first with a masonry primer.
- Tough Stains: Got water damage, smoke stains, or permanent marker? A high-performance, stain-blocking primer is the only surefire way to make them disappear forever.
Common Primer Mistakes and How to Avoid Them
Using a primer is a fantastic first step, but how you apply it is just as important. A few common slip-ups can undermine your project, leading to frustrating results.
Knowing these pitfalls is what separates a DIY look from a professional finish. Here are the most frequent mistakes we see and the simple solutions to make sure your prep work pays off.
Applying Primer Too Thinly
One of the biggest mistakes is treating primer like paint and stretching it too far. A thin, see-through layer won't do its job. It can’t properly seal the surface or block stains, which defeats the whole purpose.
Solution: Apply a generous, even coat. The goal is a solid, opaque film that completely hides whatever is underneath. You shouldn't see the old paint color or bare drywall peeking through.
Not Waiting Long Enough for It to Dry
Patience is a virtue in painting. If you rush to apply your topcoat before the primer has fully cured, you’re setting yourself up for disaster. Painting over wet primer can cause it to lift or bubble, which ruins both the primer and the new paint. Our guide explains in detail what causes paint to bubble.
Pro Tip for Coastal Homes: In the humid air of places like Monterey and Pacific Grove, drying times can be longer than what's on the can. Always check the manufacturer’s instructions for the “recoat time,” and if it feels tacky, give it more time.
Failing to Clean the Surface First
Primer needs a clean, stable surface to grab onto. Painting over dust or grease is like building on sand. The primer will stick to the dirt instead of the wall, and eventually, it will peel away.
Solution: This is the easiest mistake to avoid. Before you open the can, give the surface a thorough cleaning with a TSP substitute or simple soap and water. Then, use a tack cloth to wipe away any sanding dust until the surface is spotless.
Frequently Asked Questions About Paint Primer
Even after you get the hang of what primer does, specific questions always pop up. Here are a few of the most common questions our team hears from homeowners across Salinas, Monterey, and beyond.
Are 'Paint And Primer In One' Products Good Enough?
Honestly, "paint and primer in one" products can be a decent choice for simple jobs. If you're repainting a light-colored wall with a similar shade, and the surface is clean and in good shape, they can work just fine.
But for anything more demanding, they're no substitute for a dedicated primer. When dealing with bare wood, glossy surfaces, tough stains, or dramatic color changes, a separate, high-quality primer will always give you better adhesion and coverage.
How Many Coats Of Primer Do I Need?
For most surfaces, a single, solid coat of high-quality primer is all you need. The main goal is to create a uniform, even layer that covers the old surface.
That said, there are a few key exceptions where two coats are better:
- Extremely Porous Surfaces: Brand new drywall and bare wood can soak up the first coat unevenly. A second coat ensures the surface is totally sealed.
- Covering Dark or Vibrant Colors: If you're painting over a deep red or dark blue, a second coat of primer does a much better job of hiding the old color.
Should I Tint My Primer To Match My Paint Color?
Yes, absolutely! Tinting your primer is a fantastic pro trick that saves time and money, especially with rich colors. A stark white primer under a dark topcoat is a pain to cover.
Ask your paint store to tint the primer gray or a lighter version of your final color. This tinted base dramatically cuts down the contrast, helping you achieve a rich color in just one or two coats.
Do I Need To Sand The Surface After Priming?
Sanding after you prime isn't always necessary, but it's critical for a perfectly smooth, glass-like finish on woodwork like doors, cabinets, and trim. The first coat of primer can sometimes raise the wood grain, leaving a slightly rough texture.
A very light once-over with fine-grit sandpaper (220-grit is ideal) will knock down those imperfections. Afterwards, wipe the surface with a tack cloth to remove all dust.
Can I Leave A Primed Surface Unpainted?
No, you should never leave a primed surface as the final coat. Primer is made to be an undercoat; it’s not designed as a topcoat and lacks the resins that make paint durable. If left exposed, primer will quickly break down under sunlight and moisture. Always plan to cover it with at least one, and preferably two, coats of quality paint.
This guide explains what paint primer is used for, helping you achieve a durable, professional finish on your next project. For challenging jobs or to guarantee a flawless result, trust an expert.
Ready to transform your space with a flawless, long-lasting paint job? The experts at Legacy Painting & Renovating Inc. handle every detail, from perfect preparation to the final brushstroke. Contact us today for a free, no-obligation estimate and let us bring our legacy of quality to your home.