Are you ready to remove old paint and reveal the beautiful wood underneath? It's a rewarding project, but choosing the right method is key. Whether you're working on an antique in Carmel or stripping window trim in your Monterey home, your approach determines the final result.
Before starting, you need to understand your options. There are three main techniques: chemical strippers, heat guns, and sanding. Each one is different, and the best choice depends on the type of wood, the number of paint layers, and the shape of the surface.
This image shows a quick look at the main tools you might use.
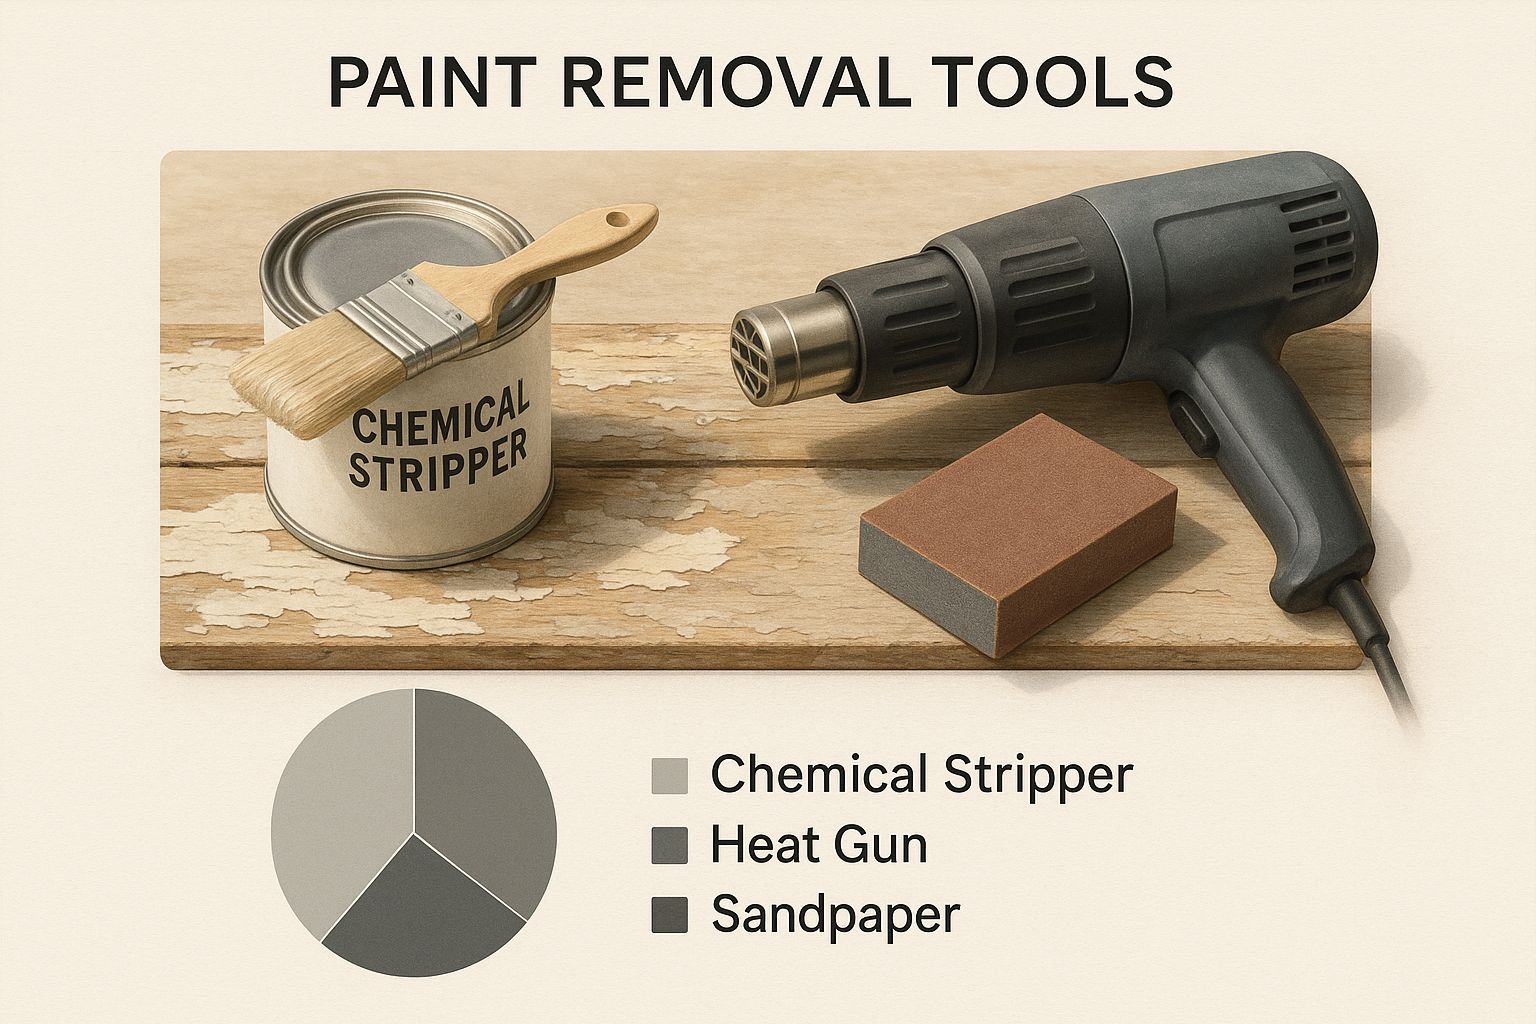
Each tool has a specific purpose. A chemical stripper can dissolve thick layers of paint that would take a long time to sand. A sander is perfect for making a large, flat tabletop smooth.
Understanding the Pros and Cons
Choosing the right tool helps you avoid problems. You don't want to burn a vintage piece of trim with a heat gun or leave ugly marks with a sander. For a delicate, historic project in Pacific Grove, a gentle chemical stripper is probably best. But for a solid, flat door in Salinas, an orbital sander might be the perfect tool.
Let's look at the best uses for each method to help you decide.
Paint Removal Methods at a Glance
Here is a quick comparison to help you match the right method to your project.
| Method | Best For | Pros | Cons |
|---|---|---|---|
| Chemical Strippers | Intricate details, molding, furniture with curves, thick paint layers. | Dissolves multiple layers at once. Minimal physical effort. | Messy, requires good ventilation, involves harsh chemicals. |
| Heat Guns | Large, flat surfaces like doors, siding, or floors. | Fast and effective for big areas. Less mess than chemical strippers. | High risk of scorching the wood. Can release lead fumes from old paint. |
| Sanding | Removing thin paint layers, final smoothing, flat surfaces. | Great for final prep work. Provides a perfectly smooth finish. | Very dusty. Labor-intensive for thick paint. Can damage delicate wood. |
The goal is to reveal the wood without making more work for yourself. Take a moment to look at your project, and you will save time and frustration.
Once the old paint is gone, you can choose a new finish. Picking the right color is a big part of the process. Our guide on how to choose interior paint colors can help you through it.
Setting Up for a Safe and Clean Project
Before you start scraping, let's talk about preparation. This is very important. Good prep is the difference between a successful project and a messy, dangerous one. It’s a step we take seriously, whether we’re working on a home renovation in Salinas or a commercial space in Monterey.
First, set up a special work area. This is a must. If you're inside, open all the windows and use fans to get air moving. An open garage or an outdoor space is even better, especially if you're using chemical strippers.
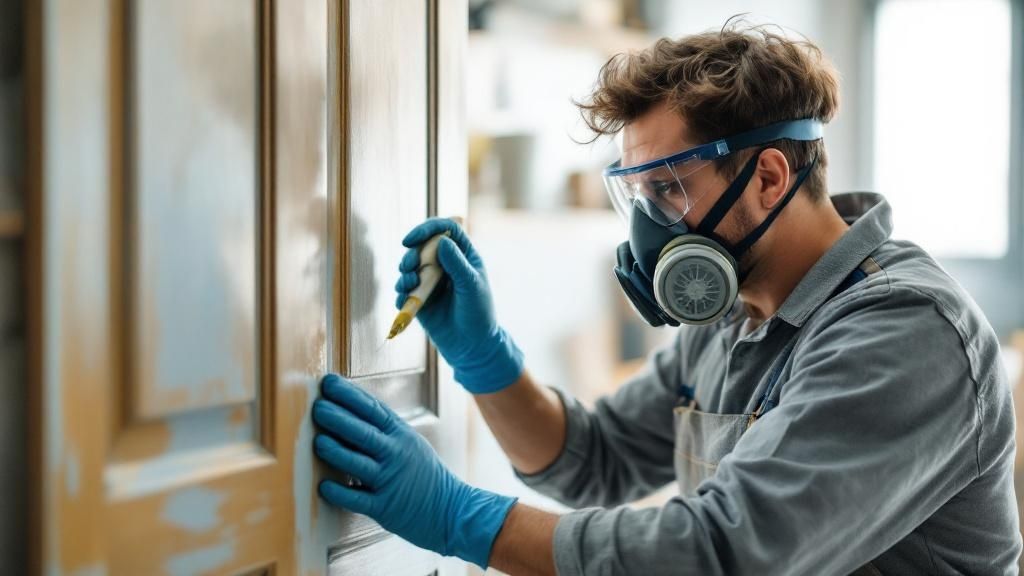
Your Personal Protective Equipment Checklist
Personal Protective Equipment (PPE) is not a suggestion—it's necessary to protect you from dust, fumes, and chemicals. Don't start without the right gear.
Your basic kit should include:
- Safety Goggles: Protect your eyes from splashes and flying bits.
- Respirator Mask: A simple dust mask isn't enough. You need an N95-rated respirator for sanding dust. For chemical strippers, use a respirator with organic vapor cartridges.
- Chemical-Resistant Gloves: Regular latex gloves will break down. Look for thicker gloves made from butyl or neoprene.
- Long Sleeves and Pants: Cover your skin to prevent contact with stripping chemicals.
Working with paint removers creates a lot of dust and fumes. It is important to know the sources of indoor air pollution and how to prevent them. Good airflow and the right mask are very important.
The Critical Step: Testing for Lead Paint
This is a step you cannot skip, especially in older homes. Any house built before 1978 could have lead-based paint. When you scrape, sand, or heat it, it releases toxic lead dust.
Pro Tip: Always assume paint is lead-based in a pre-1978 home until you know for sure. You can buy a simple lead test kit from any hardware store. They are cheap and give you results in minutes.
If the test is positive, your project has changed. I highly recommend calling a professional who is certified in lead-safe practices. The risks of removing lead paint yourself are too high.
Protecting Your Workspace and Surfaces
Once you have your gear on and are safe, it's time to protect the area around your project. A little prep now saves a lot of cleanup later.
Lay down heavy-duty plastic or canvas drop cloths to cover floors and furniture. If you are stripping a door frame, use painter's tape to protect the walls from scrapes or drips.
A clean setup makes the whole process of paint removal smoother. For more details on getting surfaces ready, check out our guide on https://legacypaintingrenovating.com/a-pros-guide-to-surface-preparation-for-painting/. These steps ensure that only beautiful wood is left, ready for its new finish.
Using Chemical Strippers Effectively
Sometimes, a heat gun or sander is not the right tool. For projects with detailed woodwork or layers of old paint, chemical strippers are a great choice. They're perfect for that antique you found at a Carmel flea market.
The best thing about a chemical stripper is that it does the hard work for you. It dissolves the old paint, turning it into a soft goo that you can gently scrape away. This helps protect the delicate wood underneath.
Professionals have used chemical strippers for wood restoration for a long time. There is a specific formula for almost any type of paint or surface. The U.S. General Services Administration (GSA) has great information about them. You can learn more about chemical paint removal from wood features on the GSA's site.
Choosing the Right Type of Stripper
The paint aisle can be confusing, so let's break down your options. Your choice depends on the job, where you're working, and how comfortable you are with chemicals.
- Solvent-Based Strippers: These are the traditional, strong strippers. They work fast, often in just 15-30 minutes. The downside is they have strong fumes, so you must work in a well-ventilated space.
- Caustic Strippers: These strippers use lye to break down paint. They are effective but take a longer time to work. You must neutralize the wood with a vinegar-and-water rinse when you are done.
- "Safer" or Eco-Friendly Strippers: These newer formulas are soy or citrus-based. They have very little smell and are milder to use. The trade-off is that they work much more slowly, sometimes needing to sit for several hours or overnight.
The Correct Application Technique
How you use the stripper is just as important as which one you choose. You need to apply a thick, even coat that stays wet long enough to work on all the paint layers.
Pour the stripper into a glass or metal container—never plastic. Use a cheap, natural-bristle paintbrush to apply it.
Insider Tip: Do not brush back and forth like you are painting. Apply a thick layer, about 1/8-inch, in one direction. Over-brushing makes the stripper dry out too quickly.
Once it's on, be patient. The paint will start to bubble and lift. This means it's working. Check the product's directions for how long to wait.
Scraping Away the Old Paint
When the paint looks like a blistered mess, it's time to scrape. The tool you use is important because you don't want to damage the wood.
- For flat surfaces, a plastic putty knife is best. It is less likely to scratch the wood than a metal one.
- For tricky spots like spindles or molding, you may need a dental pick, a stiff-bristle brush, or coarse steel wool.
Gently push your scraper under the soft paint. Try to lift it off in long strips. Always work with the grain of the wood.
Neutralizing and Cleaning the Wood
Don't start sanding just yet. After scraping, there is still chemical residue on the wood. This must be cleaned off so your new paint or stain will stick properly.
How you clean depends on the stripper you used.
- For Solvent-Based Strippers: Wipe the surface with mineral spirits or a "paint stripper after wash" product.
- For Caustic Strippers: Mix a 50/50 solution of white vinegar and water to neutralize the high pH.
- For "Safer" Strippers: Most can be cleaned up with simple soap and water.
Always check the manufacturer's label for their specific cleaning instructions. After you clean the surface, wipe the wood with a clean, damp cloth and let it dry completely for 24 to 48 hours.
Applying Heat to Remove Old Paint
A heat gun can seem like a magic tool for removing old paint. It's powerful and turns hard paint into a soft film that you can scrape right off. This method is fast, especially on big, flat surfaces.
But this tool needs respect. If you use it wrong, you can easily burn the wood. Let's talk about how to use a heat gun the right way to reveal the beautiful wood underneath.
Finding the Right Heat Gun
You don't need an expensive, industrial heat gun for most projects. A good, dual-temperature model from a hardware store is usually enough. Look for one with at least a low and a high setting.
A good gun will have a temperature range between 500°F and 1100°F. Always start on the lowest setting that works. This is very important if you think there might be lead paint, as high heat can release toxic fumes.
Mastering the Heat Gun Technique
Using a heat gun requires constant, steady motion. If you hold the gun in one spot for more than a few seconds, you will likely burn the wood.
Here’s how to get a clean result:
- Keep Your Distance: Hold the nozzle about 6 to 8 inches away from the wood.
- Stay in Motion: Move the gun back and forth over a small section at a time.
- Watch for the Signs: The paint will bubble, wrinkle, or get a soft, glossy look when it's ready.
- Scrape While It’s Hot: Use a stiff metal scraper at a low angle right behind the heat gun.
A Quick Word on Safety: The nozzle gets very hot and stays hot for a long time. Always rest it on a non-flammable surface like a concrete floor. Never point it at anything flammable.
Understanding the Risks and Staying Safe
Using heat to strip paint has real dangers. Research from the U.S. General Services Administration (GSA) shows that high temperatures increase the risk of releasing lead fumes. Professionals use the lowest possible temperature to soften the paint. You can read more about these findings on thermal paint removal methods.
Fire is the other big risk. Old, dry wood can catch fire easily. Always have a fire extinguisher and a bucket of water nearby.
A Gentler Alternative: Steam
If a heat gun seems too harsh for your project, steam is a great alternative. Steam works at a much lower temperature (around 212°F / 100°C), so it’s a safer option that won’t release lead fumes.
You can use a wallpaper steamer to apply moist heat. It gently softens the paint without the risk of burning the wood. The GSA’s research notes that steam makes cleanup easier and safer because it creates larger, damp paint chips instead of fine dust. This gentle approach is great for valuable pieces where protecting the wood is most important.
Sanding and Scraping the Right Way
Sometimes, the simplest method is the best. For thin coats of paint or surfaces that are already peeling, mechanical removal is a great choice. Using scrapers and sanders gives you complete control and is a reliable option for many projects around Monterey County.
The key to success is knowing which tool to use and when. A simple pull scraper works well for lifting off loose paint. An electric sander can quickly handle larger, flat areas.
Choosing Your Mechanical Removal Tools
Not all scrapers and sanders are the same. Having the right tool makes the job easier and more satisfying.
Here’s a quick list of helpful tools:
- Pull Scrapers: These have hooked blades and are great for pulling off thick, loose flakes of paint.
- Putty Knives: A flexible putty knife is best for gently lifting softened paint without scratching the wood.
- Orbital Sanders: These are workhorses for big, flat surfaces like doors and tabletops. They remove material quickly.
- Detail Sanders: Also called "mouse sanders," their triangular pads are designed to get into tight corners.
Imagine you are working on an old wooden door in a Salinas home. You might start with a pull scraper to lift off the worst of the peeling paint. Then, you would use an orbital sander for the main flat panels. Finally, a detail sander would be perfect for the trim and edges.
Mastering the Right Sanding Technique
Your technique is very important when sanding. The goal is a smooth finish, not a surface full of swirl marks. The most important rule is to always sand with the grain of the wood, never against it. Working against the grain can leave deep scratches.
You also need to use different sandpaper grits. Start with a coarse grit, like 80-grit, to remove the paint. Once the paint is gone, switch to a medium 120-grit to smooth out the scratches. To finish, a fine 180 or 220-grit sandpaper will give you a flawless surface.
A common mistake is pressing down too hard on the sander. Let the tool do the work. Too much pressure can create uneven spots on the wood.
After sanding, you might see small drips you missed. Fixing these little issues is what makes a job look professional. We have more advice in our guide on how to fix paint drips.
A Note on Heat and Scraping
Some pros combine scraping with heat. Tools like heat guns can soften paint so it's easier to scrape off. This can be a very fast method, but it requires skill. Uncontrolled heat can burn delicate wood. You can explore discussions on thermal and chemical paint removal to learn more from experienced woodworkers.
The Biggest Challenge: Dust Control
The biggest problem with sanding and scraping is the dust. It gets everywhere. A high-quality dust mask is essential to protect your lungs.
Whenever possible, work outside or in a well-ventilated area. Using a sander with a dust collection bag or connecting it to a shop vac makes a big difference.
Preparing Your Wood for a New Finish
Getting the old paint off is a big win, but you're not done yet. This final prep work is what makes a finish look professional and last for years. It’s the final step that makes your hard work pay off.
First, you have to get the wood perfectly clean. Wipe away any leftover chemical residue, dust, or grime. A cloth lightly dampened with mineral spirits works well. Follow up with a clean, dry rag to wipe away any excess.
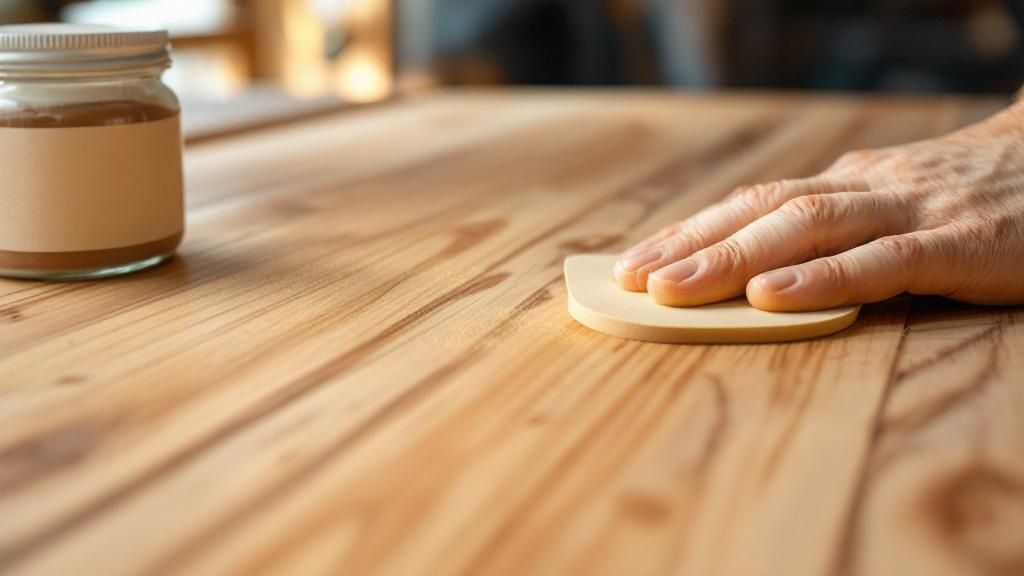
The Final Smoothing Sand
Even if you have already sanded, a final, light sanding is a must. The goal is to create a silky-smooth surface for the new finish.
Use a fine-grit sandpaper—something like 180 or 220-grit is perfect. Gently sand with the direction of the wood grain. This quick step does two important things:
- It removes any minor imperfections you might have missed.
- It helps the wood accept the new stain or primer evenly.
Once you're done sanding, vacuum the surface and wipe it with a tack cloth to pick up every last bit of dust.
Skipping this final sanding is a common mistake. It’s a fast, easy step that helps your new finish look amazing and last for years. This is true for projects in a Carmel cottage or a Pacific Grove bungalow.
Choosing Your New Finish
With a clean and smooth surface, you’re ready for the fun part. What do you want your piece to look like?
- Clear Coat: If you love the natural wood grain, a clear polyurethane or varnish is a great choice. It protects the wood and lets its beauty show.
- Stain: If you want to add color but still see the grain, a quality wood stain is your best option.
- Paint: For a fresh, solid color, nothing beats high-quality paint. If you paint, starting with the right primer is key for a durable finish. You can learn more about what paint primer is used for in our detailed guide.
Common Questions About Removing Paint from Wood
Every project is different, and you might have questions. We often get calls from homeowners across the Monterey Peninsula about their paint-stripping jobs. Here are some of the most common questions and answers.
What Is the Easiest Way to Remove Paint from Wood?
The "easiest" way really depends on your project. There is no single answer that works for everything.
If you are working on something with a lot of detail, like a door frame, a chemical stripper is often the easiest choice. It dissolves the paint, so you just have to scrape away the soft gunk.
But for a big, flat surface with only a thin layer of paint, an orbital sander can be much faster.
How Can I Strip Paint Without Harsh Chemicals?
Yes, you can. If you want to avoid harsh solvents, you have some great options.
- A heat gun is a fantastic chemical-free choice. It softens the paint so you can scrape it away easily.
- "Safer" strippers, made from soy or citrus, are another good alternative. They have low VOCs and very little odor.
- Sanding is always an option, but you must be careful about dust protection, especially with older paint that might contain lead.
How Do I Know If the Paint Has Lead in It?
This is a very important safety question. If your house was built before 1978, you should assume the paint contains lead until you know for sure.
Testing is simple. You can buy an instant test kit, like a 3M LeadCheck swab, at a local hardware store. They are cheap, easy to use, and give you an answer in minutes. If the test is positive, we strongly recommend calling a professional certified in lead-safe practices.
Will I Damage the Wood When I Strip the Paint?
There's always a small risk, but you can usually avoid it with care. Most damage happens when people get impatient. We have seen burned wood from a heat gun, deep scratches from a scraper, and ugly swirl marks from a sander.
The best way to avoid damaging your wood is to be patient. Always test your method on a small, hidden area first. This helps you perfect your technique before you work on the main surface.
What Causes Paint to Peel in the First Place?
That's a great question. Understanding why paint fails helps you prevent it from happening again. Peeling paint is usually a sign of a bigger problem. It could be caused by moisture, a poorly prepped surface, or using the wrong type of paint.
To learn more, check out our detailed guide on what causes paint to peel.
Removing paint from wood takes patience, but seeing the beautifully restored wood is worth the effort. If you need help or want a flawless, professional finish, the team at Legacy Painting & Renovating Inc. is here for you.
Contact us today for a free estimate for your next project in Salinas, Monterey, or anywhere on the peninsula. Let us bring our expertise to your home!